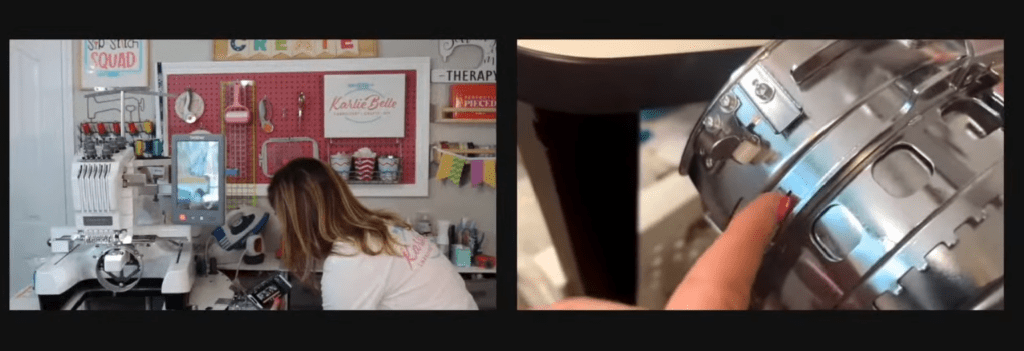
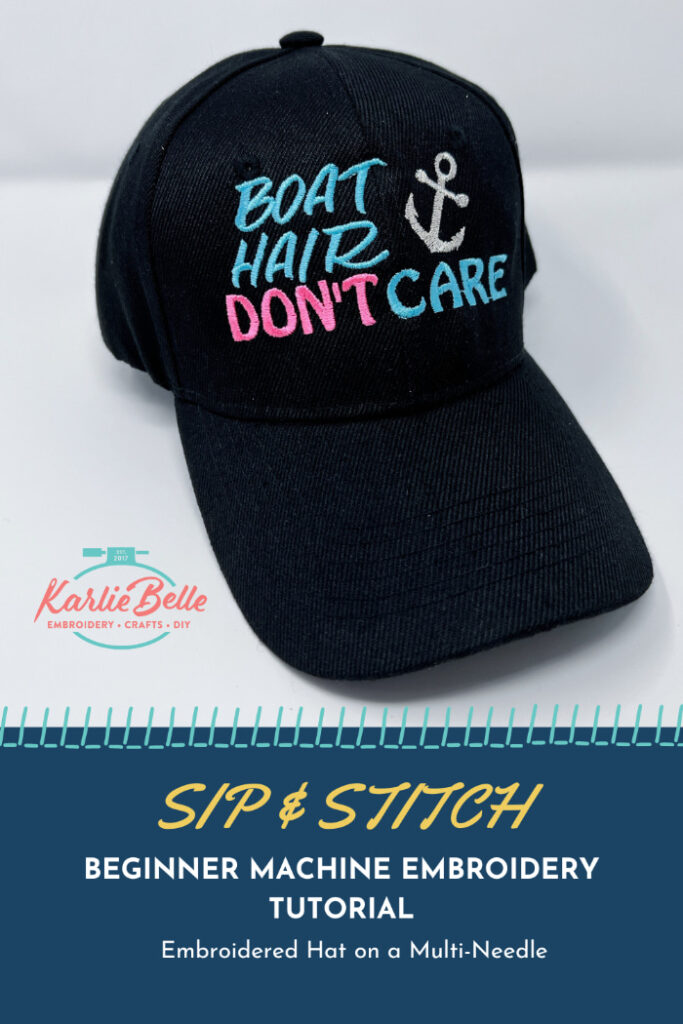
This week’s Sip & Stitch tutorial is about hat machine embroidery. We will be going over how to embroider a hat using a multi-needle or free-arm machine and a cap driver. Hats are really fun to make with your embroidery machine, however, the cap driver can be very intimidating to try for the first time. I will show you step by step how easy it is to remove your frame holder, attach the cap driver, hoop the hat using the cap ring and hooping station, and then finally load and stitch your hat. Once you see how easy it is, you will be making hats all the time. If you ever decide to start selling custom hats, you will love how large your profit margin is compared to embroidered clothing! Especially if you can get hats at wholesale pricing!
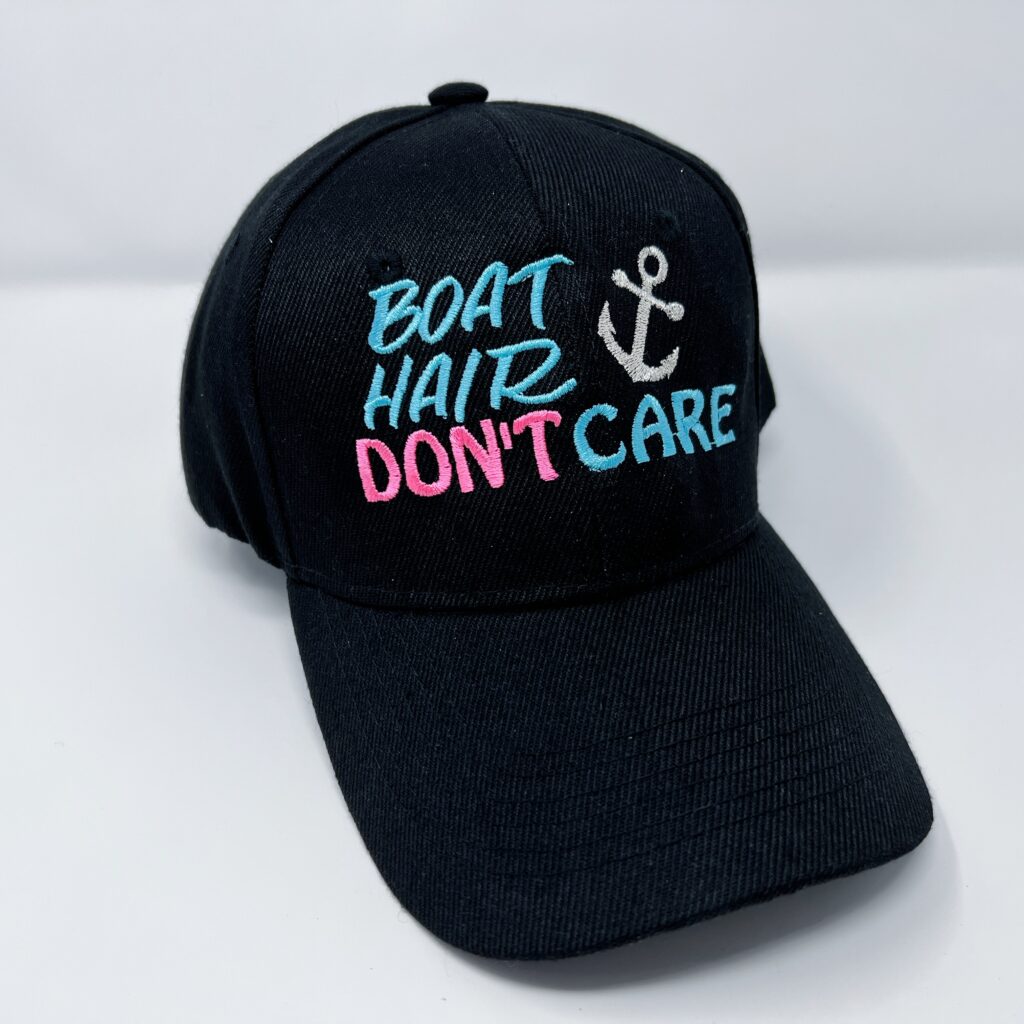
I will be using a cute design from Bella Bleu Embroidery. My husband recently got a fishing boat, so “Boat Hair Don’t Care” is perfect for my hat design 🚤😎. What I love about all of the hat designs from Bella Bleu is that they are specially digitized for hats. I will be going over what this means durning the tutorial. hat machine embroidery
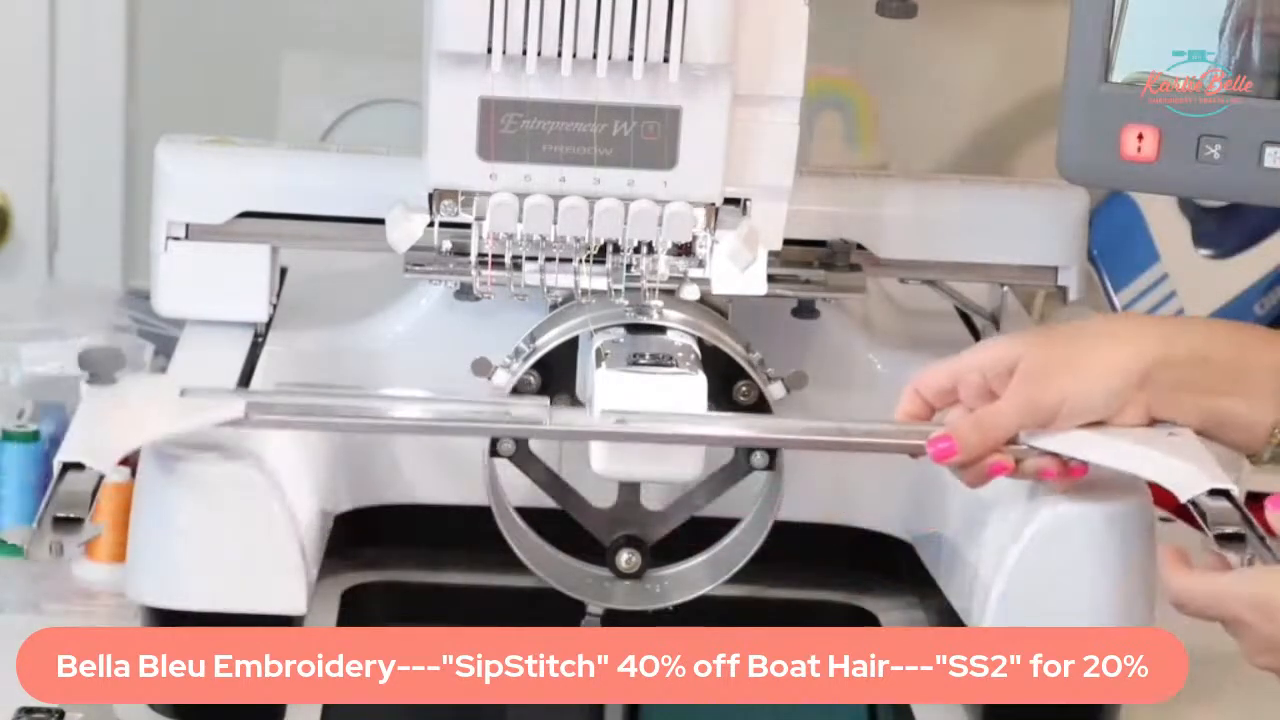
I will be using my Brother PR680W 6 needle embroidery machine for this project, but the same process can be used for the Persona, Alliance, or any Brother/ Baby Lock 6 or 10-needle machine.
If you have a flatbed machine and are interested in learning how you can embroider soft hats with your machine, check out this past Sip & Stitch.
Supplies Needed:
- Boat Hair Don’t Care Hat Design
- Use coupon code “Sip&Stitch” to save 40% off this design only
- Use code “S&S2” to save 20% off any other designs except bundle deals, intro priced, $1 and special deals
- Blank Hat
- Cap Driver Use coupon code “karliebelle” to save 10%
- Tear Away Stabilizer Use coupon code “karliebelle” to save 10%
- Applique Scissors Use coupon code “karliebelle” to save 10%
- Organ 75/11 BP Needles Use coupon code “karliebelle” to save 10%
- Precision Tweezers Use coupon code “karliebelle” to save 10%
- Embroidery Thread Use coupon code “karliebelle” to save 10%
- Bobbins for Free Arm Machines Use coupon code “karliebelle” to save 10%
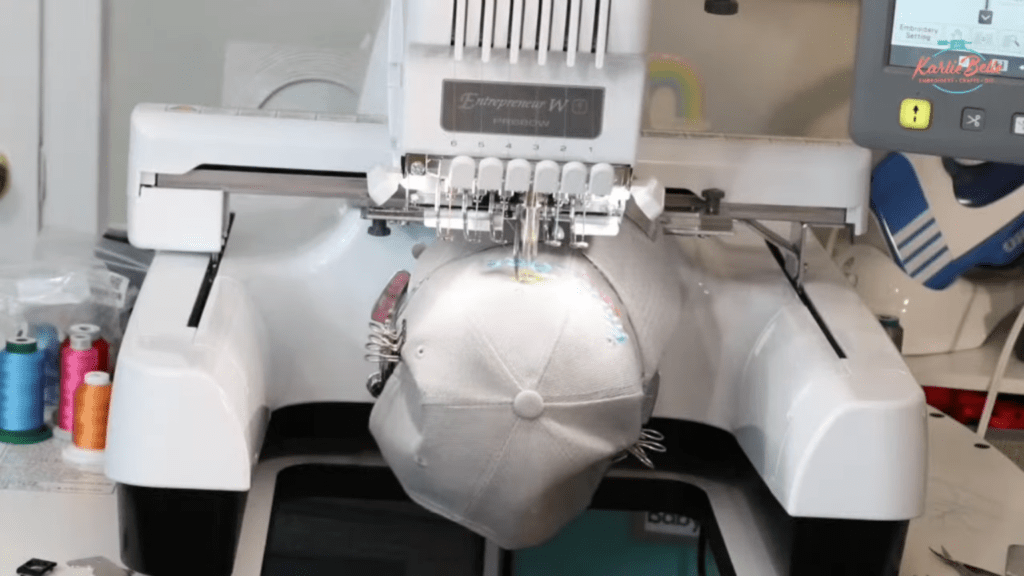
Now, we’ll go through the process of stitching a baseball hat using a multi-needle or free-arm embroidery machine and a cap driver. We’ll cover the setup, hooping the hat, and stitching a design that’s specifically digitized for hats.
Stitching Hats on Flatbed vs. Multi-Needle Machines
When it comes to embroidering hats, the choice of machine can significantly impact the process and the results. Let’s explore the differences between stitching hats on flatbed and multi-needle machines.
Flatbed Machine
Flatbed machines can embroider hats, but the process may be more challenging compared to multi-needle machines. The flat surface of the machine may require additional attachments or hoops to securely hold the hat in place during embroidery. Also you will only be able to stitch on soft, non-structured hats.
Multi-Needle Machine
Multi-needle or Free Arm machines are specifically designed to embroider hats with ease. These machines often come with dedicated cap drivers that securely hold the hat in place, allowing for precise and efficient embroidery. The cap driver eliminates the need for complex hooping techniques and ensures consistent stitching quality. You will also be able to stitch on both structured and non-structured hats when using a machine with a free arm.
Introducing the Cap Driver
Embroidering hats on a multi-needle or free-arm machine requires the use of a cap driver, which can initially seem overwhelming. However, once you understand the process, it becomes surprisingly simple and straightforward. I remember feeling intimidated by the cap driver the first time I used it, but with a bit of practice, I realized it’s not as complicated as it appears. I’ll guide you through the setup and usage of the cap driver, breaking down each step to make it easy for you to follow along.
Using the cap driver allows for precise hooping and stitching of hats on multi-needle or free-arm machines. It eliminates the need for complex hooping techniques and ensures consistent stitching quality. Once you get the hang of it, hat machine embroidery will be easy for you. You’ll be able to effortlessly set up your machine to stitch hats, opening up a whole new world of creative possibilities.
Hooping the Hat

When it comes to hooping a hat for embroidery, the process may seem daunting at first, but with the right tools and techniques, it becomes surprisingly straightforward. Hooping the hat involves using a cap driver, cap hooping station, and a cap ring, all of which work together to securely hold the hat in place for precise embroidery.
Components of the Cap Driver Setup
- Cap Driver: The part that attaches to your machine and holds the hat in place.
- Cap Hooping Station: A freestanding station that aids in positioning the hat for hooping.
- Cap Ring: The hoop that goes inside the hat, allowing it to be attached to the cap driver.
Using the Cap Driver
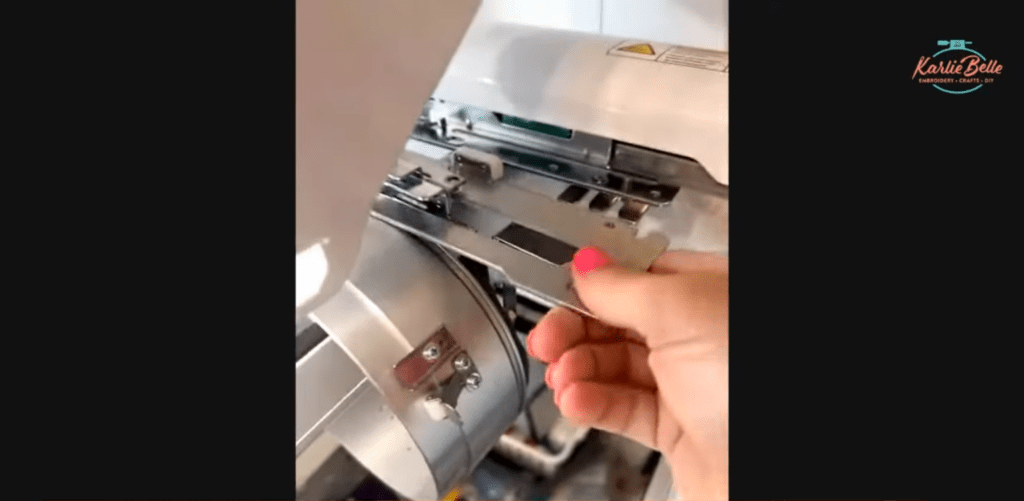
The cap driver setup also includes a needle plate cover and a protective rubber piece for your work surface. These components ensure stability and protection while hooping the hat.
Hooping Technique
When hooping the hat, insert a single layer of tearaway stabilizer inside using the cap hooping station to provide support during embroidery. Cut the stabilizer into strips and ensure it remains in place throughout the hooping process.
With the right setup and hooping technique, embroidering hats becomes a seamless and profitable endeavor, offering a significant profit margin for custom hat creations.
Stitching the Design
Embroidering a design on a hat using a multi-needle or free-arm machine involves several essential steps to ensure precise and high-quality stitching. Let’s break down the process of setting up the machine, hooping the hat, and stitching the design to create a stunning embroidered hat.
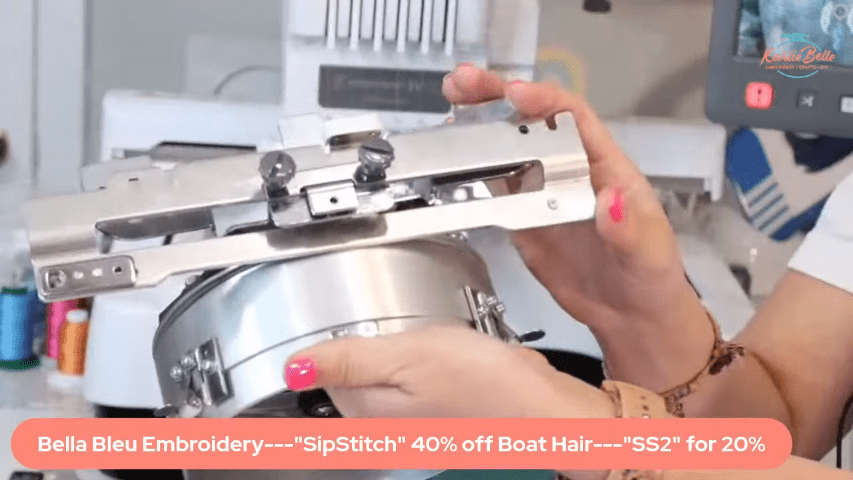
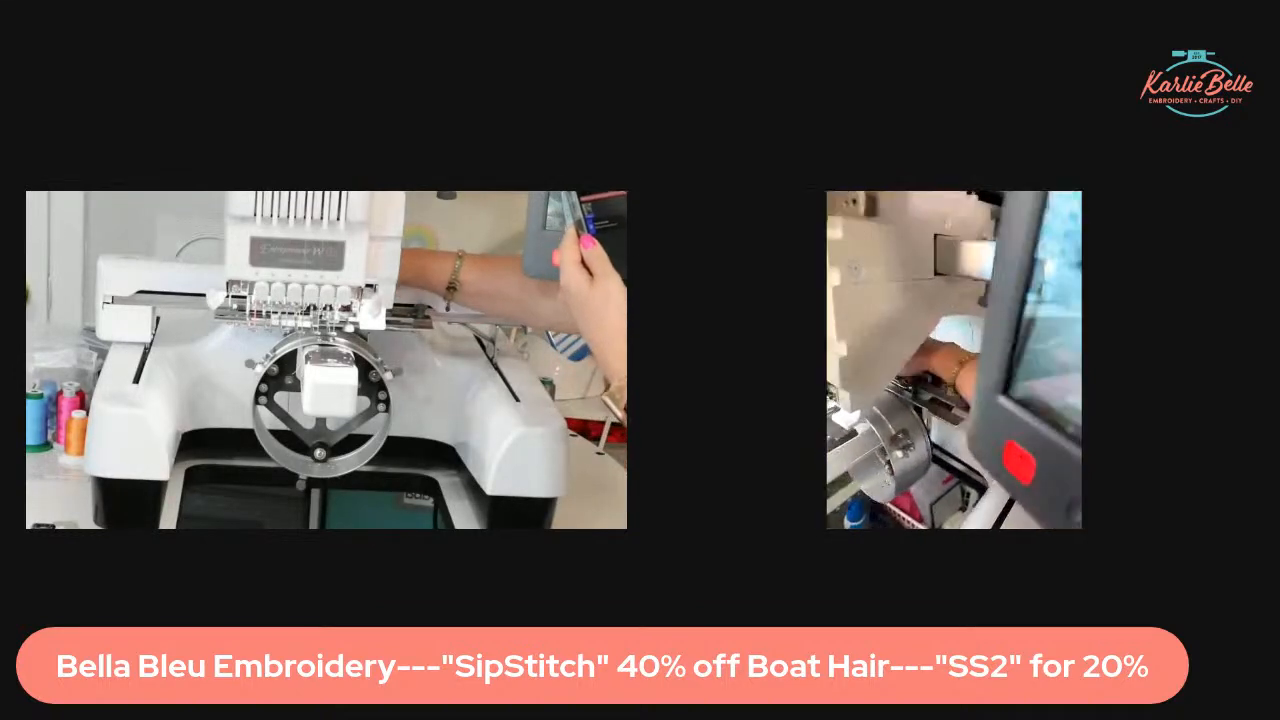
Attaching the Cap Driver
When attaching the cap driver to your multi-needle machine, it’s essential to follow a systematic process to ensure a secure and stable setup. Begin by removing the frame holder from the machine. Then, carefully attach the cap driver, making sure to securely fasten all screws to prevent any wobbling during the embroidery process.
- Remove the frame holder from the machine.
- Attach the cap driver securely, ensuring all screws are tightened.
- Verify stability by checking for any wobbling or movement.
Hooping the Hat
Hooping the hat is a critical step. It ensures that the design is embroidered accurately and without any distortions. Using the cap ring, hooping station, and stabilizer, carefully position the hat to ensure it is securely held in place for precise embroidery.
- Position the hat on the cap ring, ensuring the sweatband is pulled out.
- Secure the hat on the cap ring, aligning the seam with the designated markers.
- Use the hooping station to ensure the hat is properly hooped and stabilized.
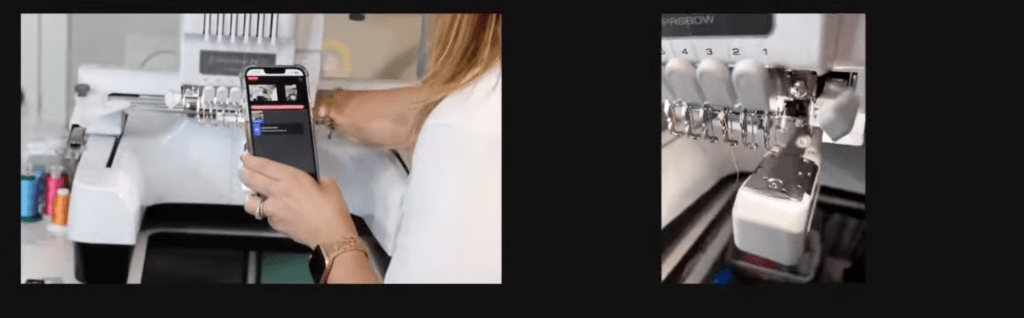
Setting Up the Design
Once you hoop and secure the hat, set up the embroidery design on the machine. Adjust the design size to fit within the designated embroidery field for hats, and make sure to center and align the design with the bill of the hat for optimal placement.
- Resize the design to fit within the embroidery field for hats.
- Center and align the design with the bill of the hat for optimal placement.
- Assign thread colors for each step of the design to ensure accurate stitching.
By following these steps of hat machine embroidery, you can confidently stitch a beautifully embroidered design on a hat using a multi-needle machine, creating stunning and professional-looking custom hats.
Removing and Finishing the Hat

Embroidering hats on a multi-needle machine involves the final steps of removing the hat from the machine and ensuring a polished finish. Let’s explore the process of completing the embroidery and addressing any potential issues that may arise during this stage.
The Embroidery Design Organizer
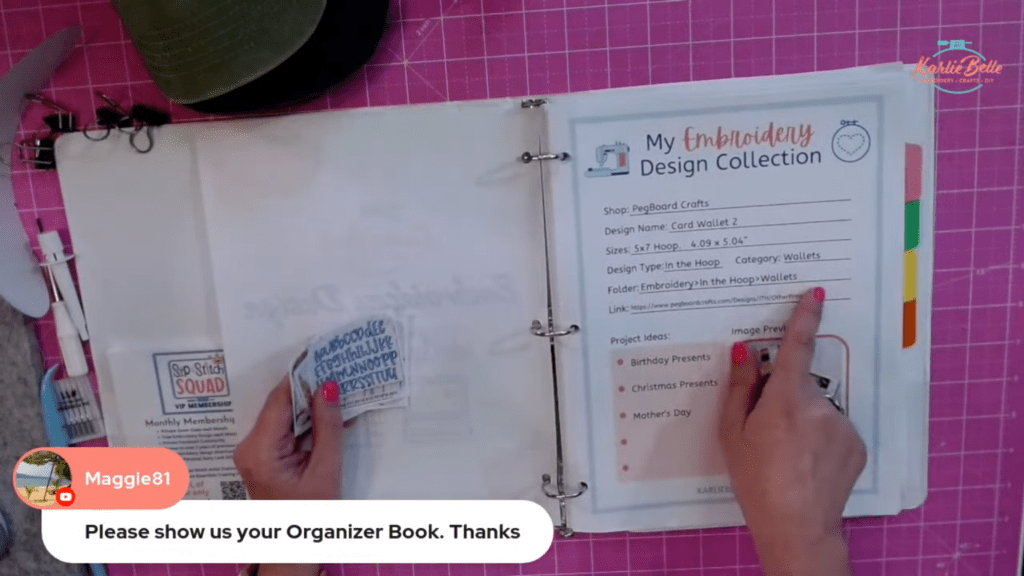
Embroidery design organization is crucial for efficient and successful machine embroidery projects. Having a well-structured system for managing and accessing embroidery designs can streamline your workflow and enhance your creative process.
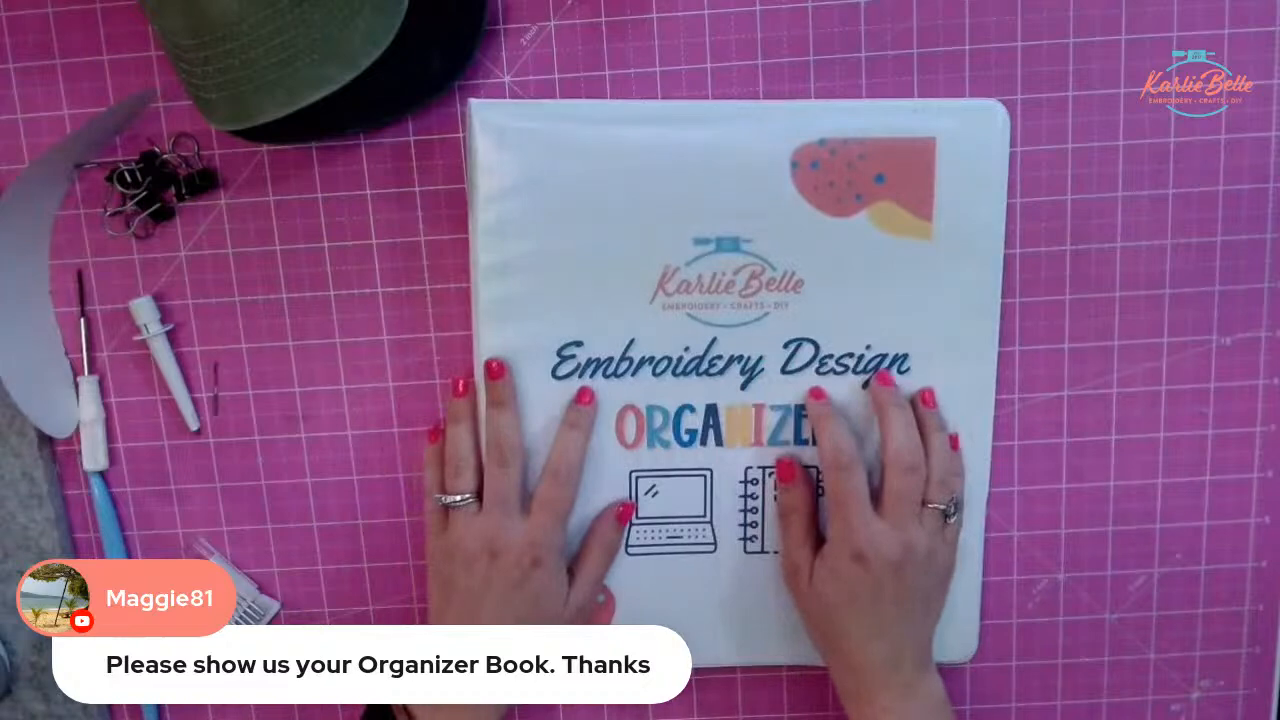
My latest creation, the Embroidery Design Organizer, is now available for purchase at a special introductory price of $17. This comprehensive organizer includes printable pages for categorizing and tracking your embroidery designs, making it easier than ever to manage your digital embroidery files. Take advantage of this limited-time offer before the price goes up!
Join the VIP Sip & Stitch Squad
For exclusive access to monthly private classes, free designs, and a supportive community of embroidery enthusiasts, consider becoming a VIP member of the Sip & Stitch Squad. Get ready to embark on exciting embroidery projects and connect with fellow embroidery enthusiasts during our engaging Zoom sessions.
Pin This!
Don’t miss out on these upcoming events and special offers! Stay tuned for more updates and exciting projects by joining my email newsletter and following me on social media.
💻 Check out past Sip & Stitch projects
🪡 Sign up for From Start to Stitch Waitlist
❤️ Join my Sip & Stitch Squad VIP Membership
🧵 Join my Facebook Group for discussion and help on machine embroidery and crafting
If you are interested buying a new embroidery machine, I now have a direct contact at Sewing Machines Plus if you have questions or are ready to purchase and would rather talk to someone on the phone than purchase online. Email Jean at [email protected] your information and she will call you back and help you! Tell her Karlie Belle sent you 😘
Thanks for stopping by!