In this tutorial, I will show How to embroider an apron. It’s almost summer and with that comes BBQ time! My husband loves to grill on our back patio, however, he tends to make a mess, especially when he is cleaning the grill 🤣. For Father’s Day, I thought making him a black apron would help with that and I will also show you how to embroider an apron. I was looking for BBQ design ideas to put on the apron and ran across this “GrillFather” design that I loved! My step-dad is a big fan of The Godfather, so I think he will love this too 😁. This is a great beginner project and can be done on any machine. I will be using the 5×7 sized design and stitching it on my Brother PR1X embroidery machine. During the class I will go over several hooping options including using the hoop that came with my machine, mighty hoop, and Durkee EZ Frame. I will also go over how I changed the design a little using Embrilliance Essentials embroidery software.
Supplies Needed:
- Brother PR1X Embroidery Machine
- GrillFather Embroidery Design
- Embrilliance Essentials
- Black Apron
- 6.25″ x 8.25″ Mighty Hoop Use coupon code KARLIEBELLE for Free Shipping
- Durkee EZ Frames for PR1X Use coupon code “karliebelle” to save 10%
- Tear Away Stabilizer Use coupon code “karliebelle” to save 10%
- Peel n Stick Tear Away Use coupon code “karliebelle” to save 10%
- Applique Scissors Use coupon code “karliebelle” to save 10%
- Organ 75/11 BP Needles Use coupon code “karliebelle” to save 10%
- Precision Tweezers Use coupon code “karliebelle” to save 10%
- Embroidery Thread Use coupon code “karliebelle” to save 10%
- Bobbins for Free Arm Machines Use coupon code “karliebelle” to save 10%
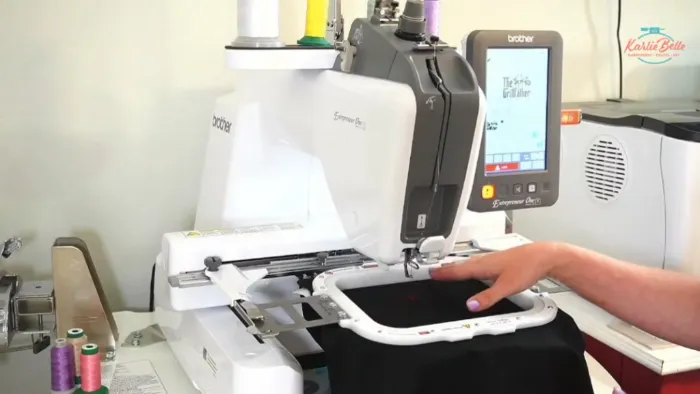
Brother PR1X
Awesome single needle, free arm embroidery machine with large 8×12 hoop, cuts jump stitches, and stitches at speed of 1050 spm
Featured machine

The Grill Father Design
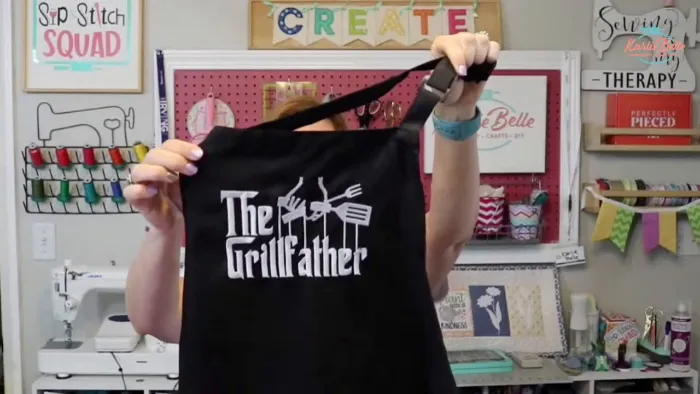
The “Grill Father” design, inspired by the movie “The Godfather,” is not only adorable but also a clever and humorous twist on a classic theme. If you learn how to embroider an apron. This design can make a wonderful and unique gift for Father’s Day, adding a touch of personality and charm to the apron.
Machine Compatibility and Size Options
Now we are discussing how to embroider an apron on different machines with different design.
- Using a five by seven design is ideal for an adult apron, but smaller sizes are available for those with a four-by-four hoop.
- This project is versatile and can be completed on any embroidery machine, providing flexibility and accessibility for all crafters.
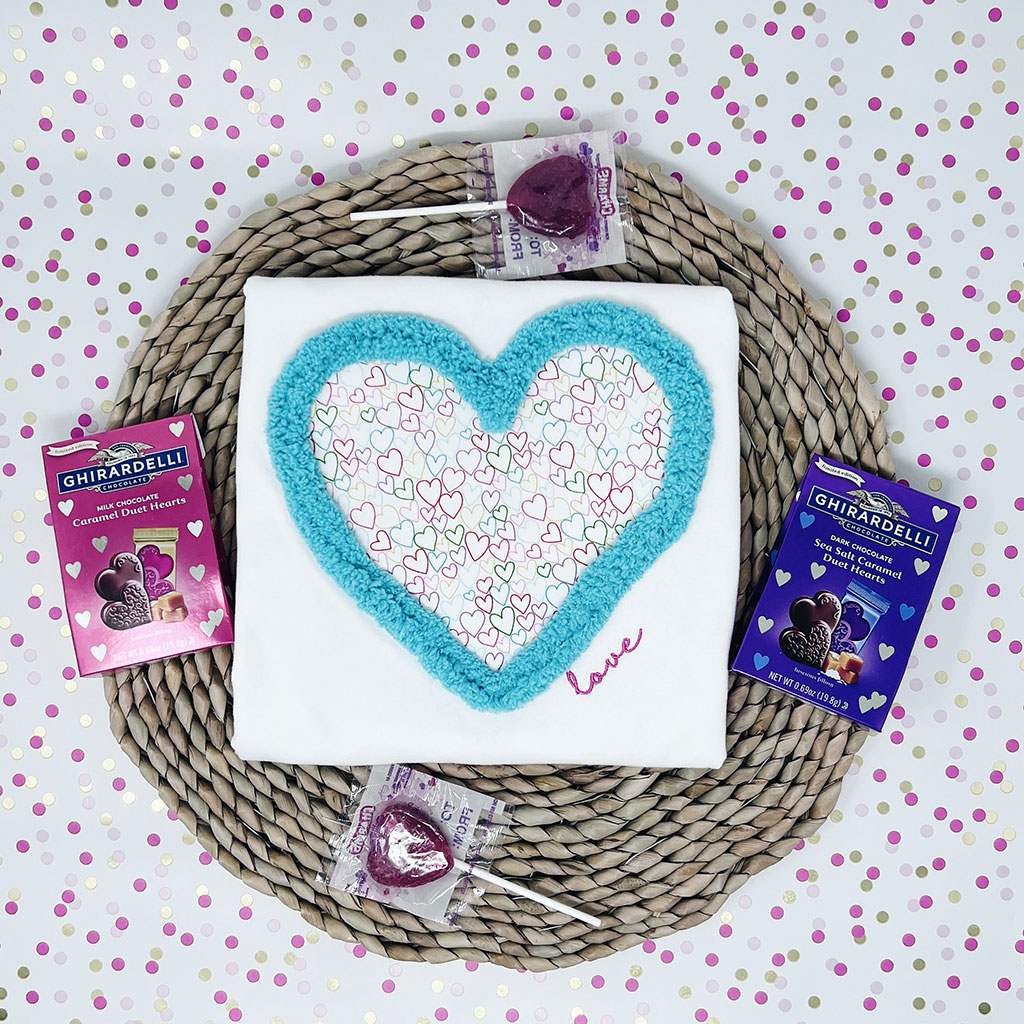
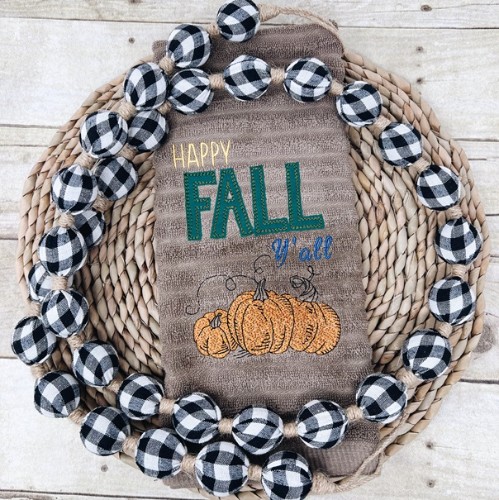
Additional Embroidery Ideas
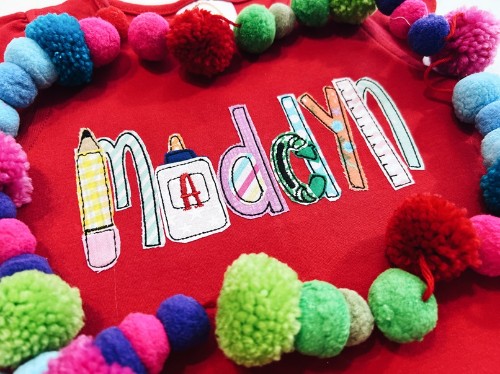
Exploring other embroidery designs and options for customizing aprons can further enhance the personalization and creativity of the project. Whether it’s adding names, phrases, or additional imagery, there are countless ways to make each apron unique and special.
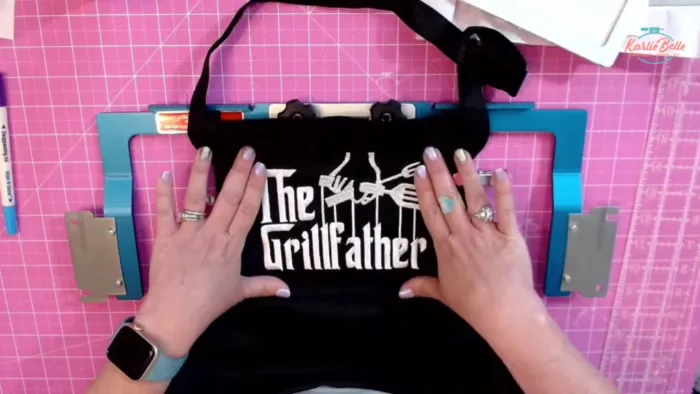
Hooping the Apron
Hooping the apron is a crucial step in ensuring the proper placement and alignment of the embroidery design. Follow these simple steps to hoop your apron accurately and efficiently.
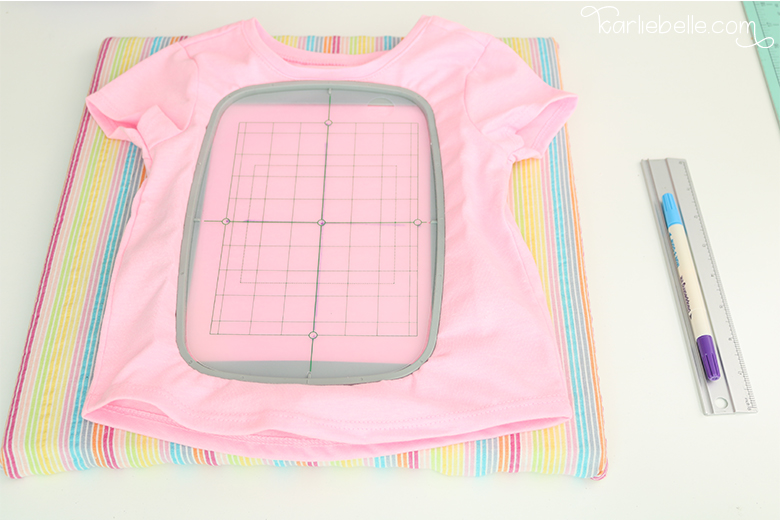
Placement Guide
Print out the design and use it as a placement guide by cutting it and laying it on the apron to determine the exact placement for the embroidery.
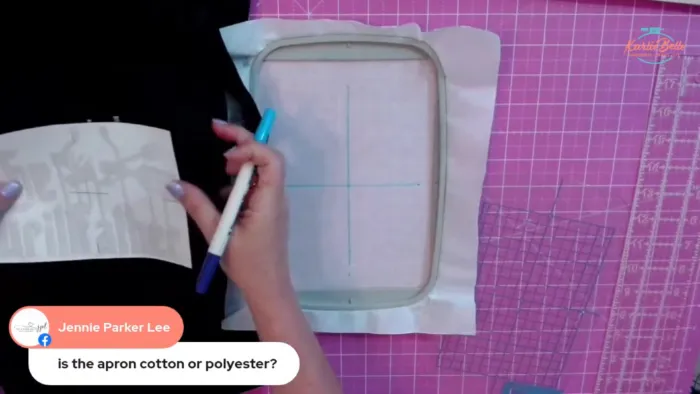
Centering and Pinning
Find the center of the apron and use a ruler to ensure the design is centered both horizontally and vertically. Pin the printed design onto the apron to secure its placement.
Hooping Technique
- Use a medium tearaway stabilizer to provide support for the embroidery.
- Layer the stabilizer at the bottom of the hoop, ensuring it covers the entire area for embroidery.
- If using mighty hoops, align the design using the two-point positioning system to ensure accurate stitching.
Once the apron is hooped, it is ready for embroidery. Follow these steps to ensure the design is positioned correctly and securely hooped before initiating the embroidery process.
Troubleshooting and Adjustments
Embroidery machines can encounter various issues during the stitching process. Familiarizing yourself with troubleshooting techniques and making necessary adjustments can help ensure a smooth embroidery experience. Let’s explore some common troubleshooting tips and adjustments for your embroidery machine.
Trace Feature for Hoop Verification
When using mighty hoops or easy frames, it’s crucial to utilize the trace feature on your embroidery machine. This feature allows you to verify the design’s positioning and ensures that the presser foot and needle won’t hit the hoop during stitching. By using the trace feature, you can prevent potential mishaps and ensure accurate stitching, especially when working with non-standard hoop dimensions.
Hooping Techniques
- Ensure the stabilizer covers the entire embroidery area when hooping the fabric.
- For flatbed machines, consider using a medium tearaway stabilizer for adequate support.
- If using a newer Brother or Baby Lock free arm machine, utilize the two-point positioning system to ensure precise design alignment.
Proper hooping is essential for achieving accurate and secure embroidery placement. Taking the time to center the design, align the stabilizer, and secure the fabric within the hoop can significantly impact the quality of the final embroidery.
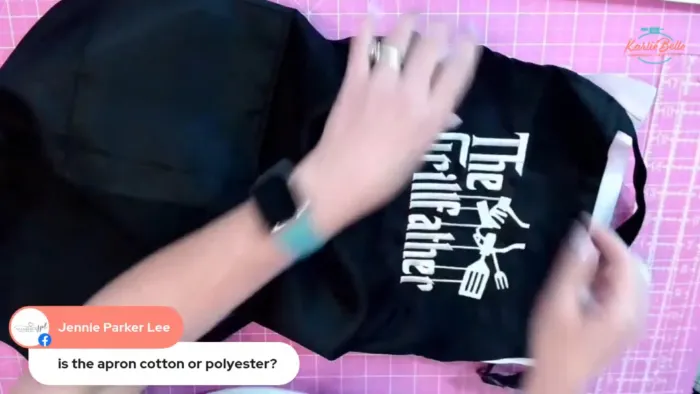
Choosing the Right Fabric
Consider the fabric type when selecting aprons for embroidery. Cotton and polyester aprons offer distinct characteristics, with cotton being sturdier and thicker, while polyester provides water and stain resistance. Understanding the properties of different fabrics can help you make an informed decision based on your specific embroidery needs.
Hooping Alternatives
So how to embroider an apron on the embroidery machine you have? If you don’t have Mighty hoops, Durkee EZ frames can provide a viable alternative to traditional hooping methods. These frames offer flexibility and ease of use, especially when hooping challenging or non-standard materials. Learning to float the fabric on the frame and adding a basting stitch can further enhance stability and alignment during embroidery.
Adding Basting Stitches
When floating fabric for embroidery, consider adding a basting stitch to secure the fabric to the stabilizer. This additional step can help minimize fabric movement and distortion during stitching, resulting in cleaner and more precise embroidery outcomes.
How to embroider an apron design; Software Adjustments
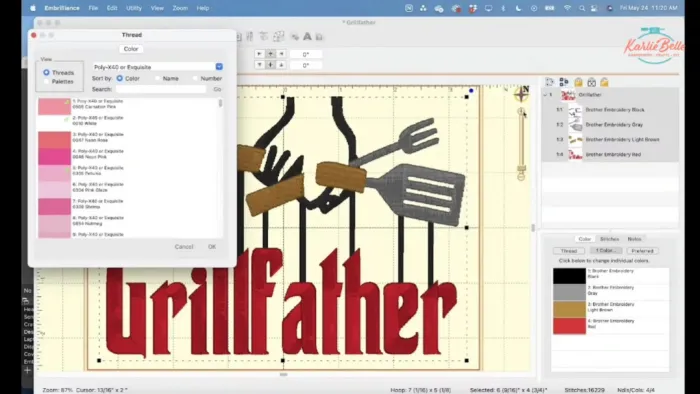
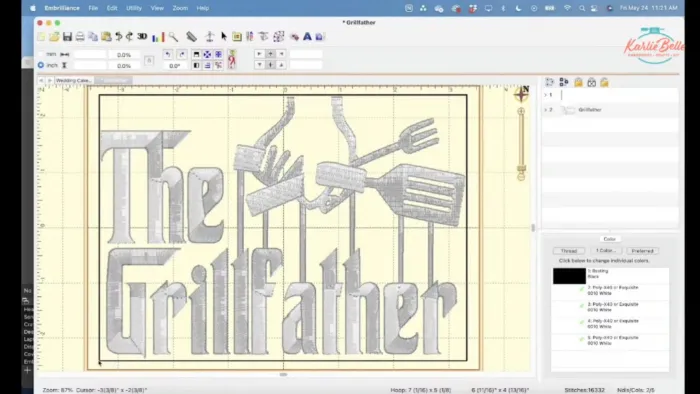
Utilize embroidery software such as Embrilliance Essentials to modify and optimize designs before stitching. Adjusting thread colors, deleting unnecessary steps, and adding basting stitches can streamline the embroidery process and improve stitch quality. If you want to learn more about working on this software I have a beginner Embrilliance Essentials software tutorial
Machine Maintenance
Regularly check and maintain your embroidery machine to prevent unexpected interruptions during stitching. This includes ensuring proper bobbin thread tension, cleaning the machine and needle area, and replacing worn-out or damaged components.
By implementing these troubleshooting techniques and making necessary adjustments, you can enhance the efficiency and quality of your machine embroidery projects.
Finishing the Apron
Once the embroidery is complete, it’s time to finish the apron by cleaning up the back and removing any excess stabilizer. This step ensures a polished and professional look for the finished product.
Removing Stabilizer

Start by carefully tearing away the stabilizer from the back of the embroidered design. Take your time to avoid damaging the stitches and ensure all the stabilizer remnants are completely removed.
Trimming Excess Threads
After removing the stabilizer, trim any excess threads from the back of the embroidery. This step helps to tidy up the appearance and ensures the threads won’t cause any discomfort when the apron is worn.
Pressing the Apron
Once the stabilizer and threads are cleaned up, press the apron with an iron to smooth out any wrinkles and give it a crisp, professional finish. Be sure to use a pressing cloth to protect the embroidery while ironing. So this is how you can embroider an apron on different machines with different designs. I hope you like it.
🪡 Learn more about my beginner course on machine embroidery, From Start to Stitch
💻 Get on the waitlist for my new course Embroidery Essentials
❤️ Join my Sip & Stitch Squad VIP Membership
🧵 Join my Facebook Group for discussion and help on machine embroidery and crafting
Watch Live on Facebook – Click attending event so that you get notified when I go live!
Watch Live on Youtube – Make sure you are subscribed and click the bell to get notified when I go live!
I look forward to chatting with you Friday morning! #sipnstitchsquad
Thanks for stopping by!