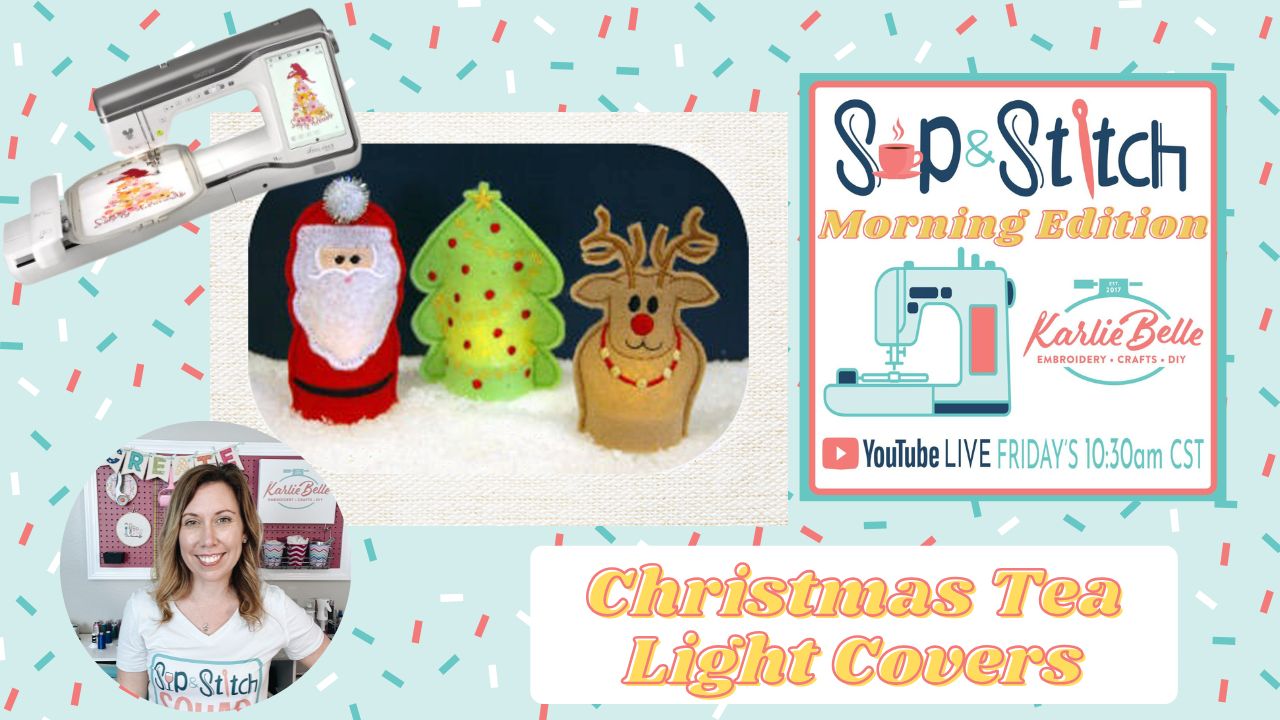
This month’s Sip & Stitch project is extra festive! We’ll be stitching a set of adorable in-the-hoop Christmas tea light covers from Embroidery Garden. These little characters—including Santa, a snowman, a reindeer, and more—are designed to slip right over a battery-operated tea light so it glows from within. They’re quick, beginner-friendly, and a fun way to add cozy Christmas charm to your mantle, table décor, or holiday gifts. You can make them on any embroidery machine, and the designs even fit in a 4×4 hoop, making this a great project for all skill levels.
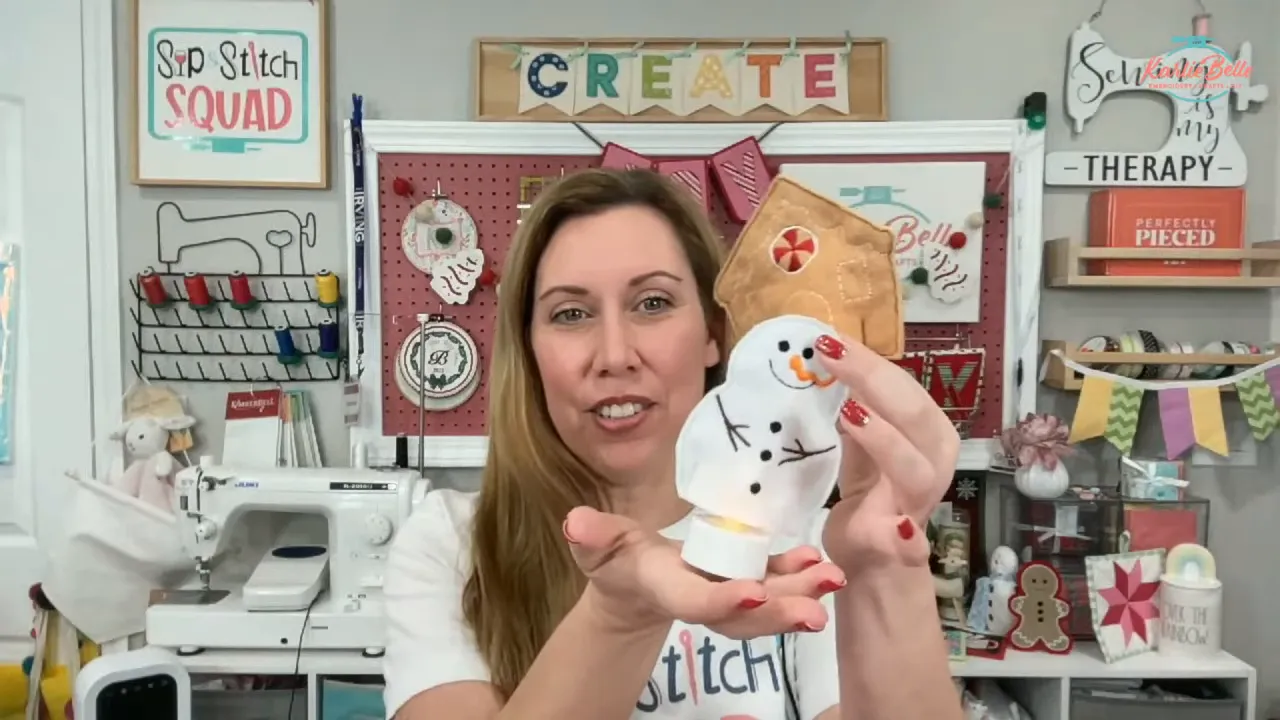
During the live class, I’ll be stitching on my Brother Stellaire 2, but the techniques apply to any single-needle machine. I’ll also show you how to merge multiple designs into one hooping using Embrilliance Essentials, including how to color sort to save time and thread changes.
Gathering Your Supplies
- Holiday Tea Light Cover Set from Embroidery Garden
- Embrilliance Essentials
- Battery Operated Tea Lights
- Felt (thinner and lighter colored is better for allowing light to shine through)
- No Stabilizer needed for this project
- Applique Scissors Use coupon code “karliebelle” to save 10%
- Organ 75/11 BP Needles Use coupon code “karliebelle” to save 10%
- Precision Tweezers
- Embroidery Thread Use coupon code “karliebelle” to save 10%
- Pre-wound Bobbin
- Thread Burning Tool
Choosing felt and thread
For a bright glow, choose thin, light-colored felt. Thin craft felt, about 1.0 mm or less, lets the light shine through beautifully. Thicker wool felt will block most of the light, so save that for other projects. This tip is especially important when making machine embroidery Christmas ornaments that use battery tea lights, since the glow effect depends on fabric thickness. If you buy felt by the bolt, you can cut larger pieces that work well in bigger hoops for batch stitching.
Quick felt test
Wrap felt around a battery tea light with the edges folded.
Turn the tea light on to evaluate the glow.
Choose felt that lets enough light through while still stitching cleanly. This simple test helps ensure your machine embroidery Christmas ornaments have that soft, warm shine without sacrificing stitch quality.
Easy Hooping, No Stabilizer Needed
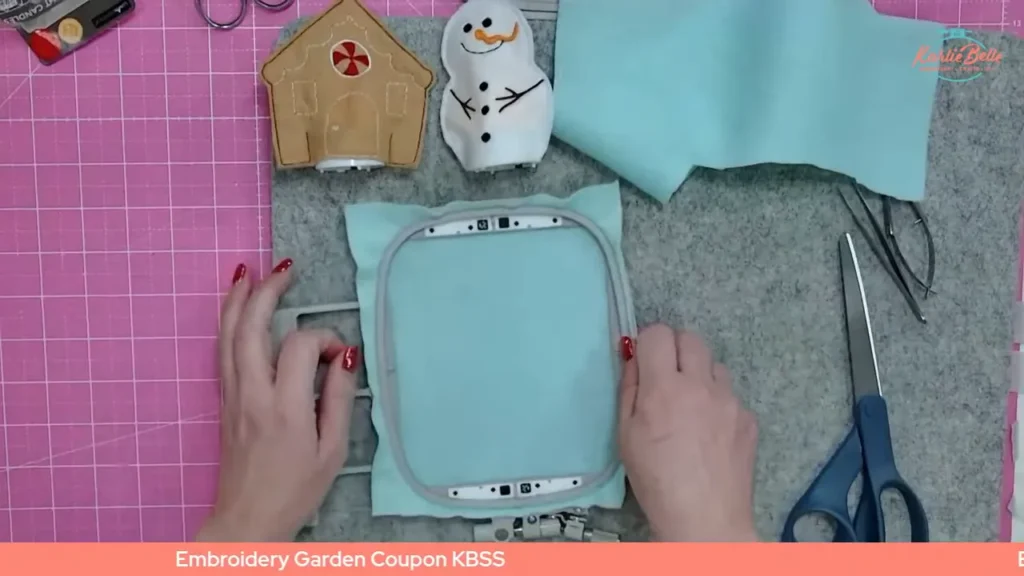
This project is more forgiving than it looks — there’s no precise placement to fuss over, no lining anything up just right. All you’re doing is hooping a single layer of felt.
Here’s what makes it special: you skip stabilizer entirely. The felt is sturdy enough on its own to hold the embroidery stitches without it. That’s not just a shortcut — it’s actually what makes the glow work. With no stabilizer in the way, the tea light only has to shine through one layer of felt, which is what gives these that soft, warm glow.
Every design fits in a 4×4 hoop on its own. A few of the covers can also be merged and stitched two at a time in a 5×7 hoop, using a letter-size (8.5″ x 11″) piece of felt.
- 4×4 hooping: Your felt just needs to be at least 1/2″ bigger than your hoop on all sides — same as you’d size a piece of stabilizer — so it hoops securely.
- Second piece of felt: Cut a 4½” x 4½” for the back of the design. This isn’t stabilizer — it’s just a second piece of felt that closes up the back of the ornament. The design will prompt you when it’s time to add it.
- 5×7 hooping (two covers): Place a letter-size (8.5″ x 11″) piece of felt so it fills the hoop. Keep both designs at least 1/2″ apart so you can trim around each shape without disturbing the other.
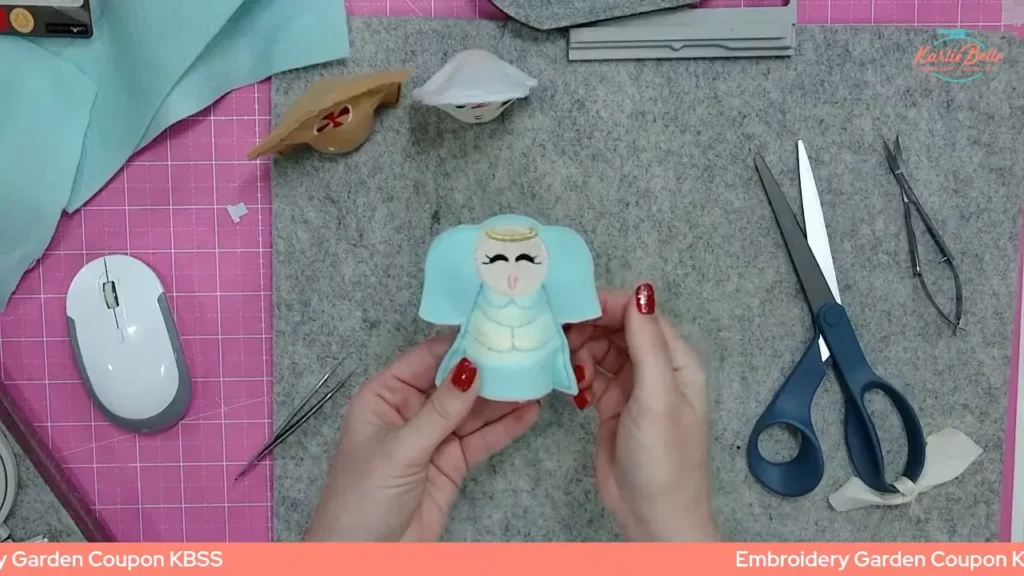
Step-by-step: Angel (standard in-the-hoop)
- Prepare and hoop felt. Place a piece of thin light-blue felt in a 4×4 hoop. Make sure it is taut and that wings or wide elements will fit inside the hoop boundary.
- Load the design and choose threads. Open the angel design and choose thread colors for face, halo (metallic suggested), dress outline, mouth, eyes, and wings. For metallics slow your machine speed to about 500 to prevent breaks and make sure metallic sits on a thread stand or spool with free movement.
- Stitch inner details. Start the design and allow the machine to stitch the face, eyes, mouth, and dress decorations. If your bobbin is low, replace it before stitching. When installing a bobbin on flatbed machines, insert so it turns counterclockwise and pull 6–12 inches of thread through the path.
- Add the backing felt at the correct step. The angel design requires the backing piece before the final wing step. Cut a 4½” x 4½” square and tape it lightly to the wrong side of the hoop. Do not press too hard or the hoop can come loose. Press the tape gently, flip the hoop right side up, and rub the felt into place.
- Finish stitching and trim. Stitch remaining steps (the machine will tack backing to front and stitch wings). Remove tape and pop the piece from the hoop. Using sharp scissors, cut around the outer shape. For a stable seat on the tea light trim the bottom slightly straight across so it sits flat.
- Insert tea light. Place the battery tea light inside and check glow. If it needs more translucency choose a lighter felt next time or punch small holes in darker felt designs to let more light through.
Step-by-step: Santa and Penguin (cutout technique)
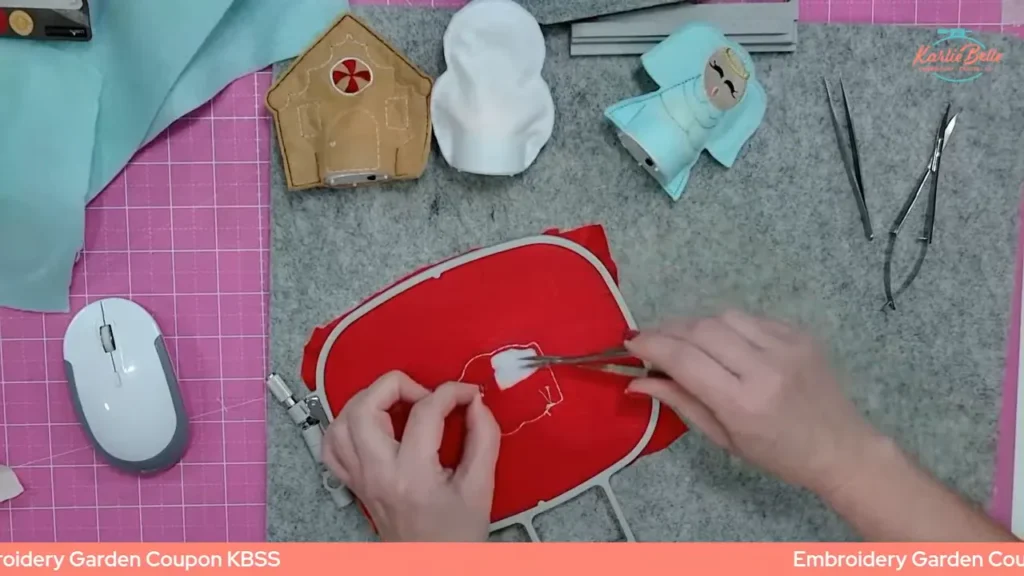
Santa and penguin require a white insert so the light shines through dark felt. The trick is to stitch the white piece into position while removing the dark felt behind it from the wrong side of the hoop.
- Hoop the dark felt only. Hoop red for Santa or black for the penguin.
- Place a 4×4 white felt square on top. Before you stitch step one, position a 4×4 white square centered over the area that will become beard or penguin belly.
- Stitch the white detail. Stitch the white design element that will become front-facing beard/belly.
- Trim the dark felt from the wrong side. Turn the hoop over and carefully poke through and cut away the dark felt where the white piece sits. Trim about 1/8″ from the stitch line to avoid cutting stitches. Use applique scissors for control and take your time; this exposes the white felt so light can shine through.
- Finish face details and secure backing. Stitch the remaining facial details. Before the final outline step add a full backing piece of felt on the wrong side and tape lightly. Stitch the final outline to attach the backing and create the tealight pocket.
Combining two designs in one hoop with Embrilliance Essentials
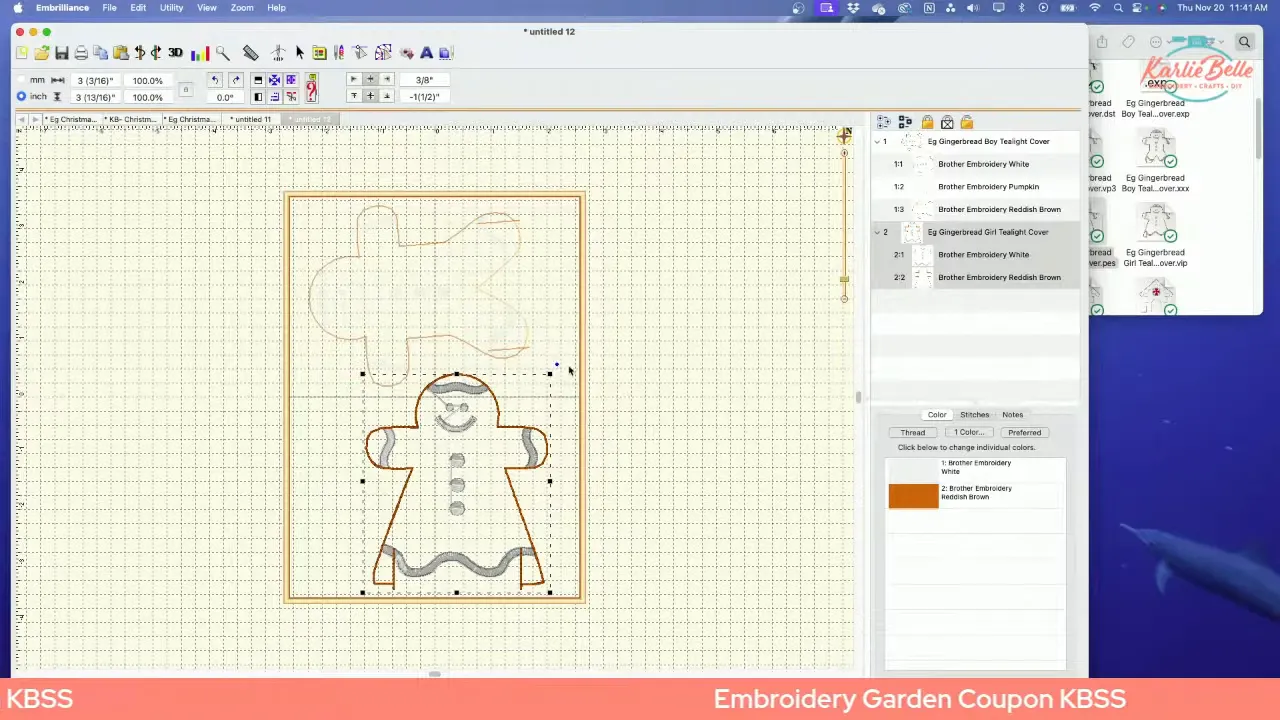
To save time and felt , you can merge two designs in Embrilliance and color sort so thread changes are minimized. I use this for two gingerbread characters in a 5×7 hoop.
- Open a 5×7 hoop in Embrilliance.
- Merge both designs onto the hoop. Move and rotate to fit, keeping at least 1/2″ between them for trimming.
- Check each design’s stitch steps. Confirm colors: for example white details first, then brown outlines, then the final securing outline.
- Use Utility → Color Sort → New View. This rearranges steps so identical thread colors stitch once for both designs.
- Save the merged file and stitch it from your USB. Hoop a single piece of felt to fill the 5×7 and follow prompts to add backings at the correct step.
Finishing tips and troubleshooting
- Prevent bobbin nests: Before the first stitch of a final step hold the top thread under the presser foot, lower the needle, hand-rotate or use needle down/up to pull a small bit of bobbin thread to the top, then start stitching. Hold both tails to the side and trim after the first few stitches.
- Metallic threads: Use a thread stand and slow machine speed to about 500 if your machine permits. That reduces breaks and skips.
- Tape and hoop pressure: Use low-tack tape and press lightly when securing the backing felt. If you have a hoop pressing pad you can apply more pressure when securing the backing without popping the hoop.
- Trim allowance: When trimming exposed areas (like Santa beard cutout) leave about 1/8″ from the stitch line to avoid cutting stitches.
- Battery safety: Remove or switch off tea lights when not in use to save batteries.
Project ideas and personalization
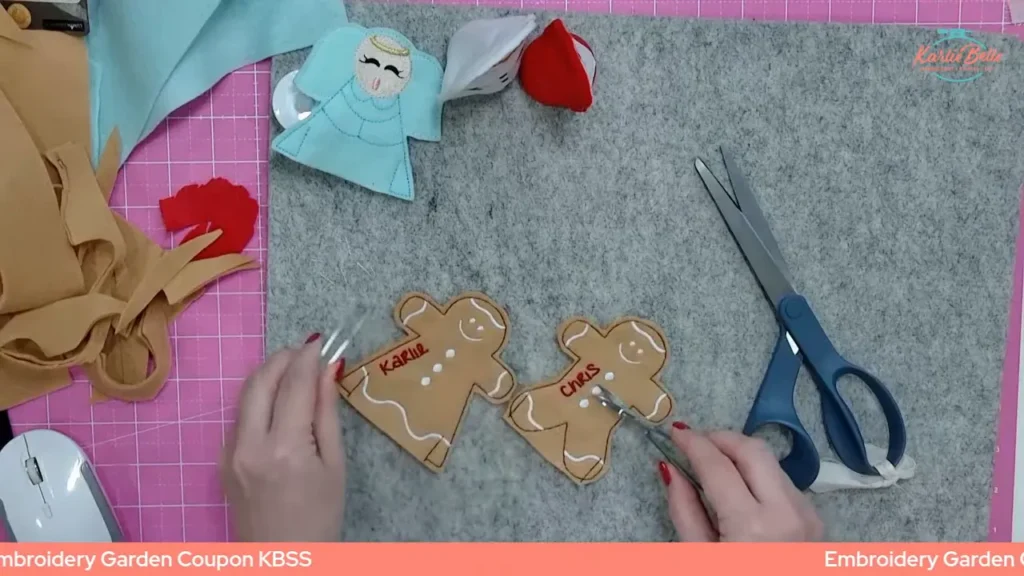
These tea light covers make simple decor or gifts. For personalization:
- Add names with on-machine fonts or by adding text in Embrilliance. Place names before final outline step so you can stitch the name and then attach the backing.
- Add a small glued bow or a tiny button after stitching to avoid bulk during hooping.
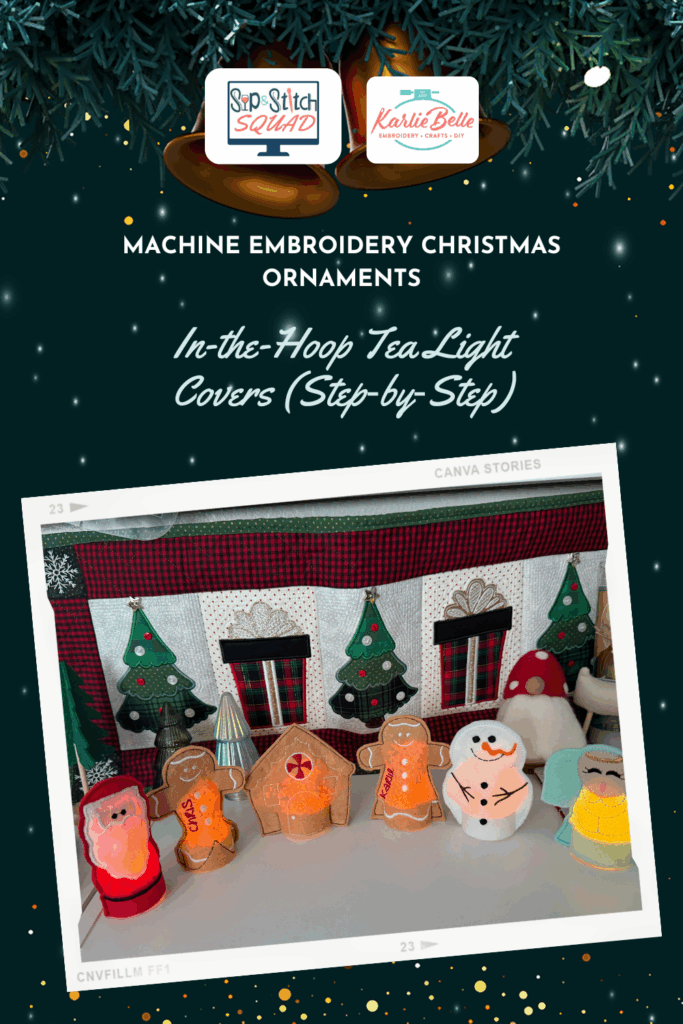
- Create a set of characters—Santa, angel, gingerbread people—and display them on a small tray or mantel.
PIN IT
FAQ
Do I need stabilizer for these tea light covers?
No. These designs are stitched directly on felt with no stabilizer. Felt provides enough stability for the stitches.
What felt sizes do I need?
Hoop the main piece to fill your hoop. Cut a 4½” x 4½” backing square for each 4×4 design. For penguin and Santa place a 4×4 white insert when prompted.
Can I do these on any single-needle machine?
Yes. Each design fits a 4×4 hoop so most single-needle machines will work. Use a 5×7 hoop to run two designs at once if you want.
How do I make the light show better through dark felt?
For dark felt designs use a white insert behind the area you want lit (Santa beard, penguin belly) and trim away the dark felt from the wrong side to expose the white. For trees or dark elements consider punching small holes in the front to create “lights.”
What’s the best way to finish jump threads?
Use sharp applique snips to cut jump stitches, a thread burner to singe tails, or small amounts of fray check or fabric glue if you prefer. Tweezers help hold tiny thread tails during trimming.
If you try these, please post photos on your crafting page so others can see variations and color choices. Making a few of these is a fast way to assemble a small, giftable holiday set and practice different finishing tricks that will carry over to other machine embroidery christmas ornaments.
Thank you for stopping by