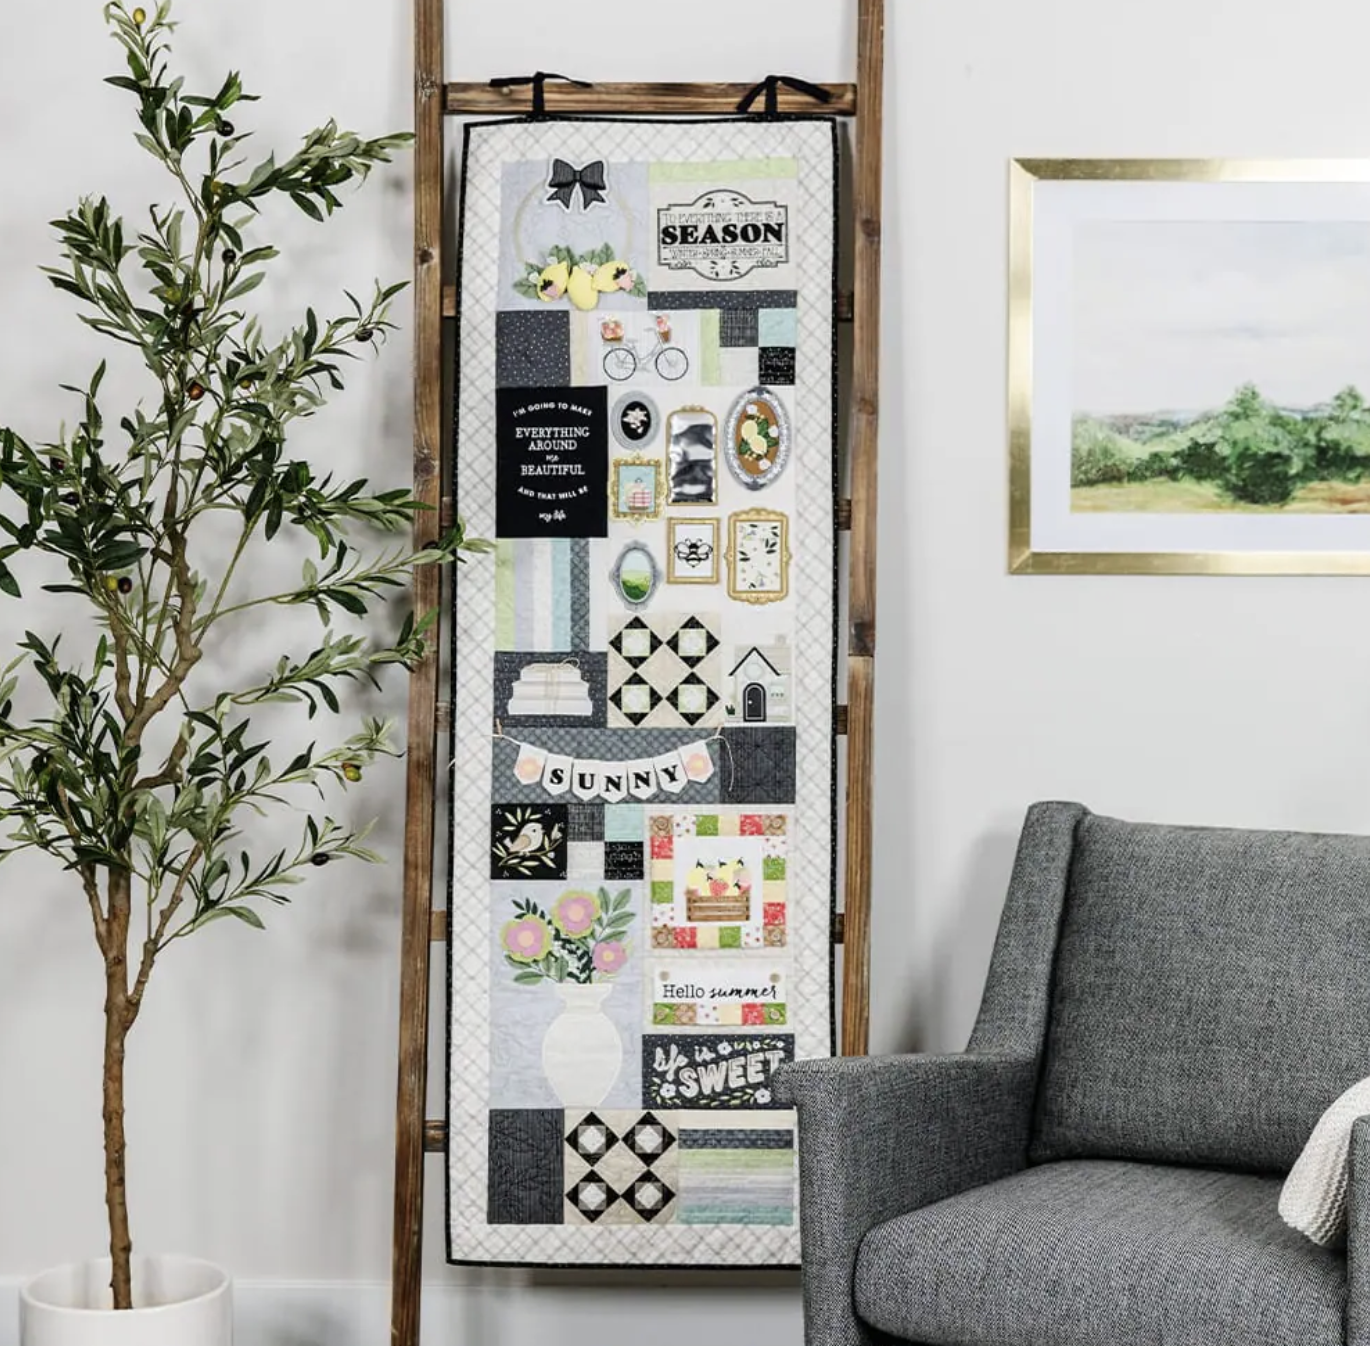
I am so excited to kick off another sew-along, and this time we are making the Kimberbell Quilting Through the Seasons Ladder Quilt!
What I love most about this project is that it isn’t just a quilt for one particular holiday or season. The ladder quilt itself creates a beautiful backdrop that can stay up all year long, and then we get to change the look of it throughout the year with adorable in-the-hoop seasonal embellishments!
There are sets of embellishment designs for all four seasons—spring, summer, fall, and winter—and they can easily be added to the finished quilt. That means we can stitch one quilt and then completely change its look throughout the year without having to make four separate projects. I absolutely love that idea, and I think this is going to be such a fun project to display in our homes!
We will start stitching together Monday, August 17th at 10 a.m. cst and continue every Monday and Thursday until we finish the quilt. As always, you can join me live or catch up whenever it works for you with the video replays.
Below you will find everything you need for the sew-along, including the complete class schedule, links to all of the supplies I’ll be using, and links to each video replay as they are added.
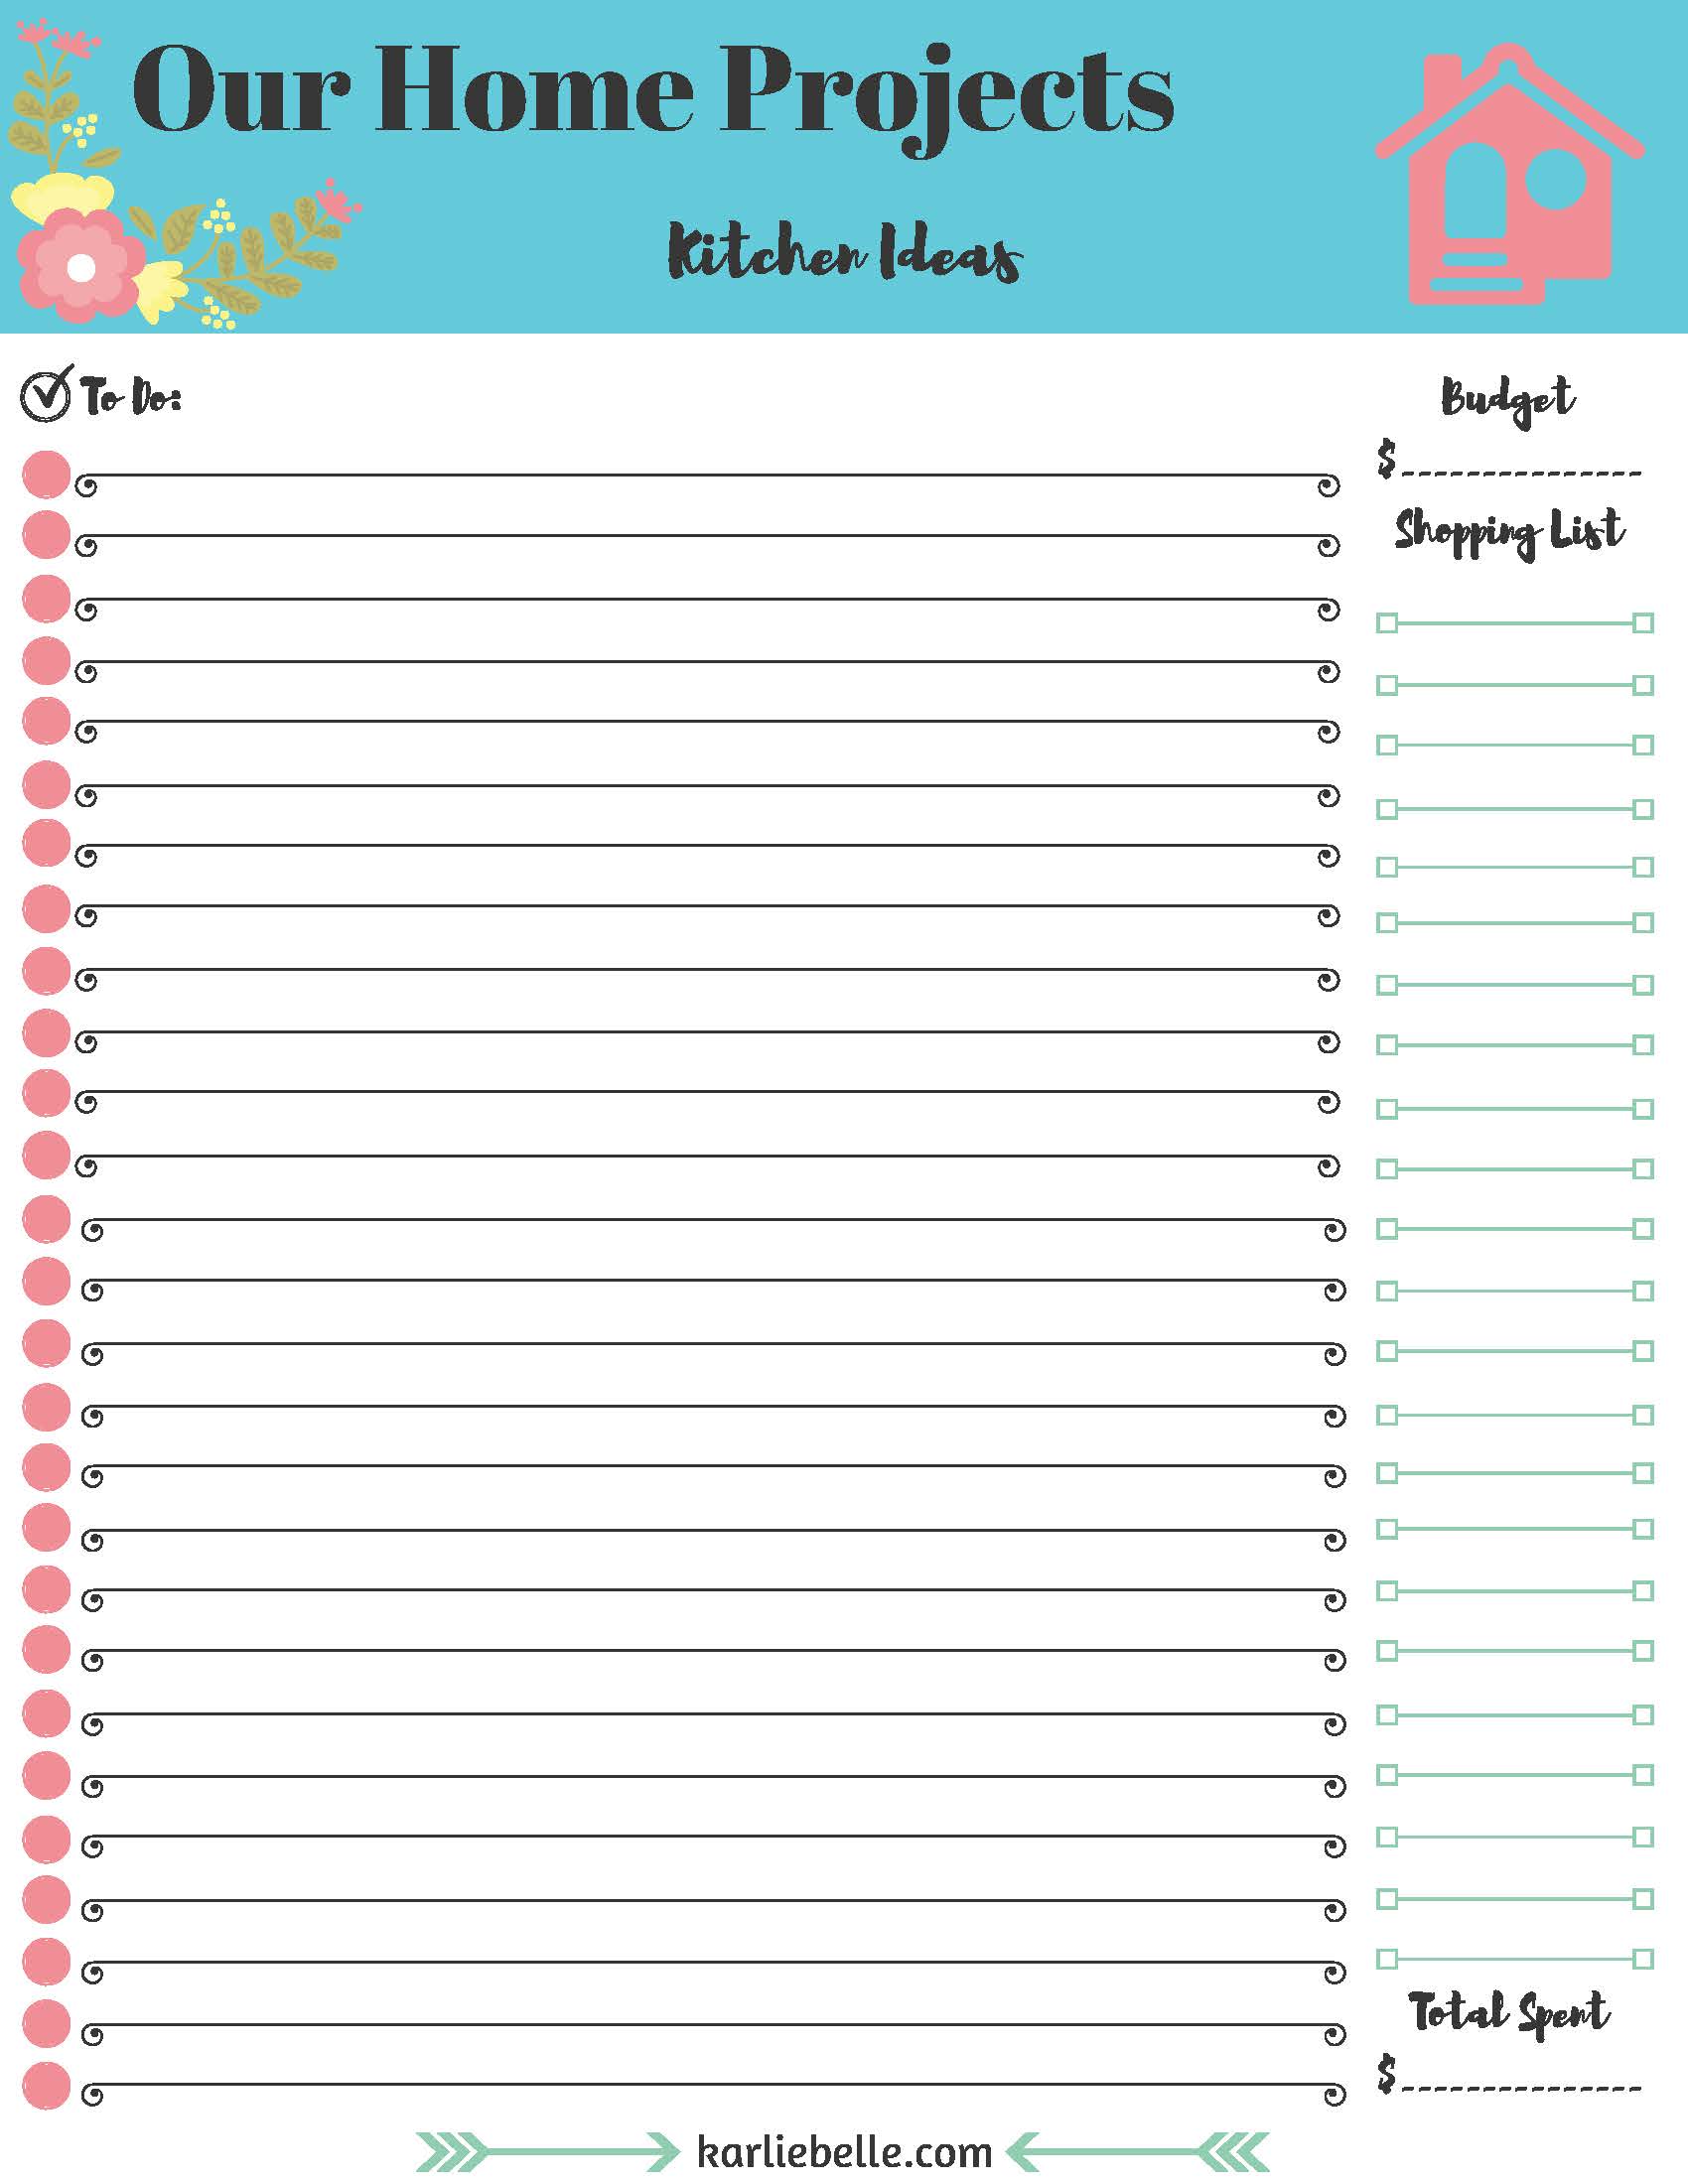
And of course, I’ve also created another FREE downloadable organizational cheat sheet to help us keep track of all of our fabric, designs, blocks, and supplies along the way. ✨
Whether you are stitching right along with me or watching the replays later, I am so excited to make this one with you. I think having a beautiful quilt that we can enjoy—and change—for every season of the year is going to make this project extra special!
Video Class Schedule
All of the tutorials for this project will be LIVE on both my YouTube and Facebook pages. They will also be recorded and uploaded to YouTube so that you can watch the replay anytime. I am starting this project August 17th, 2026 and I have a goal to complete it by Nov. 6th. I will be going live every Monday and Thursday with the exception of Labor Day and Columbus Day.
Each video should be around 2-3 hours long, depending on what we are trying to complete that class. Then we will also have classes on how to make borders, piece the quilt together, add backing, and finish with binding.
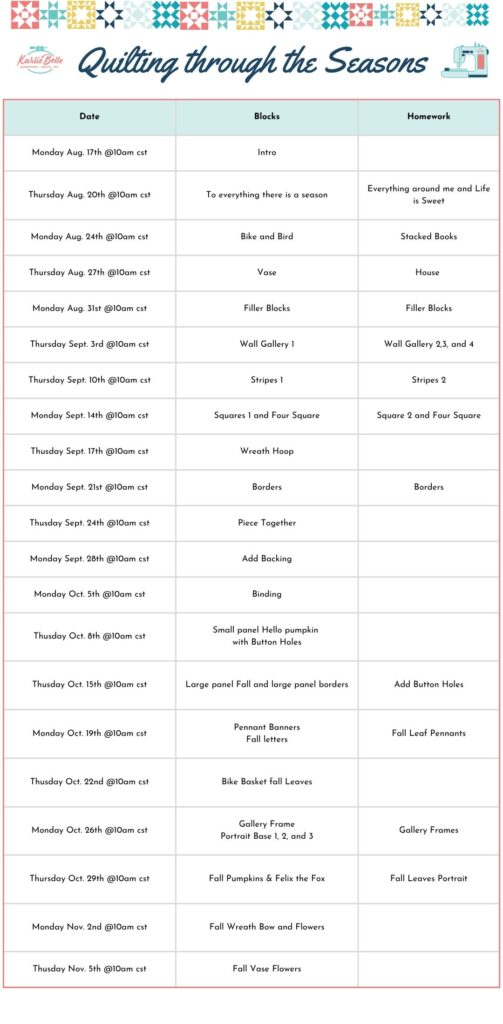
1- Introduction, Gather supplies & Prep work
2- To Everything there is a season
4- Vase (CBT & Split Design)
6- Wall Gallery
8- Squares & 4 Square
10- Borders
12- Backing
14- Small Panel
3- Bike & Bird
5- Filler Blocks
7- Stripes Block
9- Wreath
11- Piece Together
13- Binding
You can find all of the videos for this sew along in this video playlist.
Gather Supplies
As with all Kimberbell projects, the designs, background quilting, embellishments, and fabric can add up very quickly. However, there are times when things do go on sale and you can get a good deal. For example, I got the embroidery designs, background quilting bundle, quilt batting, and embellishment kit for Candy Corn Quilt Shoppe for only $99 on Kimberbell’s Deal of the Week. Every week, they release new deals and sometimes they are really good. This is also how I got Oh Sew Delightful and Main Street Celebrations. So just keep an eye on it and check every week. They change deals every Monday after 10am mountain time.
Below are all of the supplies I am using for this project. Some things can be found on Kimberbell’s website, but if you have a local quilt shop that sells Kimberbell, go and see what they have. You can also find some Kimberbell things on Amazon and Etsy and I will link them for you below.
Kits you can Purchase
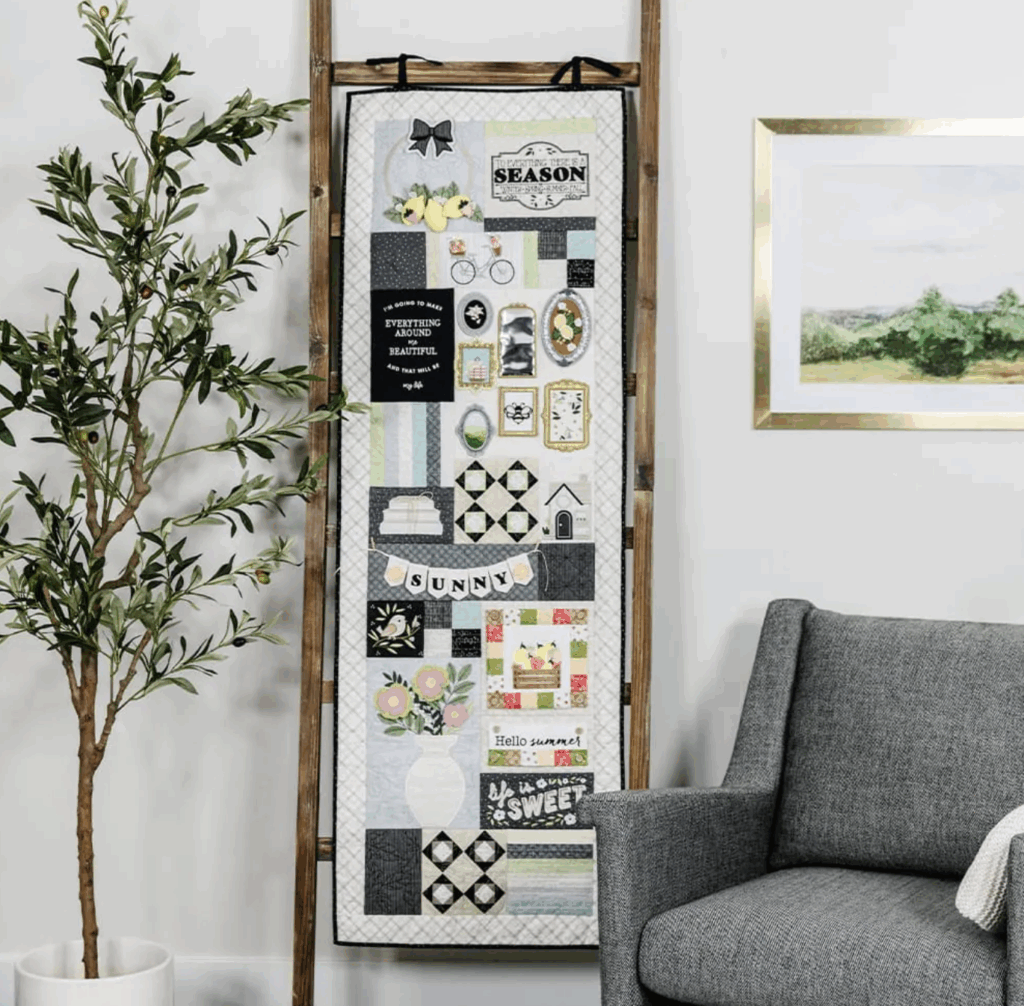
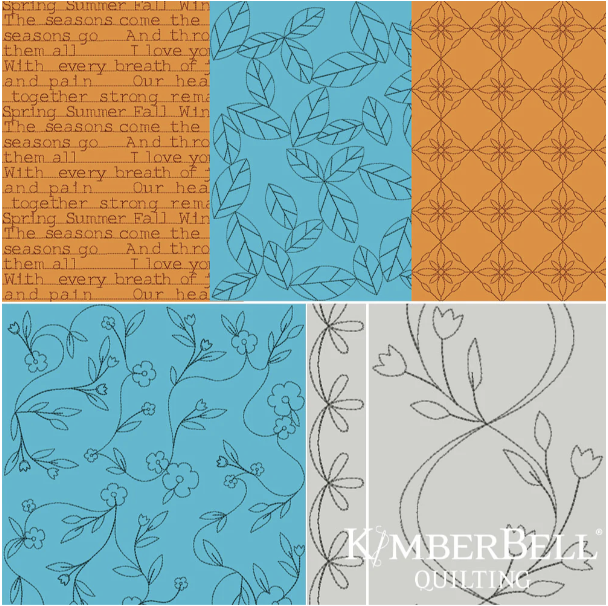
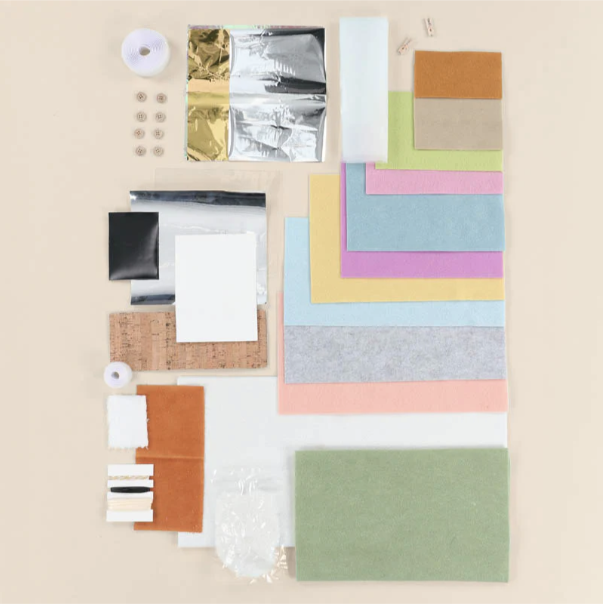
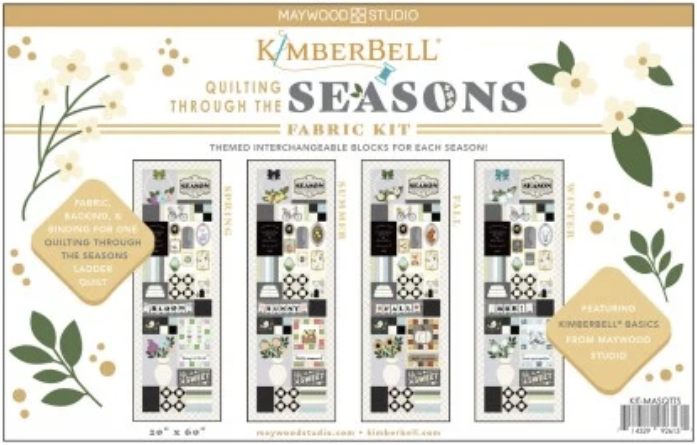
The Quilting Through the Seasons embroidery design set, background quilting, embellishment kit, and fabric kit can be purchased to help make this project easier and faster. The embroidery design set is the one main thing you will need in order to make this quilt, the other kits are optional but great to have!
- Quilting Through the Seasons Ladder Quilt Embroidery Designs
- Quilting Through the Seasons Background Quilting designs
- Embrilliance Essentials
- I love to combine my background quilting and block design before sending it to my machine, so I use software to do this on my computer
- If you would like to stitch multiple blocks at one time, Embrilliance makes that process a lot easier
- You can also merge the background quilting and block designs on your machine if you would like
- Quilting Through the Seasons Embellishment Kit
- Stabilizer
- Kimberbell recommends poly mesh no show however, I have seen lots of people use a lightweight muslin instead and this helps lower cost
- Quilt Batting
- Quilting Through the Seasons Fabric Kit
- This is optional if you would like to use the same fabric that is in the picture
- You can use fabric you already have to help lower cost (this is what I am doing)
- You can also change the color scheme which can be fun choosing you own fabrics
- The kit contains 16 different patterned fabric in a variety of colors
- Pellon SF101 or Kimberbell Fusible Backing
- Heat n Bond Lite
- Spray Adhesive
- Kimberbell Paper Tape
- Water Soluble Thread
- this can be use to stitch the basting stitch for each quilt block and allow for easy removal before trimming
- Invisible Thread
- I use this for stitch in the ditch, but since this is a pillow case, I’m not sure if I will be using this for this project
- Kingstar Metallic Thread– optional
- Orange Pop Rulers
- Square
- Rectangle
- These are optional, you can also use regular quilting ruler
- Rotary Blade
- Cutting mat
- Rotating Cutting Mat
- Mini Iron
- Wool Ironing Mat
- My Iron Bonash Protector
- Quilt Clapper
- Embroidery Paper Tape
- Clover Stiletto
- Applique Snips
- Kimberbell Scissors Set
- Clear Blue Tiles (these are helpful if you have a small hoop and need to add background quilting to a large block or entire quilt)
- Kimberbell Tote Bag (this was my birthday present to myself 🥳)
- Optional- Folders I will be using to organize all of supplies for each block
- Prewound Bobbins
Machines and Hoop Sizes

For this project, I will be using my Brother Stellaire XJ2 which is an embroidery and sewing combo machine. It also has a large hoop size of 9.5×14 inches which will come in handy for this project. However, to complete this project, all you need is a 5×7 hoop. All of the blocks for this project fit in a 6×10 hoop, but they do have options to split the blocks into 2 designs so that they can also be done in a 5×7 hoop and have special instructions. If you are doing background quilting, then the overall size is actually too big to fit in a 6×10 hoop. I have a solution for this by deleting the background fabric tack down steps, but it you have a bigger hoop like a 7×11, 8×12, or 9.5×9.5 then you will have no issues. If you only have a 5×7 hoop, you will have to do your background quilting in multiple hoopings using Clear Blue Tiles or print outs of the quilting design.
A sewing machine will also be required in order to piece everything together. Some things that will be nice to have with your sewing machine is a walking foot, 1/4 inch foot, and stitch in the ditch foot. With my Stellaire I have what they call a dual feed foot, which is like a fancy walking foot. Recently I had a friend tell me that they offer attachments for this foot to also have a 1/4 inch seam and a stitch in the ditch. I purchased them both and will be excited to use them for the first time when making this project.
In the Market for a New Machine?
Remember that if you are ever considering upgrading to a new machine, call my friend Jean at Sewing Machines Plus. She will help you to get the best deal and financing! You can either call her directly at 800-401-8151 Ext: 139 or email her at [email protected]. Please be sure to tell her Karlie Belle referred you and ask her to use my discount on any accessories you may get. *Jean is the only sales person at Sewing Machines Plus that can take my referrals. I greatly appreciate you purchasing anything from SMP through Jean as it helps to fund my channel and allow me to keep creating free content for you all ☺️!
Thread Colors
There is a thread kit that you can buy that is specific for this project and contains Glide thread. However I will be just be using colors I already have. Below is a picture of what they recommend so that you can go ahead and make yourself a color pallet and be ready when its time to stitch.
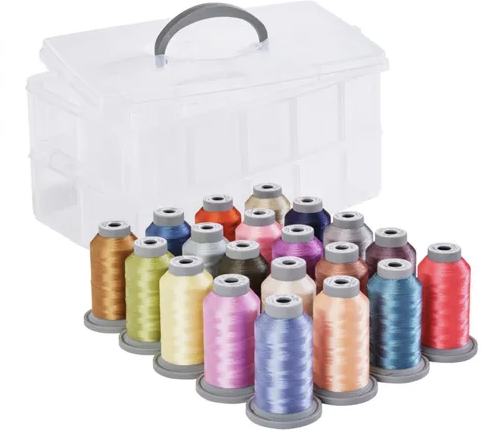
Here are the Glide thread colors/ numbers used
- Pink Lemonade 70217
- Taffy 71775
- Sunkissed Peach 70984
- Burnt Orange 51675
- Lemon Ice 80607
- Celery 60580
- Mossy 65743
- Cool Mint 65513
- Tidewater 65483
- Graphite 30644
- Oxford 35415
- Denim 30534
- Periwinkle 42562
- Mulberry 40528
- Linen 10WG1
- Cashmere 17527
- Vegas Gold 20872
- Coffee 27504
- Coin 10429
- Lead Grey 1CG11
Here is a thread conversion website that I used to figure out what these same colors are in my Exquisite brand thread. You can use this tool to convert the Glide thread into any other brand as well 😁.
FREE PDF Organizational Chart
To try and help keep us all organized, I have created a Free Organizational Chart for you to download. It contains all of the info you need for each block along with a batting cutting cheat sheet. Just complete the form below to get the chart emailed directly to you. Signing up for this chart will also put you on the email list to get notified every time we have a new class and details on what we will cover.
I’m so excited for this project and can’t wait to get started! Our first video will be all about how to prep everything ahead of time. We will be going through all of the fabric, adding interfacing, making all of our cuts, and organizing each block into envelops/ bags. This process may be a little bit tedious but I know it will set us up for success and allow us to finish this quilt quickly!
You can find all of the videos for this sew along in this video playlist.
I look forward to seeing in at the sew along. For YouTube, remember to be signed in so that you can chat with me during the live!
Thanks again for all of your support!

This post contains affiliate links and I will receive a small commission if you make a purchase after clicking on my link. All opinions are my own and I only promote products that I use and love.