
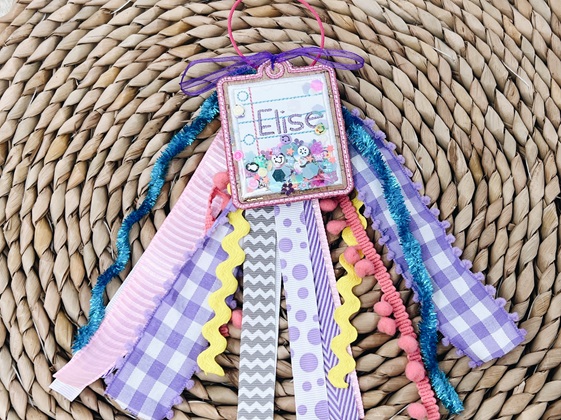
A machine embroidered name tag makes the perfect base for today’s fun project: a confetti shaker bag tag you can personalize for backpacks, sports gear, or teacher gifts. Using Embrilliance Essentials, I’ll show you how to turn a simple bag tag into a shaker, stitch clear vinyl that holds glitter and clay confetti, and finish it off with a playful ribbon bundle. I made one with blue ribbon and another with purple and gold so two kids could have matching tags in different colors.
Gathering Your Supplies
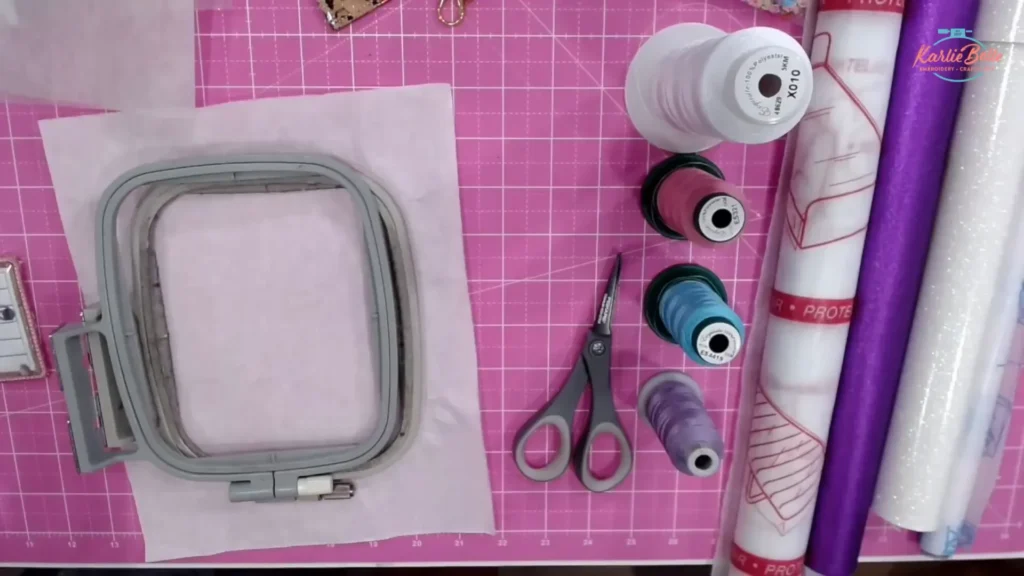
Before we jump into the stitching, it’s important to have all your supplies ready. For this project, you’ll need:
- Bag Tag Designs from Applique Alley
- Embrilliance Essentials
- Faux Leather/ Embroidery Vinyl
- Options on Amazon
- Sweet n Sassy Blanks
- GlitterBug Fairy
- MyPunkbroidery (promo vinyl is great)
- Clear Vinyl 16 or 20 gauge
- Clay Slices Confetti
- Chunky Glitter/ Plastic Confetti
- Tear Away Stabilizer Use coupon code “karliebelle” to save 10%
- Applique Scissors Use coupon code “karliebelle” to save 10%
- Organ 75/11 BP Needles Use coupon code “karliebelle” to save 10%
- Precision Tweezers Use coupon code “karliebelle” to save 10%
- Embroidery Thread Use coupon code “karliebelle” to save 10%
- Pre-wound Bobbin
- Clover Stiletto Use coupon code “karliebelle” to save 10%
- Kimberbell Paper Tape
- 8-10 Strands of Ribbon (length varying from 15-20 inches)
- Small Zip Tie
- Metal Luggage Loop
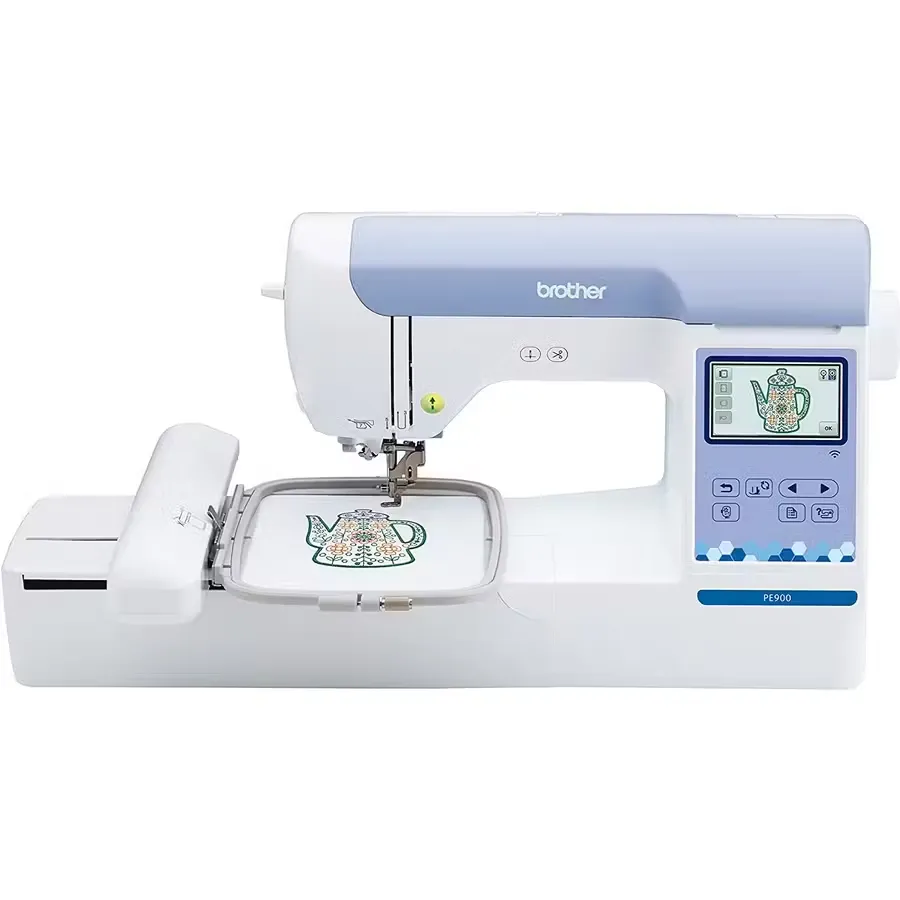
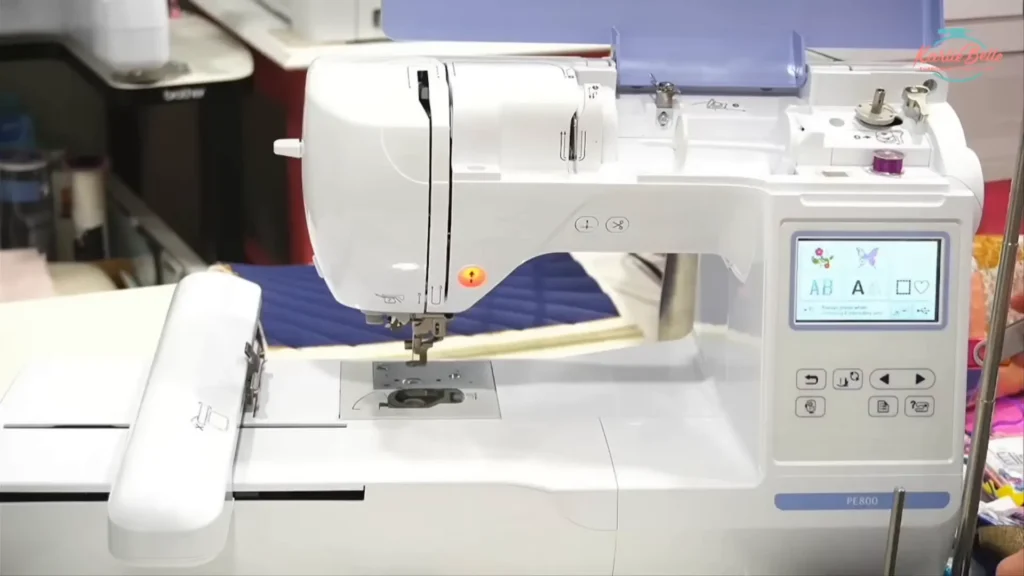
Brother PE900
Great beginner embroidery machine with 5×7 hoop, cuts jump stitches, wifi enabled, and stitches at speed of 600 spm
Featured machine
Why make a shaker machine embroidered name tag design?
I like shaker bag tags because they are lightweight, durable, and eye-catching. You can make them small enough to fit in a 4×4 hoop or larger if you have a 5×7 or bigger hoop. Sizes commonly available from bag tag designs are 3 inches up to 7 inches. A 3-inch tag fits neatly in a 4×4 hoop. The shaker effect is a clear vinyl pocket filled with chunky glitter and little clay slices that move when the tag moves.
Creative uses:
- Backpack ID for school kids.
- Sports bag tags with themed clay slices (footballs, baseballs).
- Teacher gifts with school colors and initials.
- Small luggage tags for travel.
- Party favors or name tags for events.
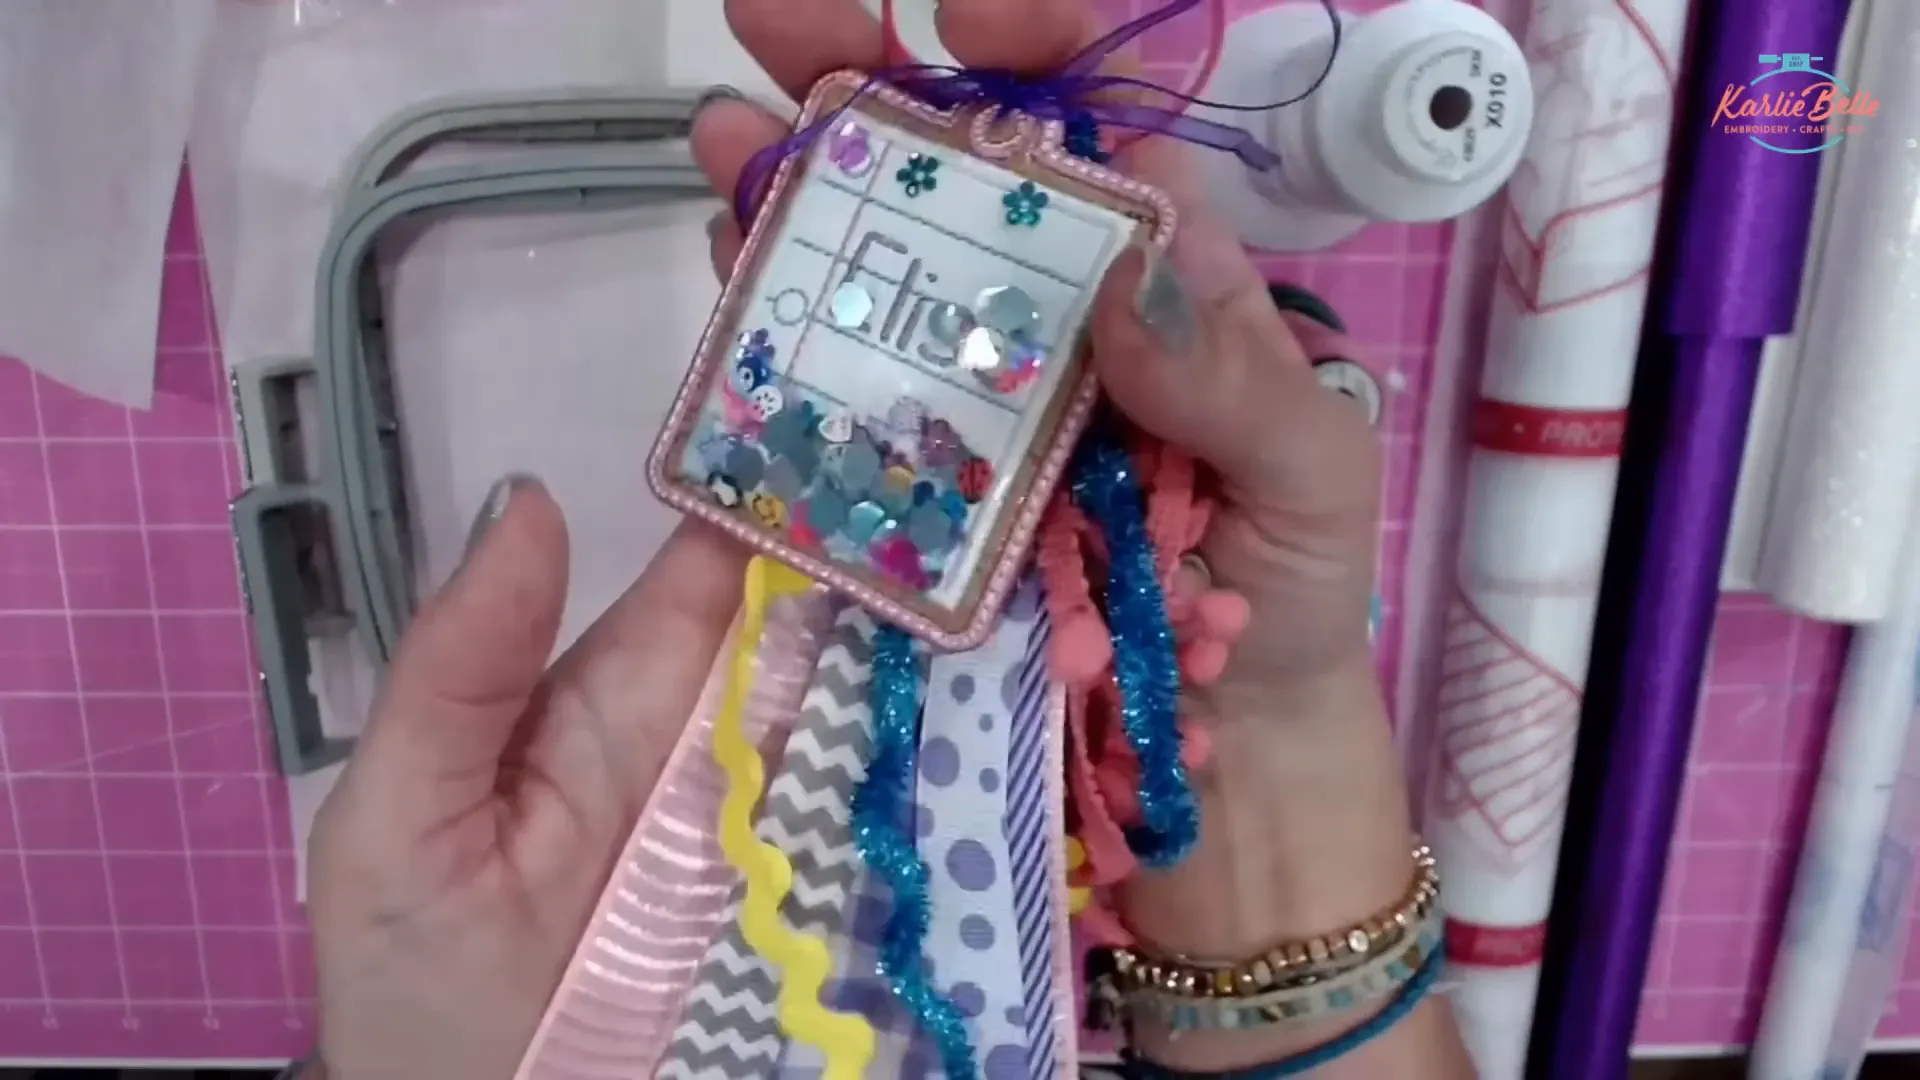
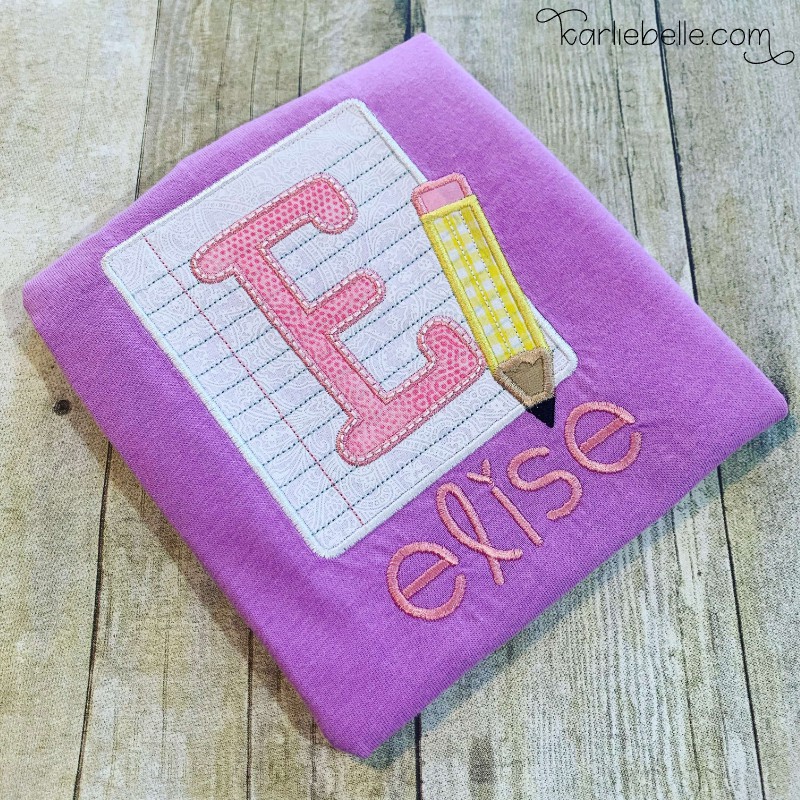
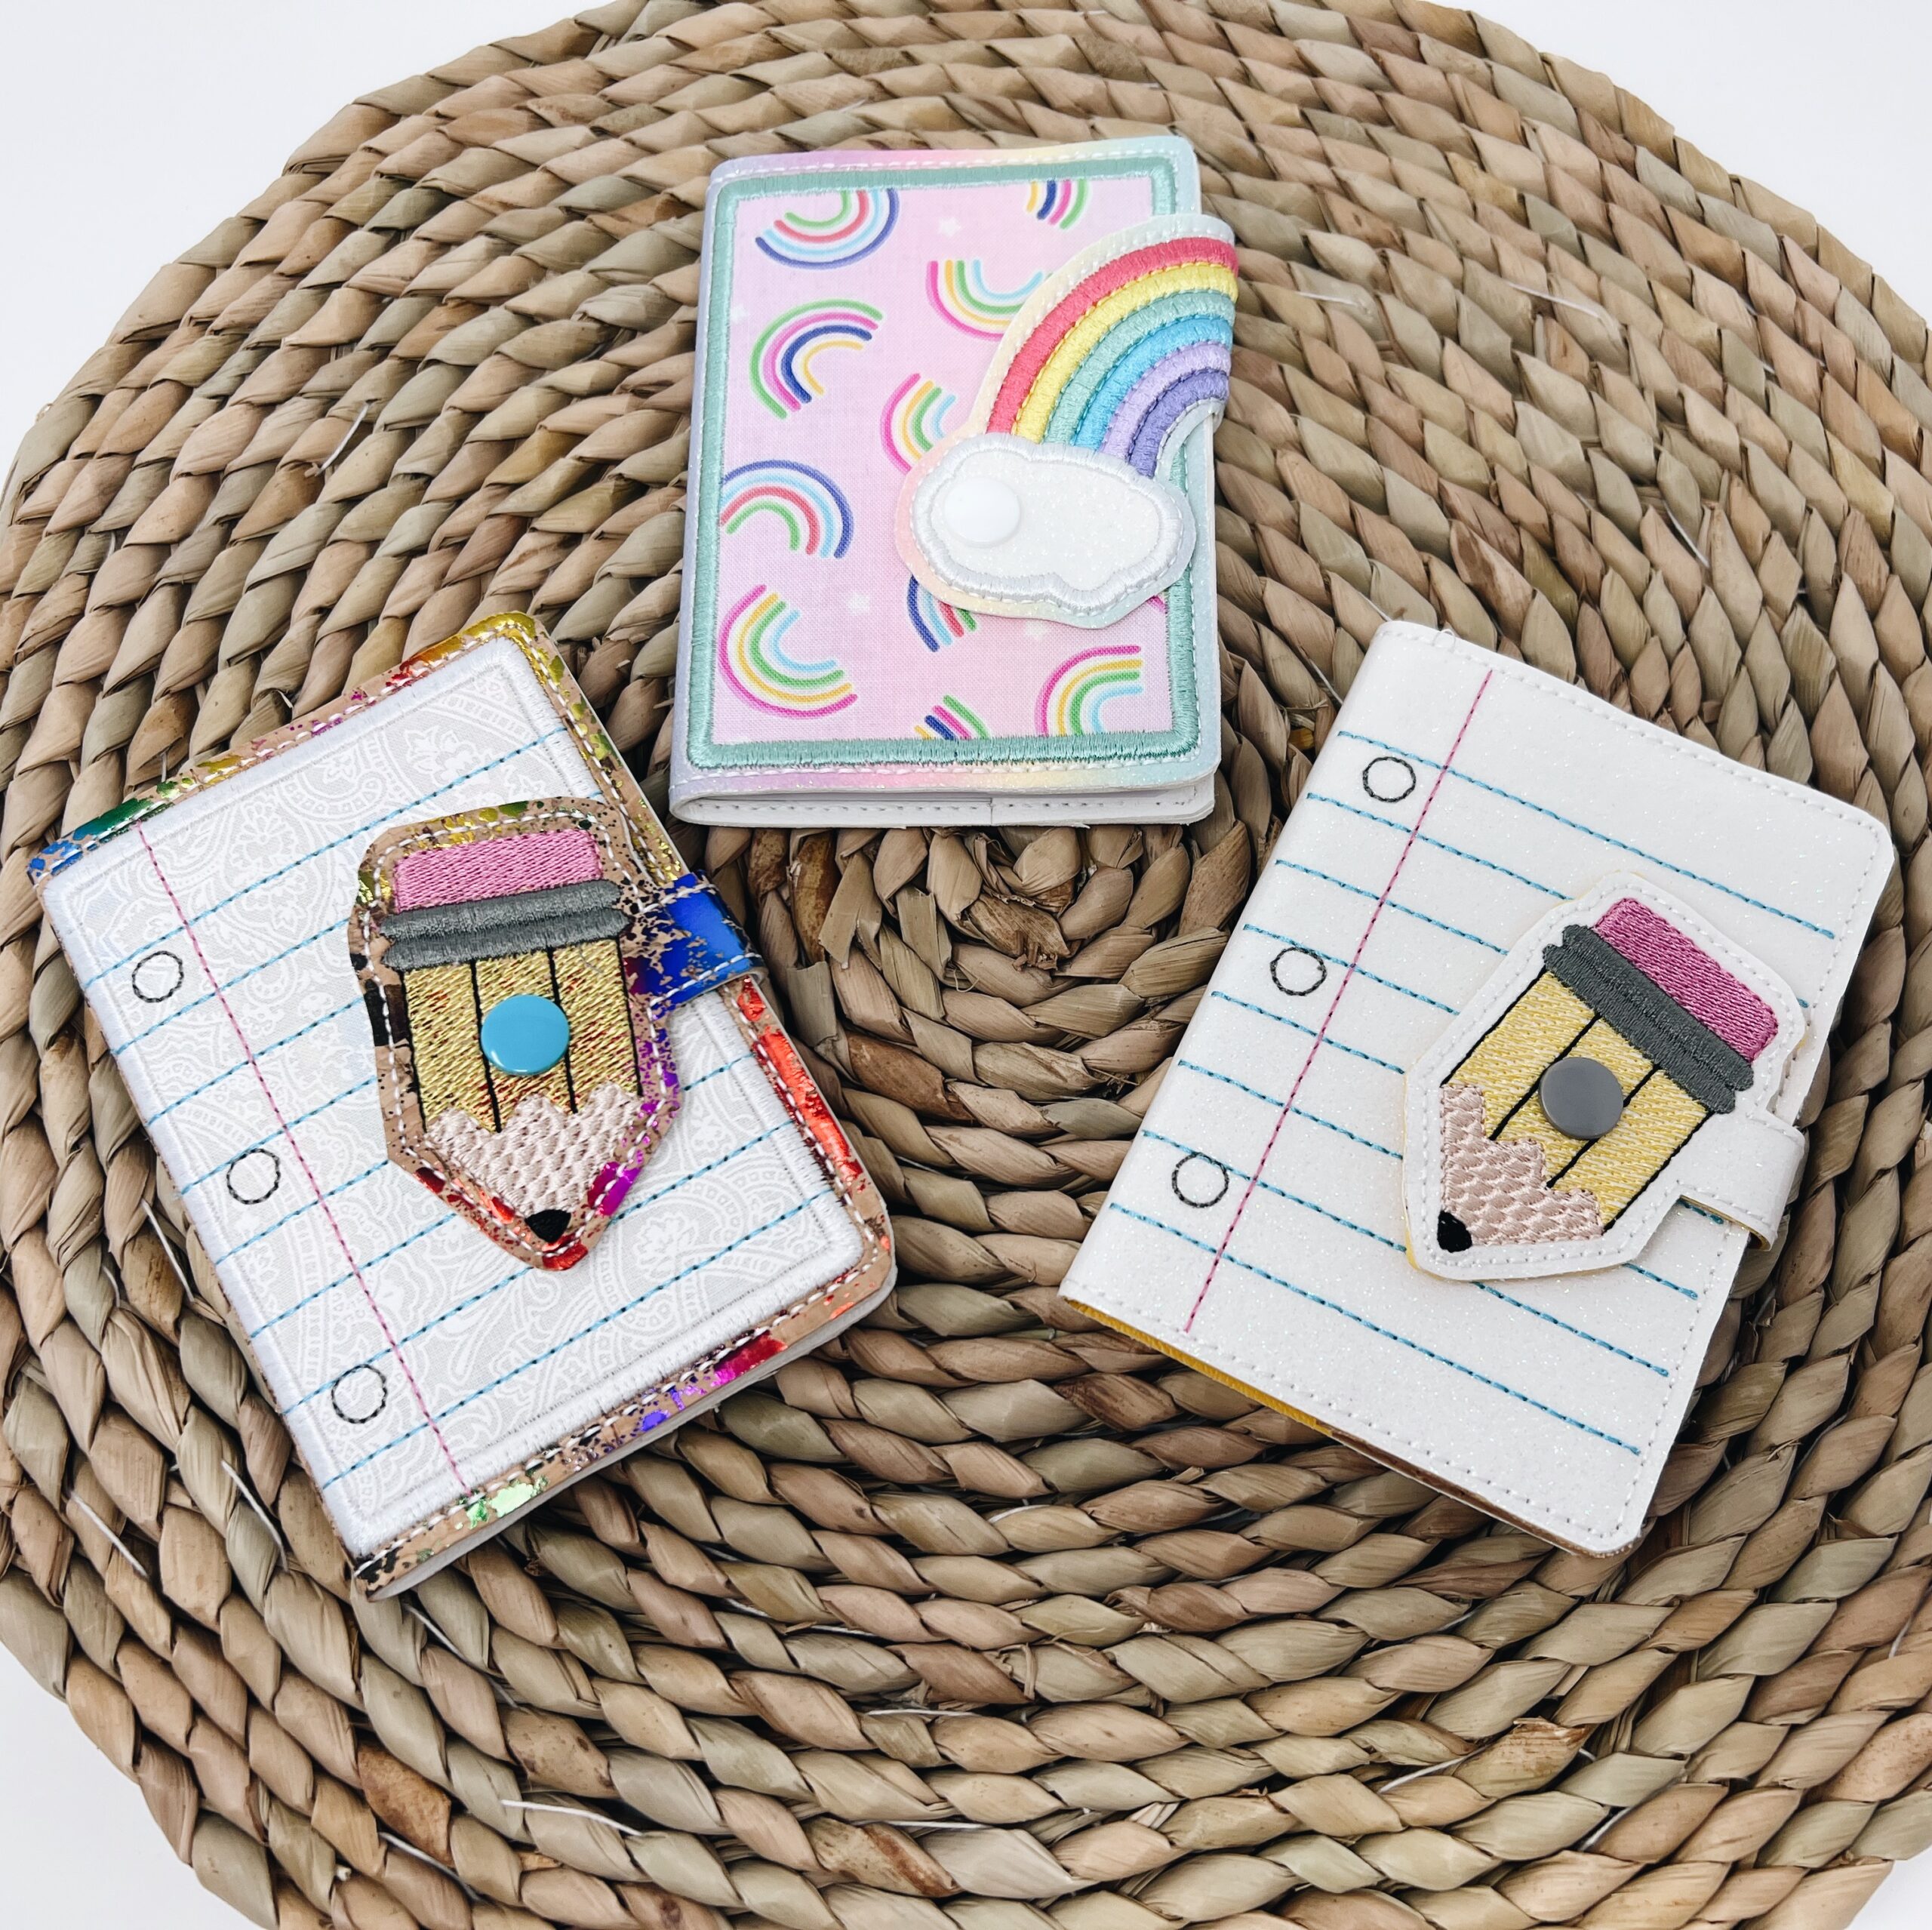
Today I am making a matching notebook paper tag for Elise’s friend Kelsey. I also made cheer tags for friends, one in blue and white and another in purple and gold. The size choices and ribbon colors make them personal and useful.
Step 1 — Decide size and hooping details
When making your Machine Embroidered Name Tag, pick the tag size from the design package. If you choose the 3-inch tag, it will fit in a standard 4×4 hoop. The 4-inch and larger tags may require a 5×7 hoop. I recommend planning your ribbon length based on tag size—for a 3-inch tag I used 14-inch ribbon strands, while for larger tags you may prefer 18–20 inches.
Hooping measurements and tips:
- Use tear-away stabilizer cut larger than your hoop so the hoop grabs it tightly. Hoop only the stabilizer — no fabric at this stage.
- Make sure stabilizer is flat and tight in hoop to avoid puckering. The ring should be flush, and when you flex the stabilizer it should not wiggle.
Step 2 — Prepare and modify the design in Embrilliance Essentials
Open your design file in Embrilliance Essentials. I save the PES file for Brother machines. Here are the steps I follow inside the program to convert a normal bag tag into a shaker bag tag.
- Open the correct file size (3-inch file for 4×4 hoop). In Embrilliance set the hoop to match the machine hoop so you can see proper placement.
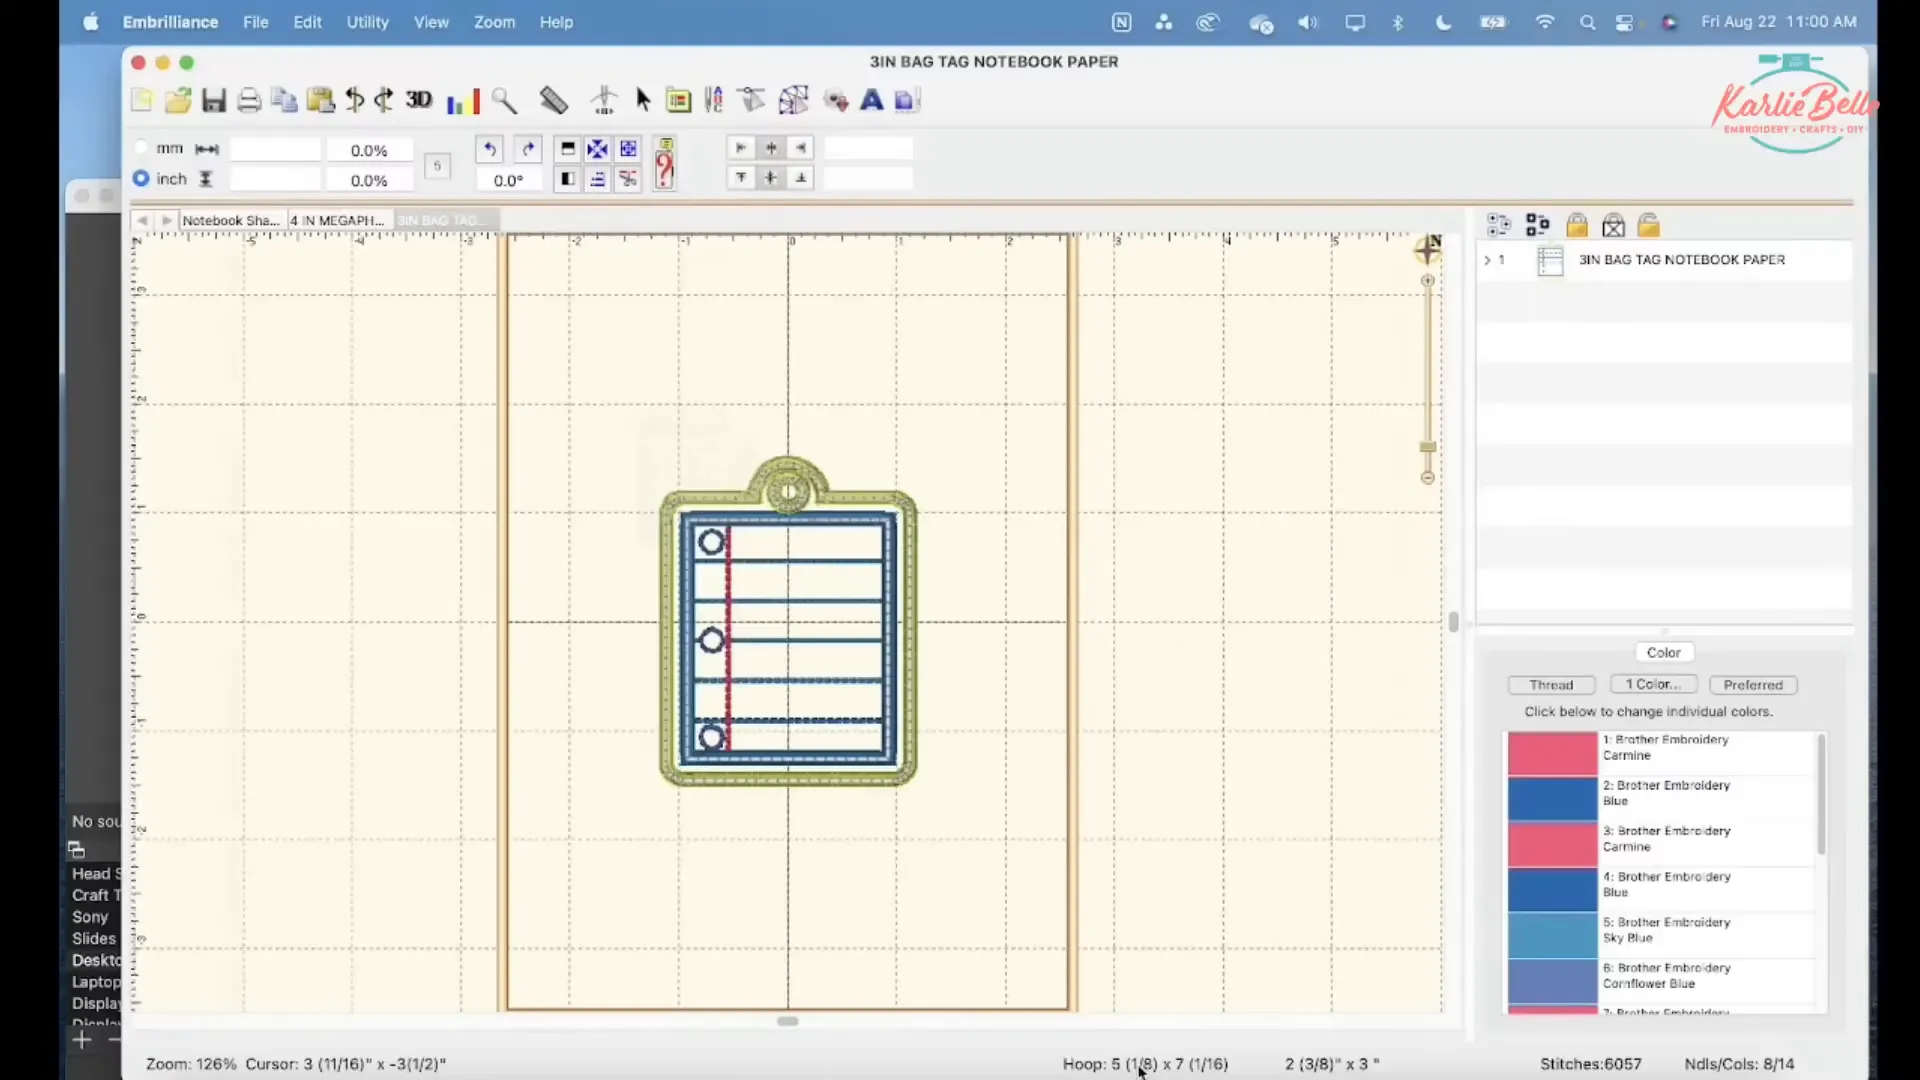
- Expand the object panel so you can see each stitch step. The design will show placement stitches, tack downs, applique pieces, lines, and final satin stitches.
- Identify the outline step that adds the back piece. This step is usually a simple outline that attaches the back vinyl or material.
- Duplicate that outline step. We will use one duplicate to add the clear vinyl and one to add the back piece. After duplicating, drag the duplicate so it sits just before the final satin stitch layer. Change the color of one of those outline steps so your single-needle machine stops between them. The machine will not stop if both are the same color.
- Create a color stop to make it easier to add confetti later: Open the Stitch Simulator, drag the slider to the start of the outline where you want to stop to pour confetti, and press the stop button. Pick a different color so the step appears separately in the object panel. This makes the clear vinyl step two parts: tack down three sides, stop and add confetti, then stitch the final side.
- Adjust satin stitch density: Select the final satin outline step (or the heavy satin that will go over clear vinyl). Go to the Stitches options and reduce density. I reduce it 20% (set density to around 20% reduction) to prevent the satin from perforating the clear vinyl. If the design shop has updated files you may not need to do this, but it is a reliable fix for older or dense files.
- Add personalization: Use the lettering tool to add a name. Place the name on top of the lines of the notebook design. Move the name step to be stitched before any of the steps that add the clear vinyl or the back so the embroidery does not show on the back side of the tag. Typically put the name right after the lines on the paper and before the confetti clear vinyl step.
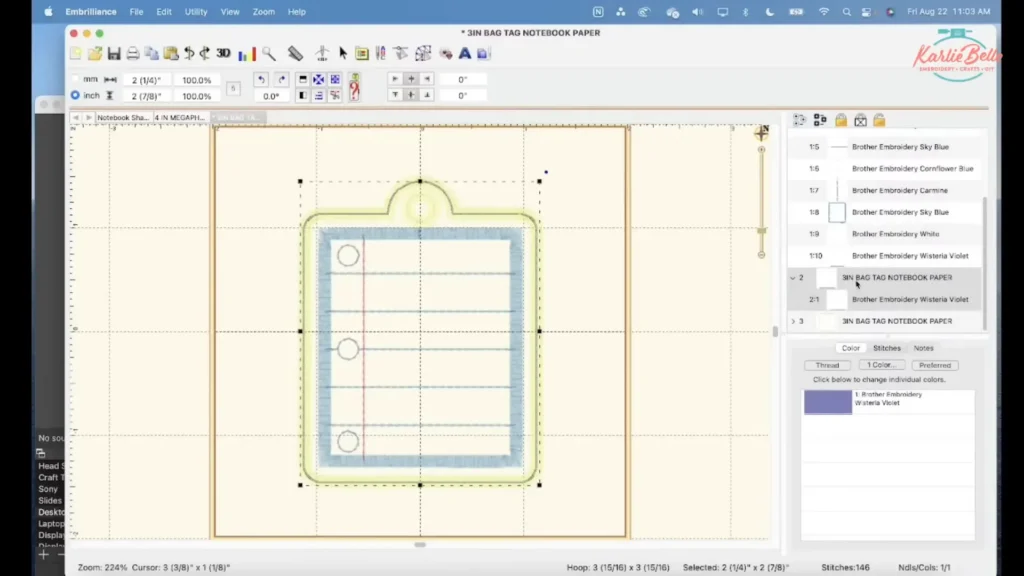
Tip: Always use the Stitch Simulator view to watch the order. When you have the last three steps as: (1) tack down clear vinyl as a short color stop, (2) tack down back piece, and (3) final satin stitch, you’re set for the shaker.
Step 3 — Save the file and transfer to your embroidery machine
Once you’ve finished creating your Machine Embroidered Name Tag, save the edited design in the stitch format your machine uses. For Brother machines, save as PES. Use File > Save Stitch File As and choose the USB drive. Then safely eject the USB and insert it into your embroidery machine.
On the machine:
- Load the design from USB and select the right size.
- If your machine asks, trace the design on the hoop to confirm placement. This helps if the machine cannot detect hoop size automatically.
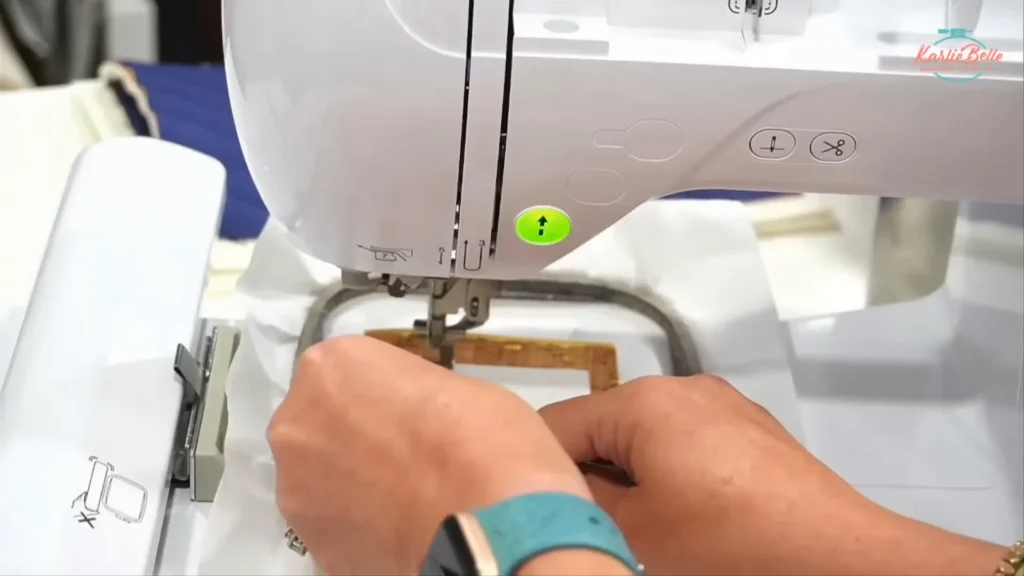
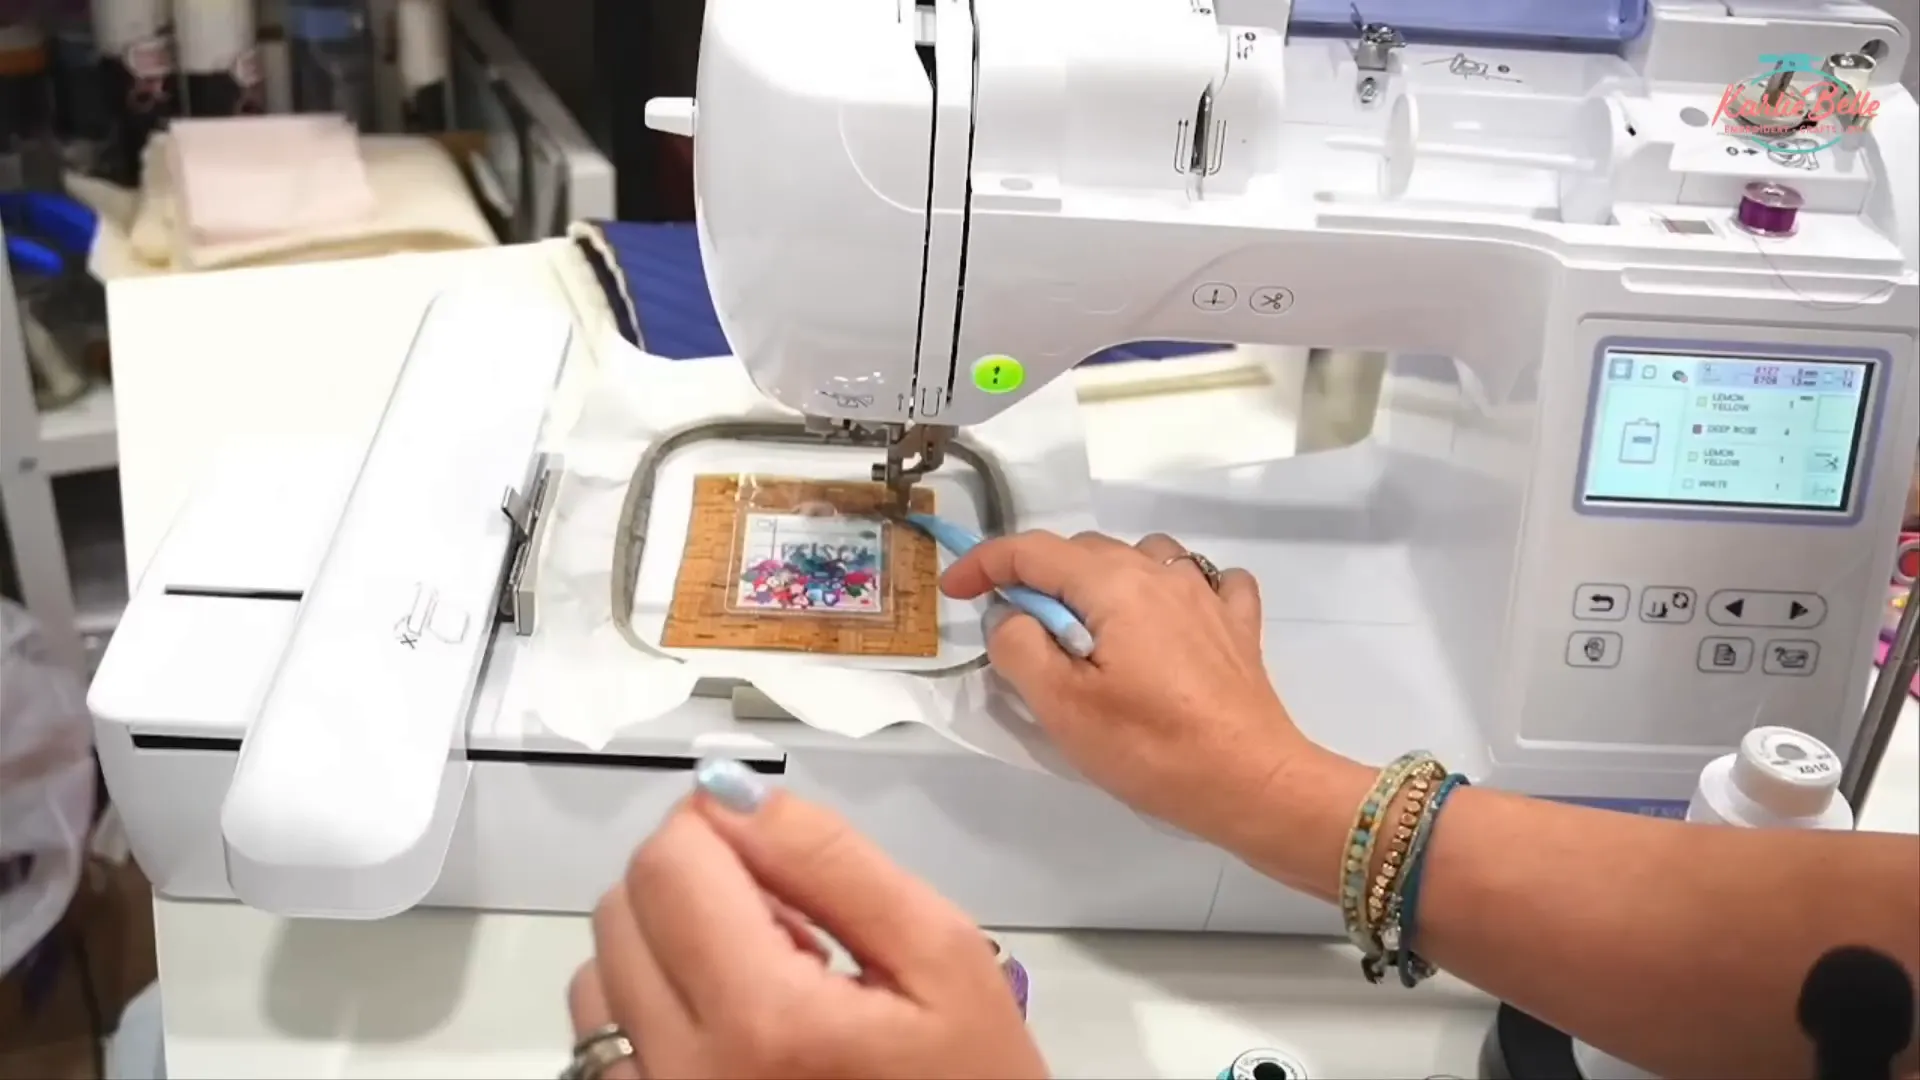
Step 4 — Placement stitch and first vinyl layer
Start stitching. The first visible steps are placement stitches that show where to put your first piece of vinyl (usually the front piece). Follow these steps:
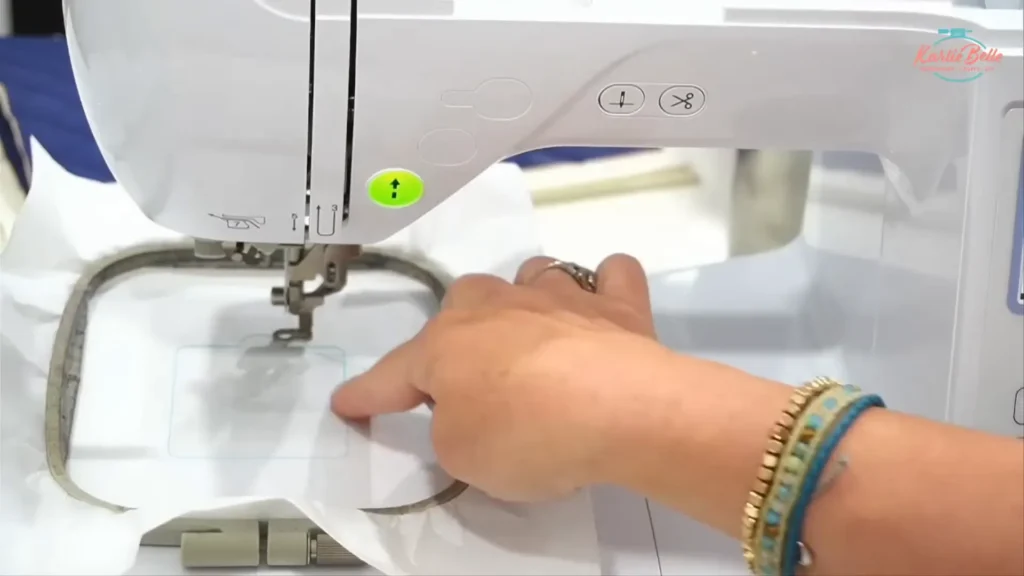
- Hoop only the tear-away stabilizer in the hoop and attach it to the machine.
- Run the placement stitch. It will show the outline of the first piece location. Cut your front vinyl piece slightly larger than the placement outline so it covers it fully.
- Lay the front vinyl over the placement outline. If the piece is small it will stay in place. If you want extra security, use a tiny amount of tape on the stabilizer edge (not on the stitch area) or use a stiletto to hold it while stitching.
- Stitch the tack-down stitch for that layer. The machine will sew a light tackdown to hold the vinyl in place.
Tip: I do not tape most applique pieces. The tack-down usually holds faux leather, cork, and thick vinyl well enough.
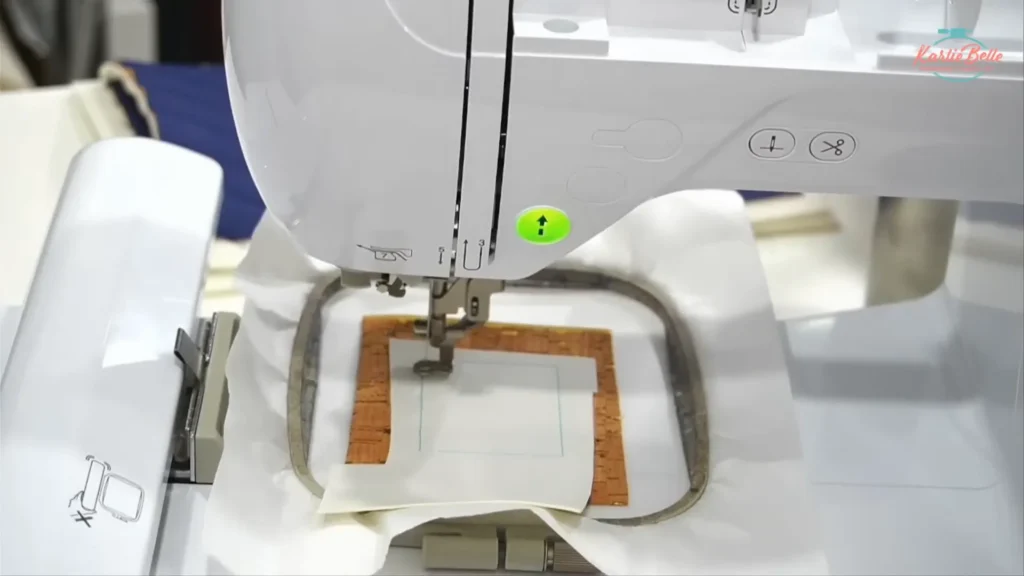
Step 5 — Second placement stitch for white applique and how to stitch it
After the front layer tackdown, the design will usually have a placement and tackdown for the white applique piece (notebook paper). Do this:
- Run the placement stitch for the white applique. Cut a white vinyl or fabric piece to cover the placement area and lay it into the hoop on top of the tackdown piece.
- Stitch the tack-down for the white piece.
- Continue stitching the small decorative lines and circles that make the notebook look real.
- Before the satin stitch that finishes the white piece, trim the white piece close to the stitch line. Trim carefully so you leave about 1–2 mm of margin. The final satin stitch will cover the raw edge.
Tip: Trim the white applique before the satin stitch so the satin covers the raw edges. Use fine applique scissors and trim as close as is safe.
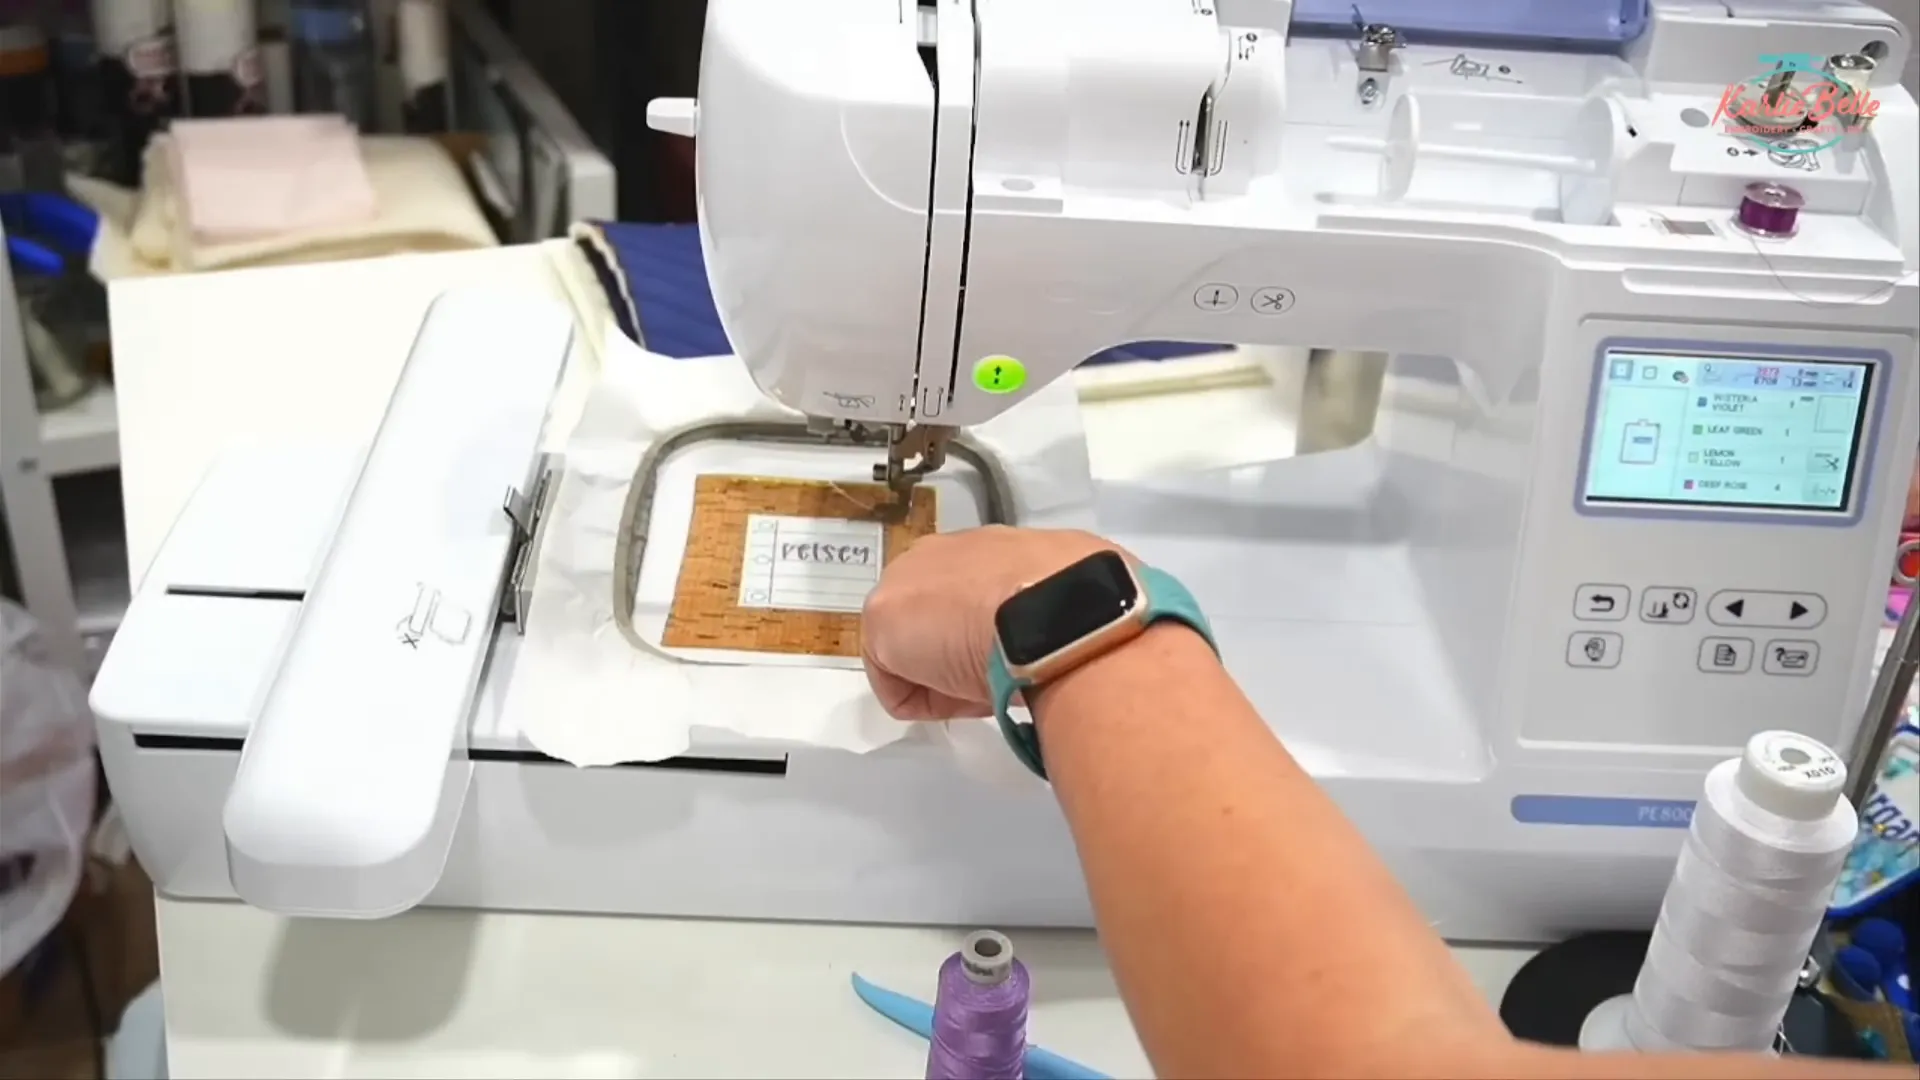
Step 6 — Stitching the notebook lines and prepping for the name
Stitch the colored lines that simulate notebook paper—this is usually the first visible thread color in your machine embroidered name tag. If your machine does not cut jump stitches, pause occasionally to trim long threads so they don’t get caught under later stitches. After the lines are finished, you can add the name. Use the lettering tool in your editing software to place the name where you want it, making sure the name step comes before the clear vinyl steps so it doesn’t show on the back.
Step 7 — How to add the name: fonts and placement
Choose a font that is machine-readable at small sizes. I like a font set for half-inch heights like “Farmhouse Lemonade” for these tags. Type the name, scale to the desired height (about 1/2 inch for 3-inch tags), and position it over the lines. Make sure the name is set to stitch before the clear vinyl placement steps so stitches are secured.
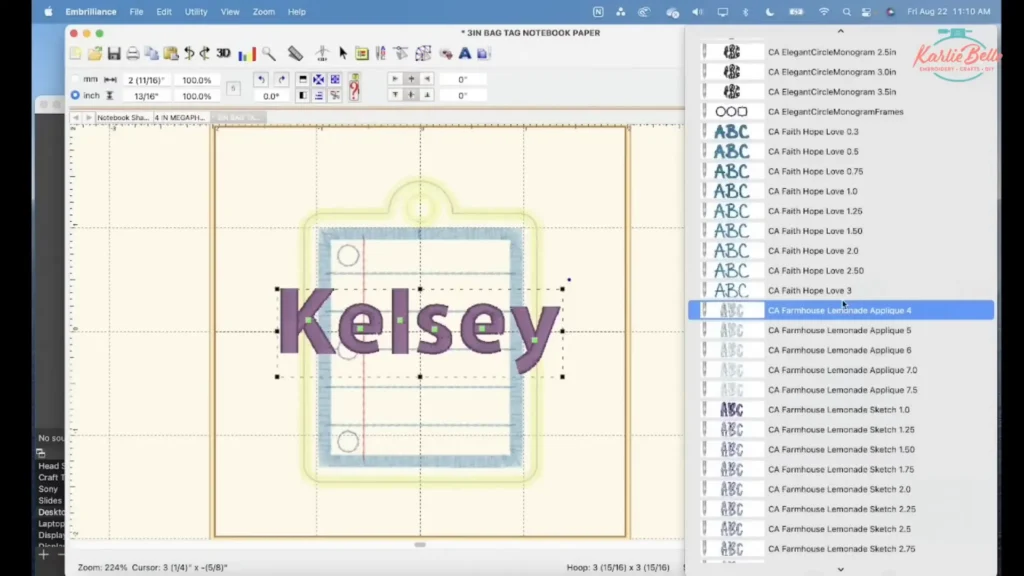
Tip: Keep the name away from the very top so confetti does not cover it inside the window.
Step 8 — Remove hoop and trim threads before you start the clear vinyl step
When you reach the step just before the clear vinyl tackdown step, pause the machine after finishing the name. Remove jump stitches and loose tails, trimming threads so the inside of the machine embroidered name tag is clean before the confetti is added. This helps keep the confetti from getting stuck under loose threads.
Step 9 — Add clear vinyl (first pass)
Now you will add the clear vinyl. Use a thicker gauge: 16 gauge works well, 20 gauge is preferable if you can source it. Avoid thin 12 gauge for dense satin edge designs.
- Rub a dryer sheet lightly on the clear vinyl to reduce static and prevent confetti from sticking to the vinyl.
- Lay the clear vinyl over the outline placement that you created with the duplicated outline step. The outline should already be stitched in a color that makes the machine stop afterward (color stop). For safety, you can hold the vinyl or use a couple of small pieces of low-tack tape on hoop edge only. Do not stretch the vinyl.
- Run the clear vinyl tackdown step that stitches three sides or most of the outline, stopping at the color stop you created earlier in Embrilliance. The top section will remain open so you can pour confetti in.
Tip: If the vinyl wrinkles slightly, try to smooth before final satin stitch. The satin stitch will secure it and flatten out most small wrinkles.
Step 10 — Add confetti, chunky glitter, and clay slices
With the clear vinyl tacked down on three sides, perform these steps to add confetti:
- Fold a small piece of paper in half to make a funnel and pour chunky glitter and clay slices into the pocket. Use a paintbrush to nudge pieces into place and keep them away from the name if needed.
- Avoid fine glitter. Fine glitter will seep and can hide the name and make stitching messy. Use only chunky glitter and larger clay slices.
- If confetti sticks to the vinyl, use the paintbrush and a dryer sheet rubbed on the vinyl to reduce static.

Tip: Start with less confetti than you think. You can always add more if needed.
Step 11 — Sew the final side to seal confetti
Put the hoop back on the machine and run the stitch color that closes the clear vinyl pocket. This will create the final outline and fully enclose the confetti inside your Machine Embroidered Name Tag. After this step, the pocket is sealed and the confetti cannot escape. The next steps will hide the raw edges by adding the back piece and finishing with the satin stitch.
Step 12 — Add the back vinyl and prepare for the final satin stitch
After the confetti is sealed, add your back vinyl piece by following the placement stitch for the back that you duplicated earlier. Lay the back vinyl over the placement outline and run the tack down for the back. This hides all previous stitches and gives you a neat look from the back.

Important: Trim stray threads from the back so the final satin stitch will not catch them and cause lumps. If you want the bobbin color to match the top, wind a bobbin with the same color thread for a cleaner finish.
Step 13 — Trim, adjust, and finish the satin outline
After back tackdown and before the final satin stitch, trim the excess material close to the placement outlines:
- Trim the clear vinyl as close as you can to the outline stitch without cutting the stitch. The final satin stitch should cover the trimmed edge.
- Trim the front vinyl and the back vinyl close to the outline. Use small sharp scissors and avoid tugging on the stabilizer. Tear-away stabilizer can tear if you pull it; cut carefully.
Tip: If you have Embrilliance Enthusiast, you can adjust satin width compensation to make the final satin stitch slightly wider if you fear it will not cover the trimmed edge.
Step 14 — Prevent bobbin nests and complete the final stitch
Before starting the last satin stitch, prevent a bobbin nest on the back by pulling up the bobbin thread after lowering and raising the needle. Hold both the top thread and the pulled bobbin thread and lower the presser foot before starting. This avoids a tight nest of thread at the starting point.
Run the final satin stitch slowly. On thick stacks (three layers of vinyl plus dense satin) the machine may strain. Hold the hoop lightly so the hoop does not lift, and keep your hand clear of the moving needle.

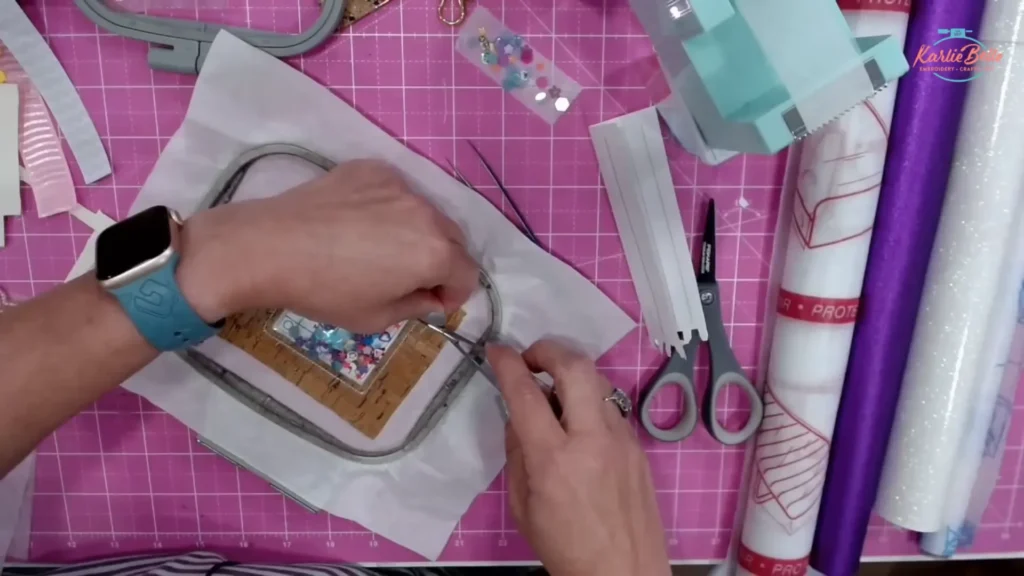
Step 15 — Remove from hoop, trim, and finish edges
Pop the tag out of the hoop and tear the stabilizer away carefully. Because you used tear-away, peel the stabilizer away slowly and trim any fibers. Clean all edges with scissors.
Use a lighter for tiny singes on synthetic ribbons or vinyl edges to melt fibers and tidy up the look. Be cautious with flames and do a small movement rather than a long hold.

Step 16 — Punch hole and install luggage loop
Punch a hole for the metal luggage loop. You can use a small hole punch or a Kam Snap tool for a clean hole. The Kam Snap press has hole and eyelet tools that make this part quick if you plan to make many tags. Insert the luggage loop or key ring and close it so the tag is ready to attach.

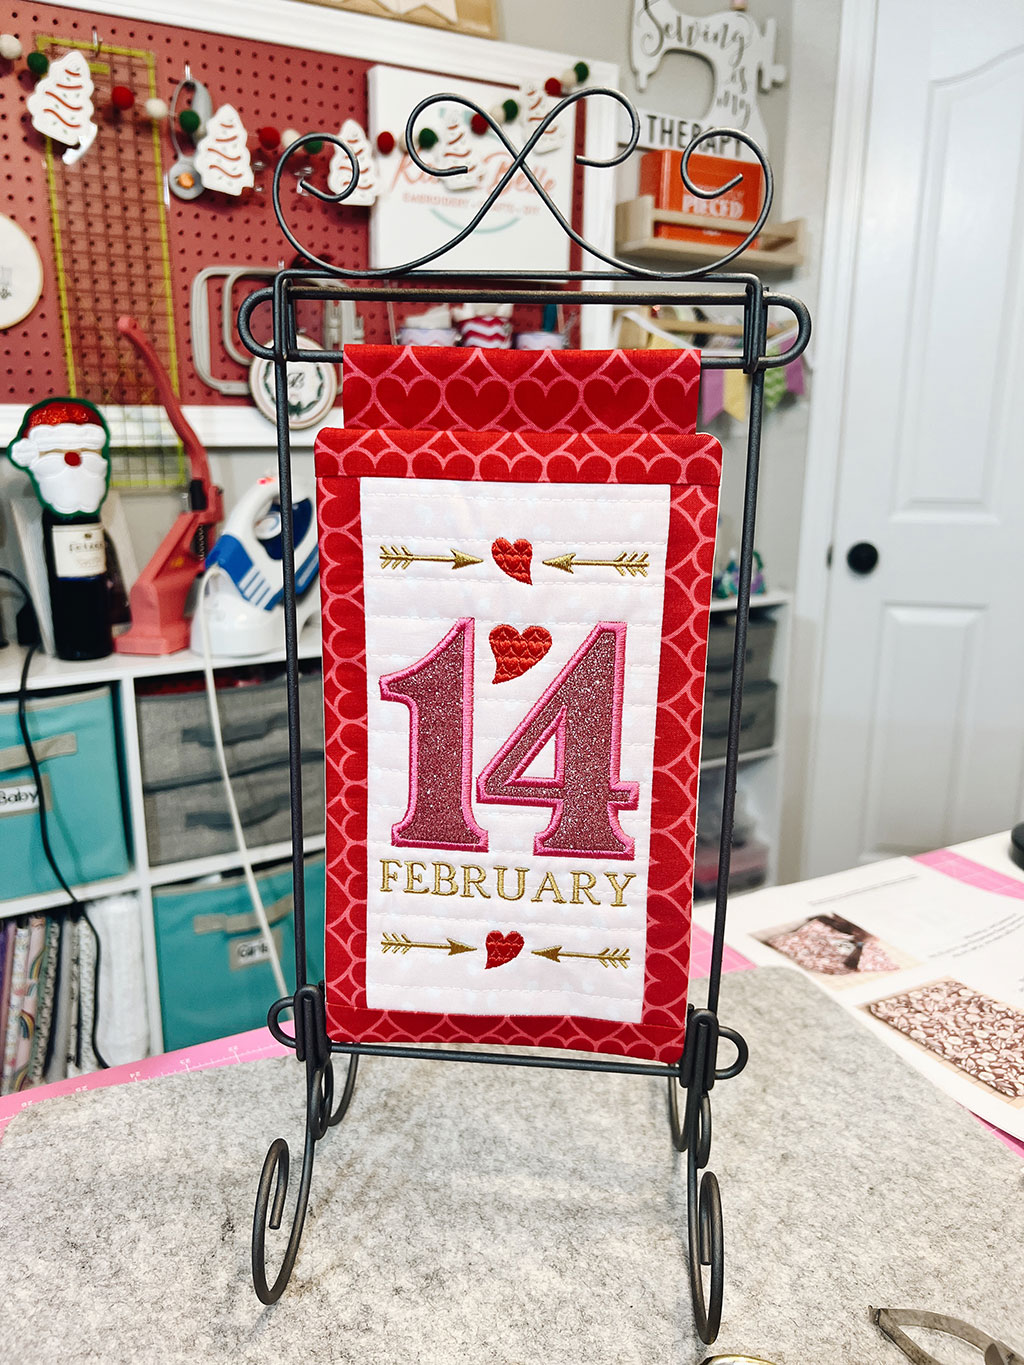
Step 17 — Add ribbon tails and finish the look
Ribbons give the tag personality. I used eight ribbons for a fuller look. Cut each ribbon to the same length (14 inches for a 3-inch tag; longer if your tag is larger). Start with the widest ribbon at the bottom and stack the ribbons in decreasing width. Place a skinny ribbon in the center; this will act as the tying ribbon through the luggage loop.
- Insert the skinny center ribbon through the luggage loop and pull halfway through so even ends remain on both sides.
- Arrange wider ribbons in a cross or layered pattern on top of each other and keep them centered behind the tag.
- Use a small tie wrap or cable tie to secure all ribbons at the top where they meet. Tighten the tie and trim the end flush.
- Tie a small bow with the center ribbon to hide the tie wrap. Trim ribbon ends at an angle or in a fishtail to finish.

Tip: Use a tiny dab of clear glue where the knot sits if you want extra security.
Final checks and troubleshooting
Check the tag for loose threads, trapped confetti in seams, or small gaps. If your vinyl does not look flat, re-stitching is possible if you kept your design and hoop placement unchanged. On single-needle machines, if you duplicate steps and change colors properly, you can step back and re-run a part. If a needle breaks, turn the machine off, remove the needle plate, recover pieces, replace the needle, and back the stitch position up by 20–30 stitches before restarting to lock the seam.
Common issues and fixes:
- Perforated clear vinyl: reduce satin density in Embrilliance or use thicker vinyl (16–20 gauge).
- Confetti sticking to vinyl: rub dryer sheet on vinyl before applying or use a paintbrush to nudge pieces away from seam lines.
- Large thread nest at start: pull bobbin thread up before starting final satin stitch.
- Jump stitches on older machines: trim jump stitches during steps to avoid tangles.
Machine Embroidered Name Tag Design — Quick Checklist
- Design modified: duplicate outline, color stop for confetti, name stitched before back.
- Stitches: reduce final satin density ~20% in Embrilliance if too dense for clear vinyl.
- Clear vinyl: 16–20 gauge, dryer sheet to reduce static.
- Glitter: chunky only, clay slices for theme.
- Needle: 75/11 Organ or Schmetz. Bobbin wound to match top for cleaner back if desired.
- Ribbons: eight pieces at 14 inches for small tag, adjust for larger tags.
Conclusion — Your next machine embroidered name tag design
Turning a bag tag into a confetti shaker is a simple change that adds personality and fun. With the steps above you can take any in-the-hoop bag tag design and convert it using Embrilliance Essentials, a thicker clear vinyl, and chunky confetti. Keep your last three steps organized: clear vinyl tack down (with color stop), back tack down, final satin. Remember to trim carefully and test on scraps first if you are unsure about vinyl gauge or satin density.
If you make one, try different themes and ribbon combinations. Sports, holidays, and school colors are all great ways to customize a machine embroidered name tag design and make a favorite accessory for kids and adults alike.
PIN IT

OTHER LINKS
🪡 Learn more about my beginner course on machine embroidery, From Start to Stitch
💻 Enroll in my new course Embroidery Essentials
❤️ Join my Sip & Stitch Squad VIP Membership
🧵 Join my Facebook Group for discussion and help on machine embroidery and crafting
Thanks for stopping by!


I have a question on bag tag when adding the name ! Will I have to have a software to add a name to bag tag is this correct?? I have a brother stellar and I haven’t had any training experience on how to use it. And I don’t want to hurt my machine sewing this design. Help !Thank you!!
Yes using software does make adding a name easier, because you can change the stitch order so that the same stitches before that last step of adding the back tot he bag tag. However it is possible to do on your stellaire by using the fonts on your machine to merger (add) to the bag tag design. The only thing is that it will probably add to be the last step, so you will have to skip to it, stitch out the name, then go back and stitch the last steps of the bag tag that adds the back. I hope that makes sense!