Welcome to my latest Sip & Stitch tutorial where we’ll be creating an adorable machine embroidery lip balm holder! Today, I’ll guide you through each step of making this fun in-the-hoop project using my Brother Skitch machine. Whether you’re new to machine embroidery or looking to enhance your skills, this tutorial is perfect for you!
Today’s Project Overview
Today, we’re diving into an exciting in-the-hoop project to create a charming machine embroidery lip balm holder.
Valentines Day is quickly approaching and I am always looking for cute gifts that I can make for kids and friends. One of my go to designers for in the hoop projects is my friend Melissa at Designs by Little Bee. She always has the cutest stuff so I looked at her options for Valentine designs and found this cute hearts leopard print lip balm holder. It comes in 2 options, a 4×4 size and you add an eyelet, and a 5×7 option where you add a snap. I will be showing you how to make the 4×4 option on my Brother Skitch. I will also show you how to transfer a design from your computer or Embrilliance to the machine wirelessly using the FREE Artspiria app.
Supplies Needed for the Project
- Leopard Hearts Lip Balm Holder (on sale until Feb 28th, 2025)
- FREE Conversation Heart Hand Sanitizer Holder
- Brother Skitch
- Tear Away Stabilizer Use coupon code “karliebelle” to save 10%
- Faux Leather/ Embroidery Vinyl
- Options on Amazon
- Sweet n Sassy Blanks
- GlitterBug Fairy
- MyPunkbroidery (promo vinyl is great)
- Black Cut Away or Black Felt for inside of lip balm holder
- Kimberbell Paper Tape
- Kam Snaps Starter Kit (everything I have and recommend)
- Kam Snaps Table Press
- Extra Long Plastic Snaps
- 5.1mm Eyelets
- Swivel Hooks with Keyring
- Applique Scissors Use coupon code “karliebelle” to save 10%
- Clover Stiletto Use coupon code “karliebelle” to save 10%
- Organ 75/11 BP Needles Use coupon code “karliebelle” to save 10%
- Precision Tweezers Use coupon code “karliebelle” to save 10%
- Embroidery Thread Use coupon code “karliebelle” to save 10%
- Thread Stand Use coupon code “karliebelle” to save 10%
- Pre-wound Bobbin
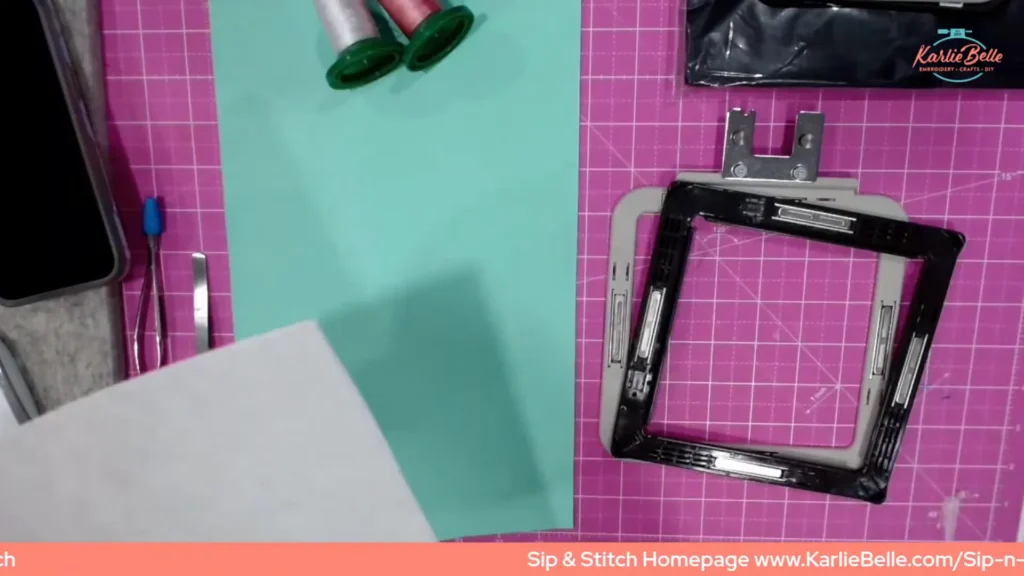
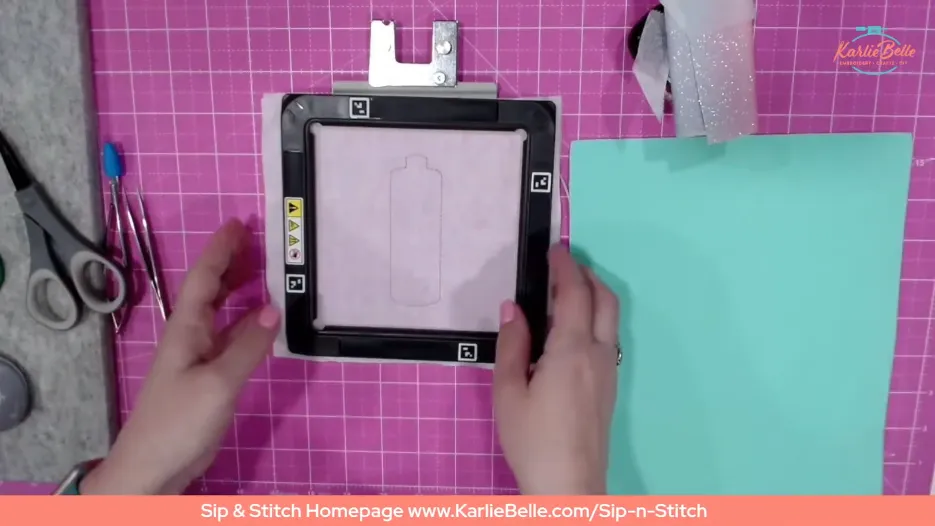
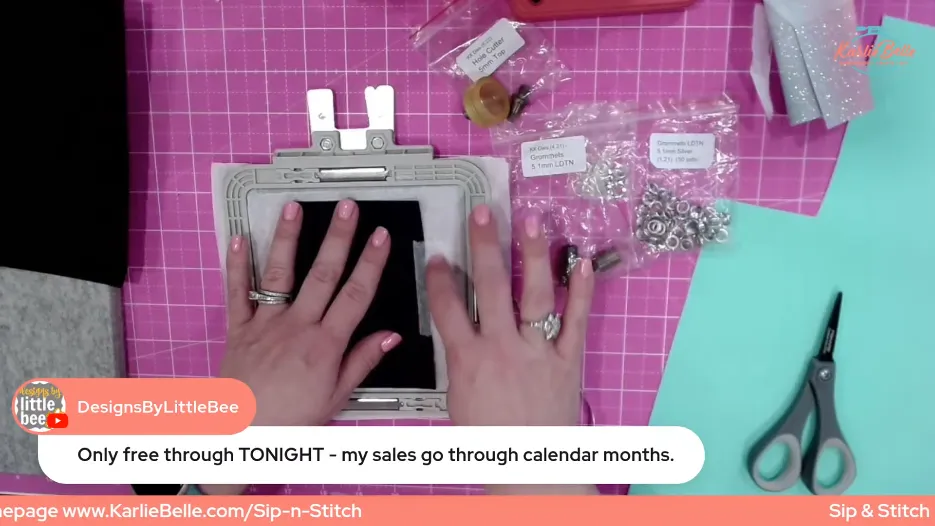
Hooping the Stabilizer
This step is all about getting a good base for your design. Grab your 4×4 hoop and place your stabilizer on it. Whether you’re using tear-away or cutaway, make sure it’s taut like a drum. This helps keep your design crisp and in place. If you’re using a magnetic hoop, as I am today, ensure the magnets secure the stabilizer firmly.
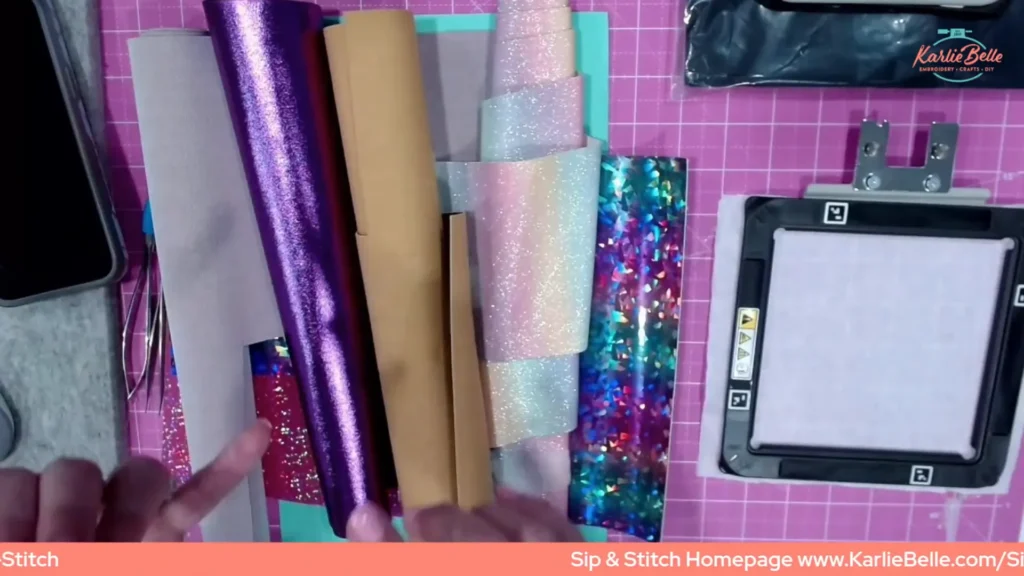
Choosing and Preparing Faux Leather
Faux leather is the star of this project. It comes in all sorts of fun styles—from glittery to metallic to classic leather textures. Today, I’m using a lovely mint pebbled faux leather. It’s important to choose a piece that doesn’t fray when cut, providing a clean and professional look.
Cut your faux leather to slightly larger than your hoop size. This ensures you have enough material to work with and prevents any accidental stitching outside the bounds.
Designing Your Project
Open your design in embroidery software like Embrilliance Essentials. This step is crucial for visualizing the project and ensuring everything is in place. In Embrilliance, you can see each step of the design, which helps in planning out your thread colors and understanding the stitching sequence.

Tip: Always check the steps and visualize how each layer will look. This helps in deciding thread colors and placement.
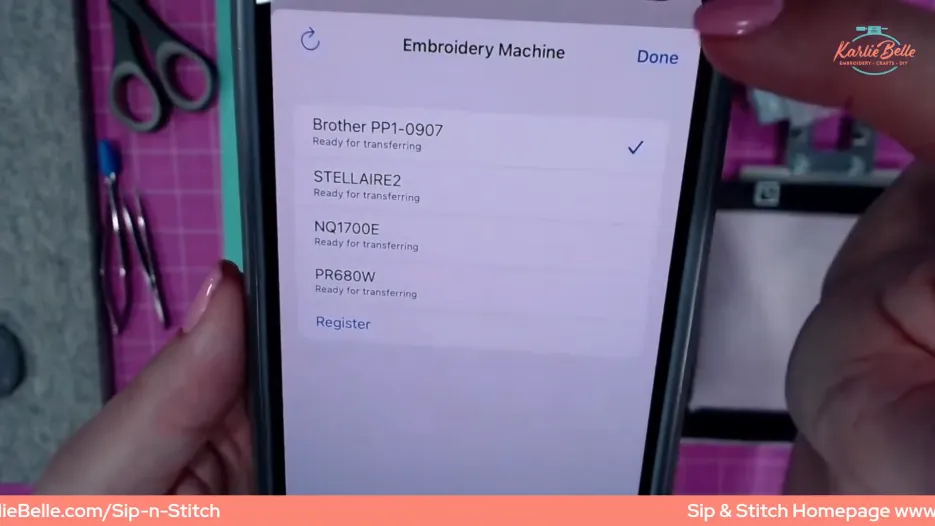
Transferring the Design to the Machine
Now, let’s get our design ready to stitch! If you’re using a machine like the Brother Skitch, you’ll need to transfer your design via Bluetooth using the Artspiria app on your phone. It’s a unique feature but quite intuitive once you get the hang of it. Simply upload your design to the app, and it’ll sync with your machine.
If your machine uses a USB or another method, ensure the design is loaded correctly and ready for stitching.
Stitching the Design – Placement Stitch
With everything set up, it’s time to start stitching! The placement stitch is your first step. This stitch outlines where your faux leather will sit on the stabilizer. It’s crucial for ensuring your design is perfectly centered.

Once the placement stitch is complete, carefully place your faux leather within the stitched outline. Use a bit of tape or a clip to hold it in place if needed. This keeps it from shifting as the machine works its magic.
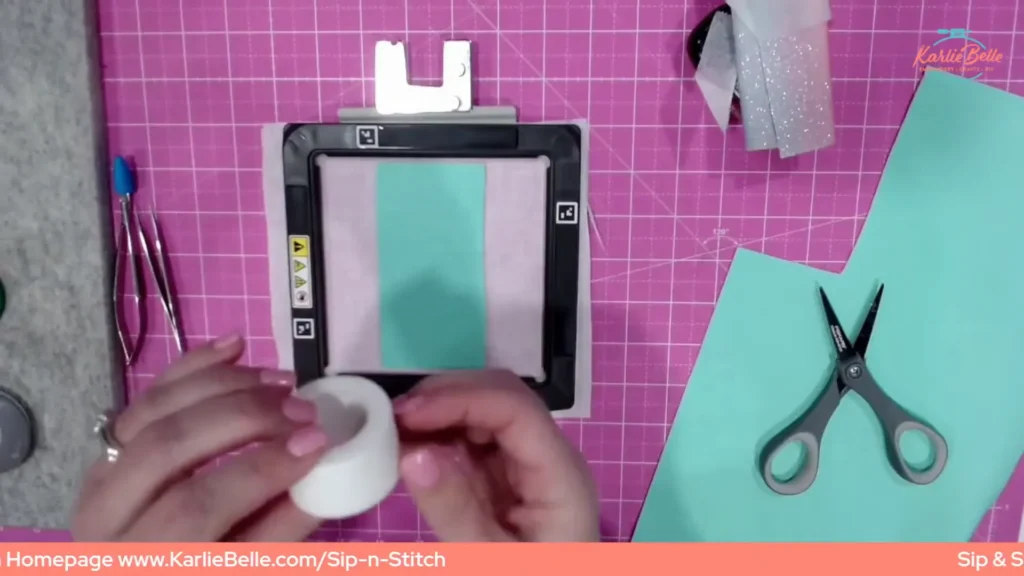
Adding Front Vinyl
Now that we have our placement stitch ready, it’s time to add the vinyl for the hearts. This is where the design truly starts to come to life. Cut a piece of vinyl that is slightly larger than the stitched outline. Lay this piece over the placement stitch, ensuring it covers all the edges. If you want to be extra sure it doesn’t shift, feel free to use some low-tack tape to secure it in place.
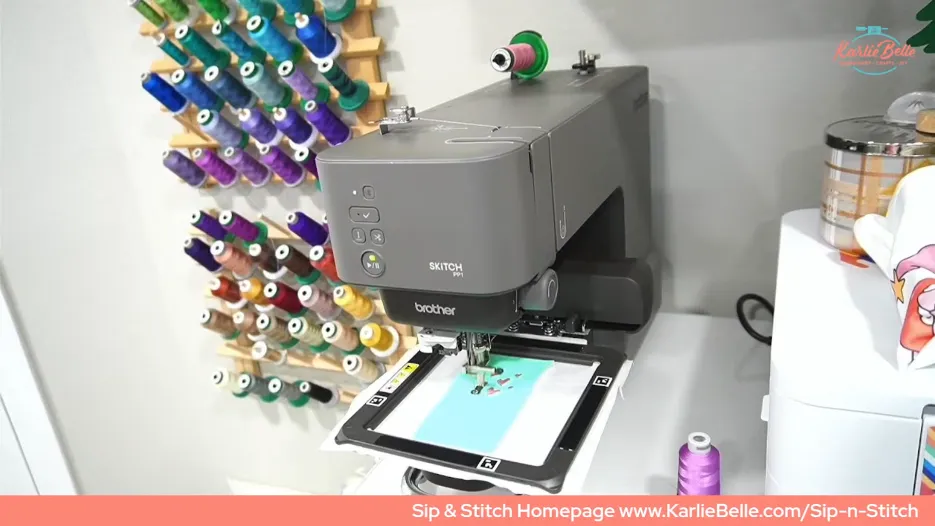
Stitching the Hearts
With the vinyl secured, we can now stitch the hearts. Change your thread to the color you want for the hearts—I’m going with a light pink for a soft, sweet look. Press start, and watch as your machine creates the adorable heart shapes. This step takes about 11 minutes, so feel free to grab a coffee while it works its magic. Remember to keep an eye on the thread tails and trim them if they start to get tangled.
Adding the Outline and Lining
Once the hearts are stitched, it’s time to add the outline and lining. Flip your hoop over and cut a piece of black cutaway stabilizer to cover the back. This adds a professional finish to the inside of the holder. Secure it gently with tape. Then, choose a thread color for the outline that complements your design—white is a safe choice that looks clean and polished.
Adding the Pocket
After the back lining is tacked down, it’s time to add the pocket. Turn your hoop upside down and line up the straight edge of your pocket vinyl to be right under the bold stitching at the top of the lip balm holder. Secure the pocket vinyl in place with tape. Place the hoop back on machine and use the needle down, needle up feature on the machine to pull the bobbin thread up and prevent a knot from forming on the back.

Stitch it around to secure it. This will form the pocket for your lip balm.

Final Touches
Now we are nearly finished with our project. The machine embroidery lip balm holder is all finished stitching and it’s time for some finishing touches
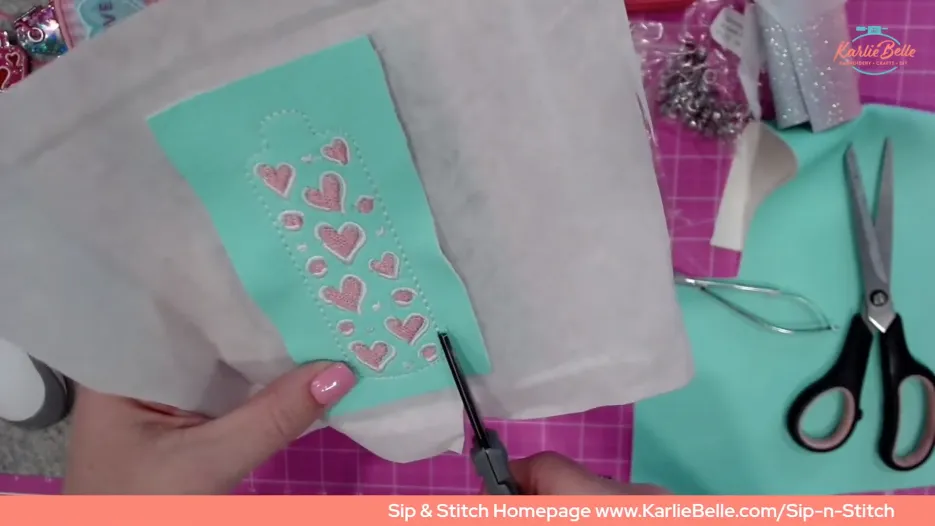
Cutting and Trimming the Project
With all stitching complete, remove the project from the hoop. Use scissors to carefully cut around the design, leaving a small margin outside the stitch line. This step can be a bit meticulous, but take your time to ensure smooth, even edges. If you make a mistake, don’t worry—small imperfections add character to your handmade items!
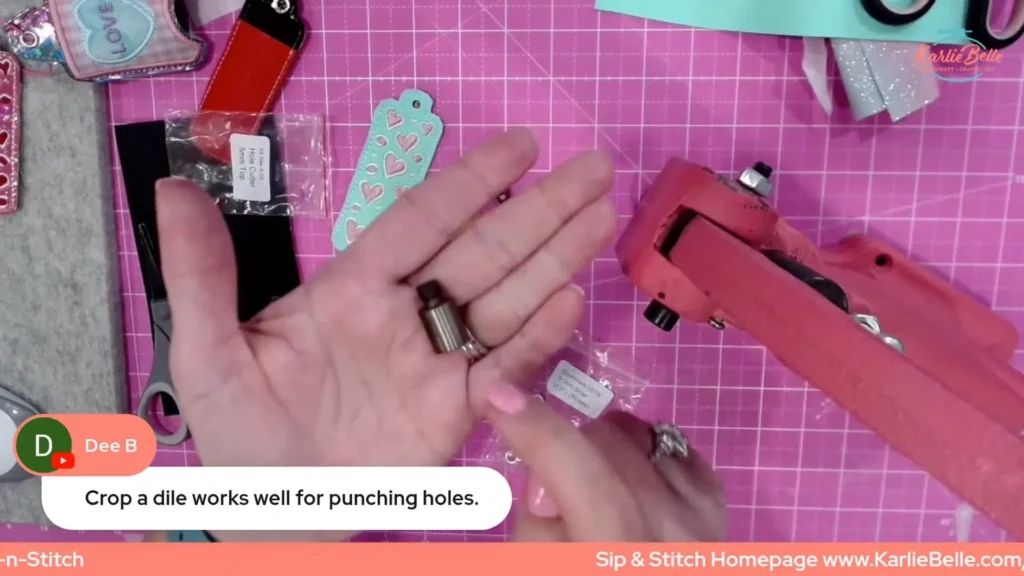
Adding Hardware: Eyelets and Keychains
Now, let’s add the hardware. If you have a snap press or eyelet tool, it’s time to use it! Punch a hole at the top of your holder, making sure it’s centered and at a safe distance from the edge to avoid tearing. Insert the eyelet and press it into place. Finally, attach your chosen keychain hardware—whether it’s a lobster clasp, ball chain, or keyring, the choice is yours!
Final Touches and Displaying the Finished Product
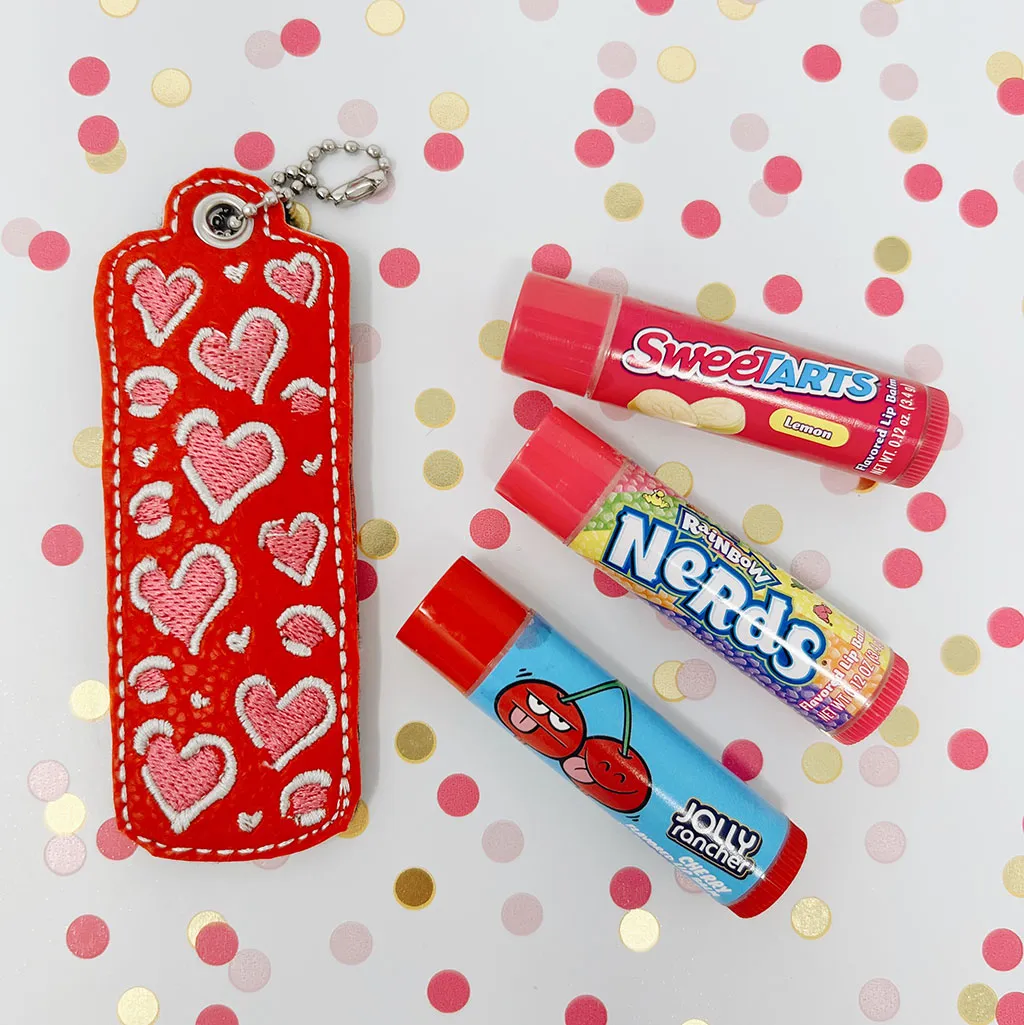
Your machine embroidery lip balm holder is now complete! Insert a lip balm into the pocket and admire your work. These holders make perfect gifts for friends, family, or even yourself. Hang it on your purse, backpack, or keys for easy access. Enjoy the satisfaction of having created something both beautiful and functional.
Q&A and Wrap-Up
Throughout this process, I’ve shared some tips and tricks based on my own experiences, and I hope they’ve been helpful. If you have any questions or run into issues, feel free to reach out. There’s always a solution, and I’m here to help. Don’t forget to share your finished projects with me—I love seeing your creations! If you are looking for more projects like this I make a cute in the hoop makeup bag with a bow. Check it out!
Thanks for stopping by!