Welcome to my beginner sublimation tutorial where I’ll show you how to sublimate a tumbler from start to finish! Today, we’re diving into the world of sublimation, specifically focusing on making stunning skinny tumblers that make perfect gifts for any occasion. Let’s get started and create something beautiful together!
Introduction to Sublimation
This month for Sip & Stitch, we will be taking a break from embroidery and will be doing a sublimation project instead. Earlier this year I finally got myself a tumbler heat press and love using it to make sublimation tumblers. These are super quick and easy projects that make great Christmas gifts for anyone! You can customize the design on the cups to fit the interest of the person it is for, even for guys!
I will be using my Brother Sublimation Printer, which I love by the way, for this project. What I have to say I like this printer so much better than the Epson. I used to have because it has automatic maintenance built in so that the ink lines don’t get clogged up. Also, I put together a list of a bunch of sublimation supplies and blanks in my Amazon Shop for you to check out.
As always, Creative Fabrica
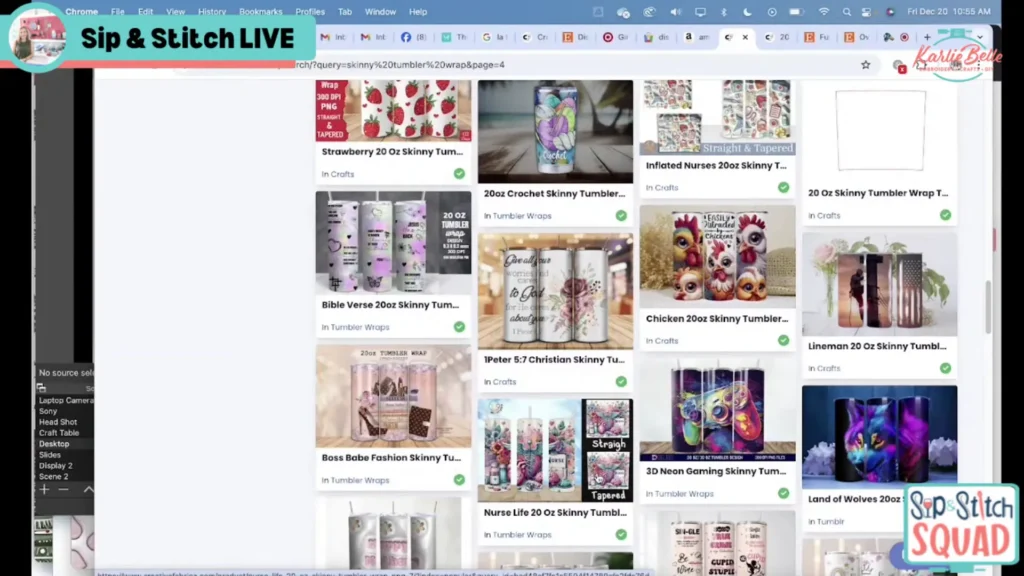
My go to place to look for designs to put on a tumbler is Creative Fabrica. I have the all access subscription so I can go and download ANYTHING on their site for only $3.99 a month! Just type tumbler in the search bar and you will see thousands of designs to choose from. Narrow your search by typing a theme you are interested in and the word tumbler and you will find some great options.
Getting Started with Your Supplies
Before we dive into the process of sublimation, it’s crucial to gather all the necessary supplies. Having everything ready will make the process smoother and more enjoyable. Here’s what you’ll need:
- Brother Sublimation Printer
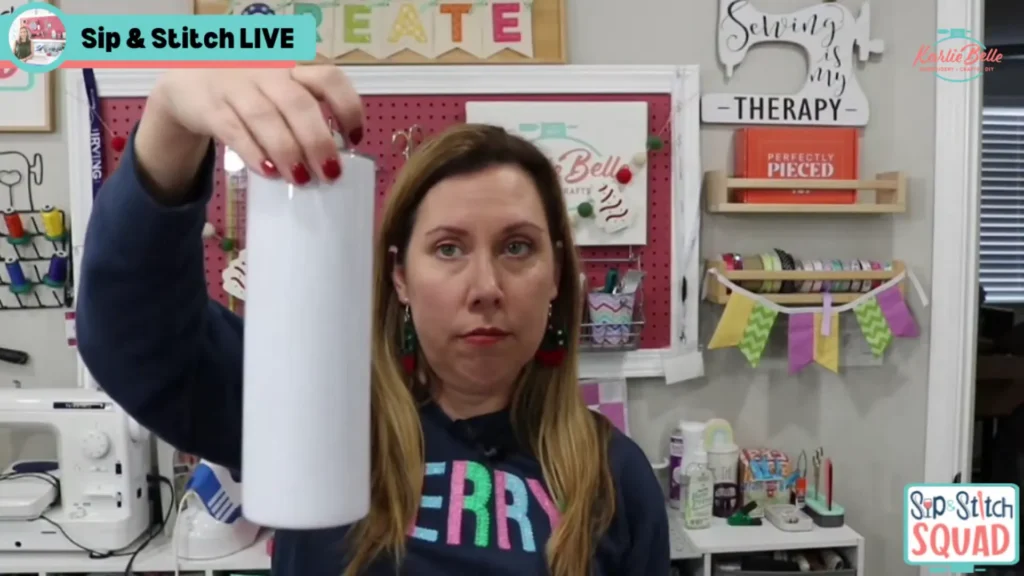
- Sublimation Tumblers
- Tumbler Heat Press
- Optional Skinny Sleeve for smaller tumblers
- Butcher Paper
- Heat Resistant Tape
- Heat Resistant Glove
- Other Sublimation Blanks
- Design of your choice
Choosing the Right Printer for Sublimation
Picking the right printer is a crucial step in your sublimation journey. When I first started, I converted a regular printer for sublimation, which was quite an adventure with its challenges. However, investing in a dedicated sublimation printer can simplify the process significantly.

Dedicated sublimation printers, like the Brother sublimation printer, come with built-in maintenance features that keep the printer in top shape even if you don’t use it daily. This means less hassle with clogged lines and more time for creativity! These printers also typically come with the necessary software and settings optimized for sublimation, ensuring high-quality prints every time.
If you’re just starting out, look for a printer that fits within your budget but also offers the features you need, such as wireless connectivity and the ability to handle different paper sizes. Remember, a good printer is an investment in your crafting journey.
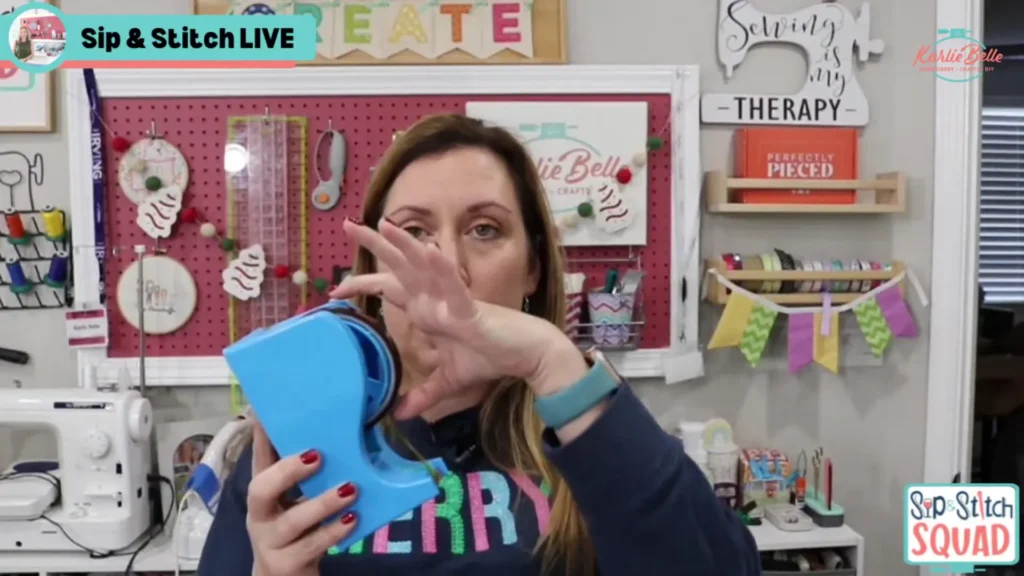
Introduction to the Tumbler Press
The tumbler press is a game-changer for anyone looking to sublimate tumblers. It provides the consistent heat and pressure needed to transfer your design flawlessly. The tumbler press I use, from PYD Life, offers a straightforward setup and operation, making it perfect for beginners and seasoned crafters alike.
When selecting a tumbler press, consider the types of tumblers you plan to sublimate. Some presses come with adjustable elements or additional attachments for different tumbler shapes and sizes. This flexibility allows you to expand your sublimation projects as you gain more experience.

Understanding Sublimation Blanks
Sublimation blanks are specially coated items that can accept sublimation ink. When it comes to tumblers, these are typically stainless steel tumblers with a polyester coating. This coating is crucial as it allows the ink to embed into the material, ensuring a lasting and vibrant design.
When purchasing sublimation blanks, make sure to choose high-quality items. This not only impacts the final look of your project but also affects the ease of the sublimation process. High-quality blanks tend to provide a better surface for the ink to bond, resulting in clearer and more vivid designs.
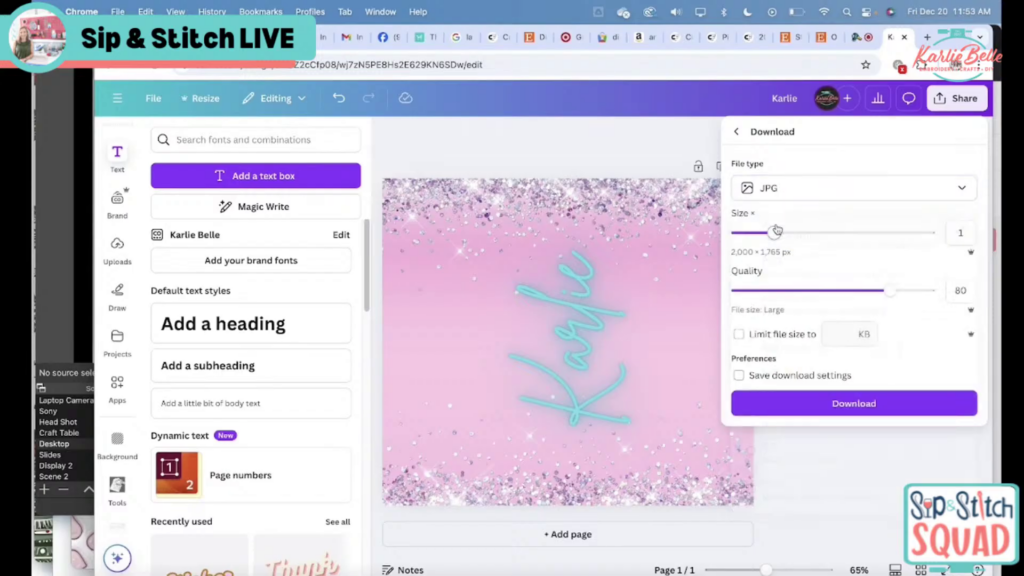
Finding and Preparing Your Design
Creating the perfect design is one of the most exciting parts of sublimation. Whether you’re downloading pre-made designs or creating your own, ensure that the design is the right size for your tumbler. Websites like Creative Fabrica offer a vast array of designs made for sublimation, ensuring you have plenty of options to choose from.
Once you have your design, print it on sublimation paper using your printer. Remember to set your printer settings to the highest quality to ensure your design comes out crisp and vibrant. Trim the design so it fits your tumbler perfectly, leaving no gaps or overlaps.
Printing Your Design
With your design ready and your tumbler prepped, it’s time to print. Use your sublimation printer to print the design on sublimation paper. Ensure your printer settings are optimized for sublimation, with the correct paper type and quality settings selected. Printing at the highest quality will ensure your design comes out crisp and vibrant.

Once printed, carefully cut out your design, ensuring it will wrap snugly around your tumbler. Use heat-resistant tape to secure the design in place, checking that it’s wrinkle-free and aligned correctly.
Preparing the Tumbler for Sublimation
Before we start the sublimation process, we need to prepare the tumbler properly. This step is crucial to ensure that the design transfers cleanly and evenly without any unwanted surprises like ghosting.
Start by cleaning your tumbler thoroughly. Use alcohol wipes to remove any dust, dirt, or oils that could interfere with the sublimation process. Make sure to clean the entire surface, including the rim and bottom, as these areas are prone to collecting debris.

After wiping it down, let the tumbler dry completely. This is important because any moisture left on the surface can affect the ink transfer. Once dry, use a lint roller to pick up any remaining fibers or particles that might be clinging to the surface. This step is vital to avoid ghosting, which can happen when the ink doesn’t transfer evenly.

Taping the Design to the Tumbler
Once the tumbler is prepped, it’s time to attach your design. Carefully place your printed sublimation design around the tumbler, ensuring that it wraps tightly and evenly. The design should be mirrored, especially if it includes text, to ensure it appears correctly when transferred.
Secure the design with heat-resistant tape. Start by taping along the seam where the design meets. This will help keep the design in place and prevent any shifting during the sublimation process. Make sure to remove any wrinkles.
Next, tape the top and bottom edges of the paper to the tumbler. Use small pieces of tape to secure the edges tightly, pressing them over the rim and bottom of the tumbler. This ensures that the design stays in place and helps prevent any air pockets that could lead to ghosting.
The Sublimation Process
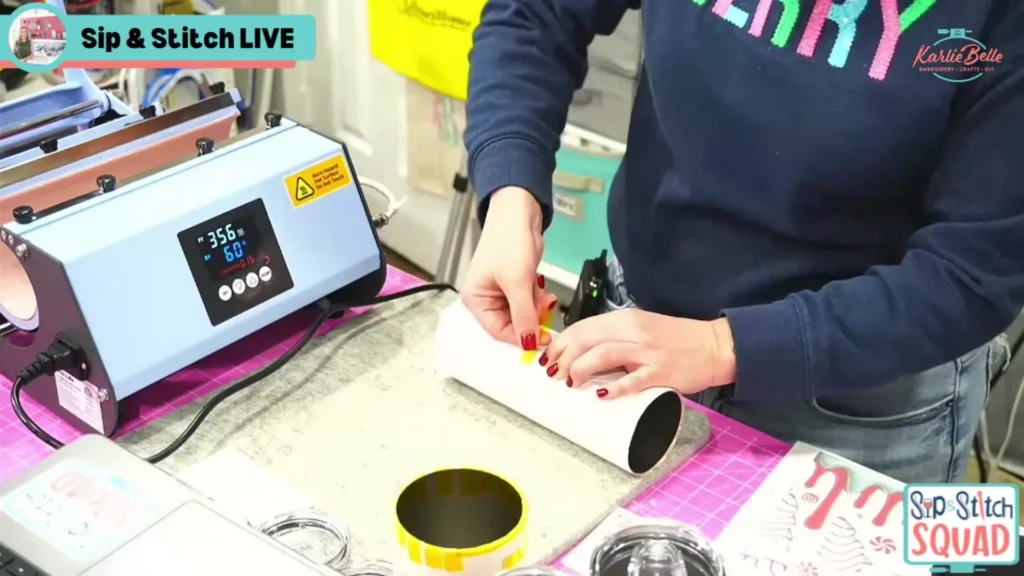
With your design securely taped to the tumbler, it’s time to sublimate. Preheat your tumbler press to 356 degrees Fahrenheit. Place the tumbler in the press with the seam facing upwards.

Close the press and set the timer for 60 seconds. Once the time is up, carefully rotate the tumbler so the seam is now on the bottom, and press it again for another 60 seconds. This ensures even heat distribution and a complete transfer of the design.
Remember to wear heat-resistant gloves when handling the tumbler, as it will be hot after pressing.
Sublimate Heat Temperature
Understanding the correct temperature and pressure settings is essential for a successful sublimation. Always refer to your heat press’s guidelines and adjust accordingly based on the tumbler material and press specifications.
Experiment with different settings to achieve the best results, and keep a record of what works for future projects.

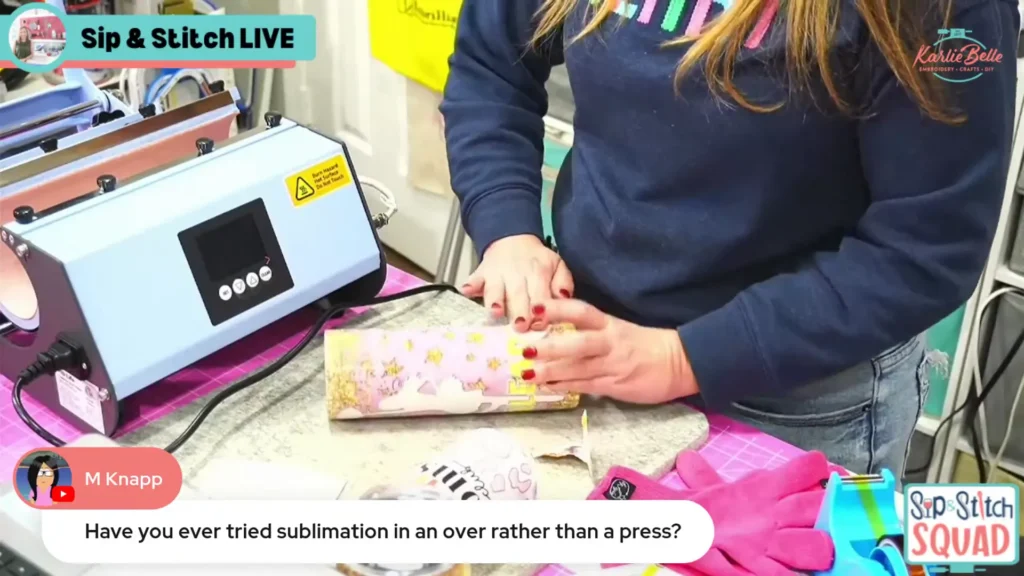
Cooling and Removing the Tape
After sublimating, let the tumbler cool down until it is safe to handle. It’s best to let it cool naturally to avoid any sudden temperature changes that could affect the design.
Once cooled, carefully remove the tape and sublimation paper. If any residue is left on the tumbler, use an alcohol wipe to clean it off. This will ensure your tumbler looks polished and professional.

Final Touches and Care Instructions
Your tumbler is now beautifully customized! Before using or gifting it, consider adding a care card. These cards typically advise hand washing only and avoiding extreme heat to maintain the vibrancy of the design.
While some tumblers can withstand the dishwasher, hand washing is recommended to ensure longevity.
Creative Customization Ideas
Now that you know how to sublimate a tumbler, the creative possibilities are endless! Consider personalizing tumblers with names, monograms, or favorite quotes. You can also create themed designs for special occasions like weddings or birthdays.
For a seamless wraparound design, choose patterns that naturally flow together or are specifically made to align perfectly, minimizing visible seams.
Final Thoughts
And there you have it! I hope you have enjoyed this tutorial and learned a lot about how to sublimate a tumbler. A beautifully sublimated skinny tumbler that makes a fantastic gift for friends and family. This process is not only quick but also super customizable, allowing you to create designs that fit anyone’s personality. Whether it’s for Christmas gifts or just because, sublimation tumblers are a great project for crafters!

If you’re eager to try more sublimation projects, check out my tutorial on sublimation shirts. It’s another fun way to express your creativity!
Happy crafting, everyone! Can’t wait to see what you all create!
Thanks for stopping by!