Welcome, MEPS 2026 Friends!
Your In the Hoop Bag Tag Resource Page
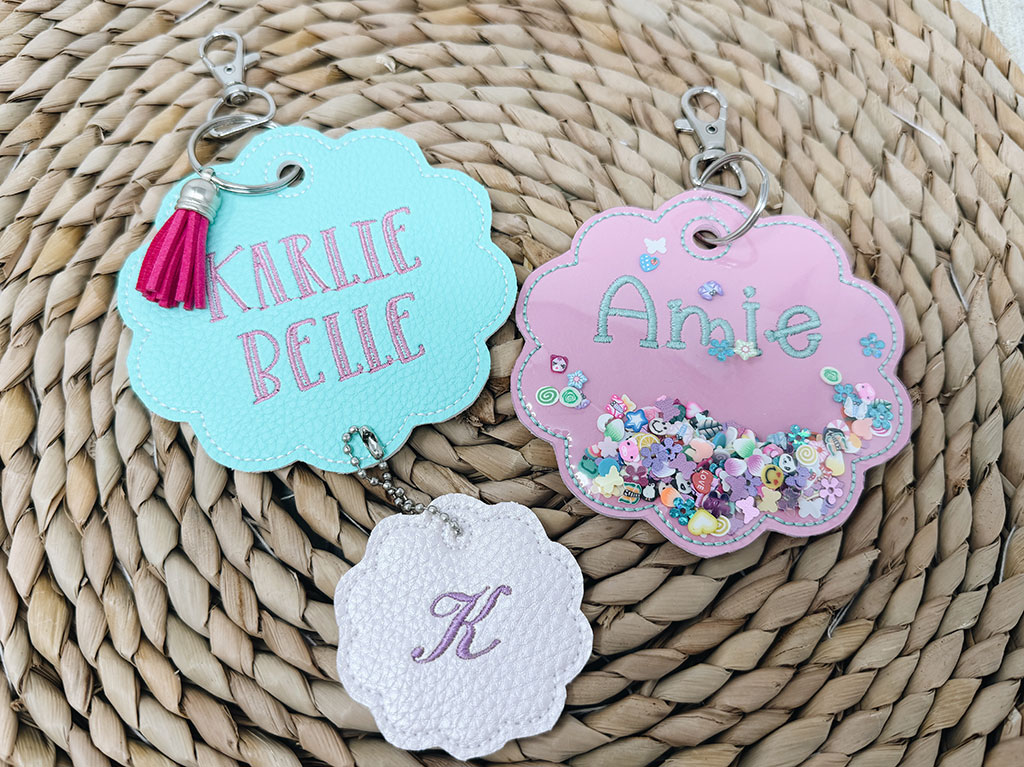
Hi, and welcome — I’m so glad you made it here!
I’m Karlie, and I teach machine embroidery through video tutorials, online courses, and my monthly Sip & Stitch Squad VIP membership community. Whether you came to today’s tutorial as a total beginner or a seasoned embroiderer, I’m so excited you’re giving the in the hoop bag tag a try.
This page is your special resource hub, made just for Machine Embroidery Paradise Summit attendees. You’ll find the free design download, all the supplies I mentioned in class, my favorite shops for faux leather and embroidery fonts, and a few bonus resources I think you’ll love.
A huge thank you to Dawn Chase from Creative Appliques for inviting me to be part of MEPS 2026, and to Jared Romey and the Mastery Route team for putting on such a fun event!
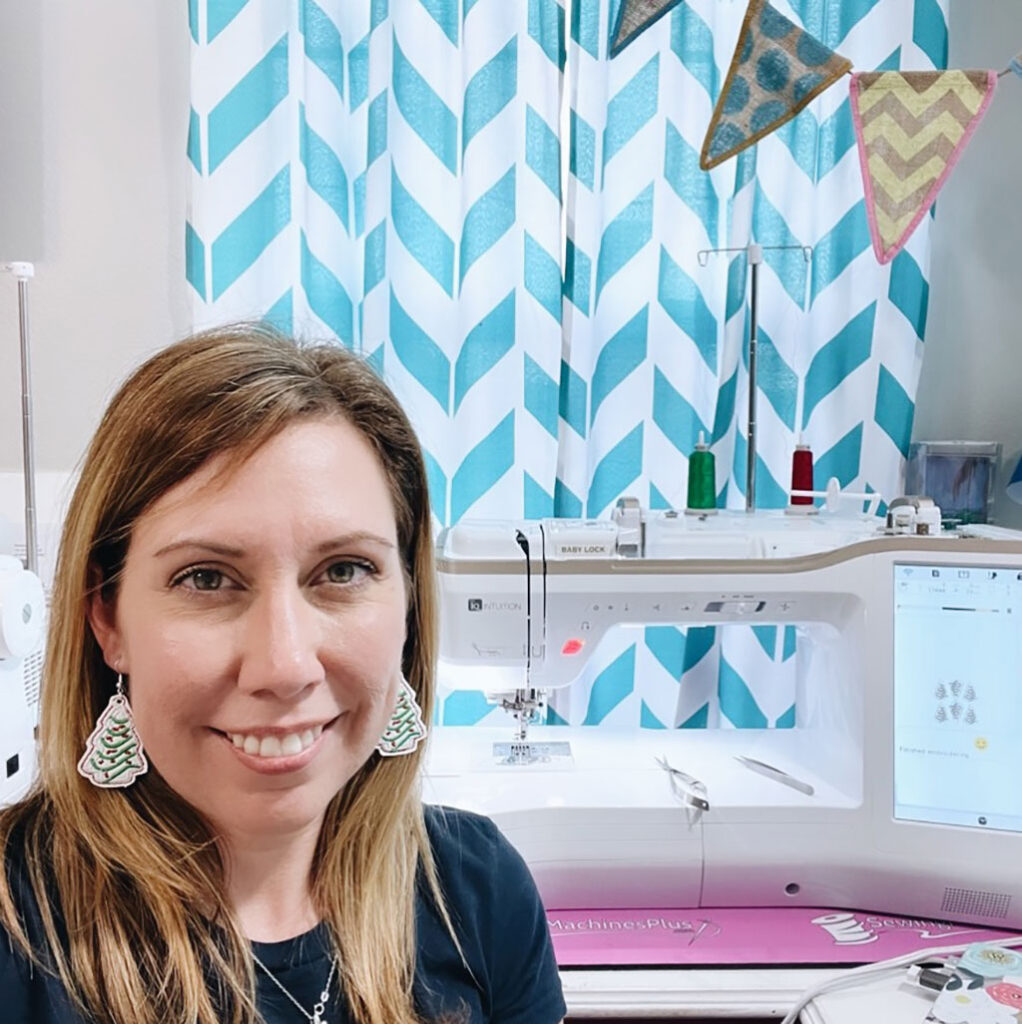
Grab Your Free Bag Tag Design
I’m sending you all three design sizes — the 2″ charm, the 4″ bag tag, and the 4″ shaker version — so you have everything to play with. Just drop your email below and I’ll send them straight to your inbox, along with my weekly Sip & Stitch newsletter (tutorials, freebies, and behind-the-scenes from my embroidery room — unsubscribe any time).
Your email is safe with me — I’ll never share it, and you can unsubscribe any time with one click. I send one newsletter a week with tutorials, freebies, and behind-the-scenes from my embroidery room.
Brand New to Embroidery? Start Here.
If today was your very first embroidery tutorial and you’re thinking “wait, I need to back up” — I’ve got you. I put together a free resource library that walks you through everything from choosing your first machine to your first finished project, all with free blog posts I’ve written over the years. No pressure, just the path I wish I’d had when I started.
Start With the Free Beginner Library →
Everything You’ll Need to Make Your Bag Tag
Jump to what you need: The Basics · Shaker Extras · Faux Leather Shops · Confetti Shops · Font Shops
I’ve pulled together every supply I mentioned in the tutorial, plus links to my favorite shops. A few items have affiliate links — meaning I earn a small commission at no cost to you — but I only recommend things I actually use and love.
The Basics
- The Free Bag Tag Design — [scroll up and grab it here] (includes all three sizes)
- Medium-weight tearaway stabilizer — I like OESD for my faux leather projects. Cutaway also works well if that’s what you have.
- Faux leather or embroidery vinyl — my favorite material for in-the-hoop bag tags. Scroll down for my favorite shops!
- Embroidery thread in your color of choice– I love Exquisite Brand.
- 75/11 ballpoint embroidery needle — what I keep on my machine 95% of the time
- Scissors for cutting vinyl — Fiskars Titanium Non-Stick are my favorite
- Hole punch or piercing tool — for the charm, a seam ripper or pointy scissors work great. For bigger holes, I use my Kam Snaps press (use coupon code KARLIEBELLE15 to save an extra 15% off), and for a beautiful hand-turned piercing tool, I love this one from my friend Becky Thompson at Power Tools With Thread.
- Keychain hardware — ball chains, lobster clasps, key rings, tassels. Amazon has tons of options.
- Low-adhesive embroidery tape(optional) — I use Kimberbell embroidery tape because it holds your vinyl in place during stitching without gunking up your needle, and it tears off cleanly when you’re done. Scotch tape also works in a pinch.
Extras for the Shaker Version
- Clear vinyl — 12, 16, or 20 gauge. Look in the upholstery fabric section at Hobby Lobby, or order online.
- Confetti, sequins, or polymer clay shapes — the fun part! See my shops below.
- Embrilliance Essentials software — needed for adding names and custom fonts. More on this in the software section below.
⚠️ Skip the glitter! It sticks to the clear vinyl and ruins the shaker effect. Sequins or confetti pieces only.
Where to Buy Faux Vinyl:
All of these are shops I’ve personally ordered from. Many sell variety packs — a great way to try a few colors at once.
- Kimberbell Embroidery Leather
- My Punkbroidery
- Glitterbug Fairy
- Sweet n Sassy Blanks
- Wonderground Fabrics
- Amazon
Where to Buy Confetti & Shaker Supplies
These are the fun bits that make the shaker version special:
- Walmart — check the craft section for sequin and confetti mixes (stars, butterflies, hearts, flowers — that’s where I got mine for the tutorial!)
- Michaels & Hobby Lobby — similar craft sections with good variety Polymer clay confetti on Amazon — my favorite for cute shapes like tiny fruit, smiley faces, and animals
Pro tip: Start with less confetti than you think you need. It’s easy to add more, but too much covers up the name or monogram you just stitched.
Where to Buy Embroidery Fonts & Monograms:
These are my favorite shops for beautiful BX fonts (formatted for Embrilliance) and monogram designs:
- Creative Appliques — Dawn’s shop! The balloon font I used in the tutorial is hers.
- Designs by JuJu
- Lynnie Pinnie
- Applique Alley
- Alphalicious Designs
- Planet Applique
Curious About My Embroidery Machine?
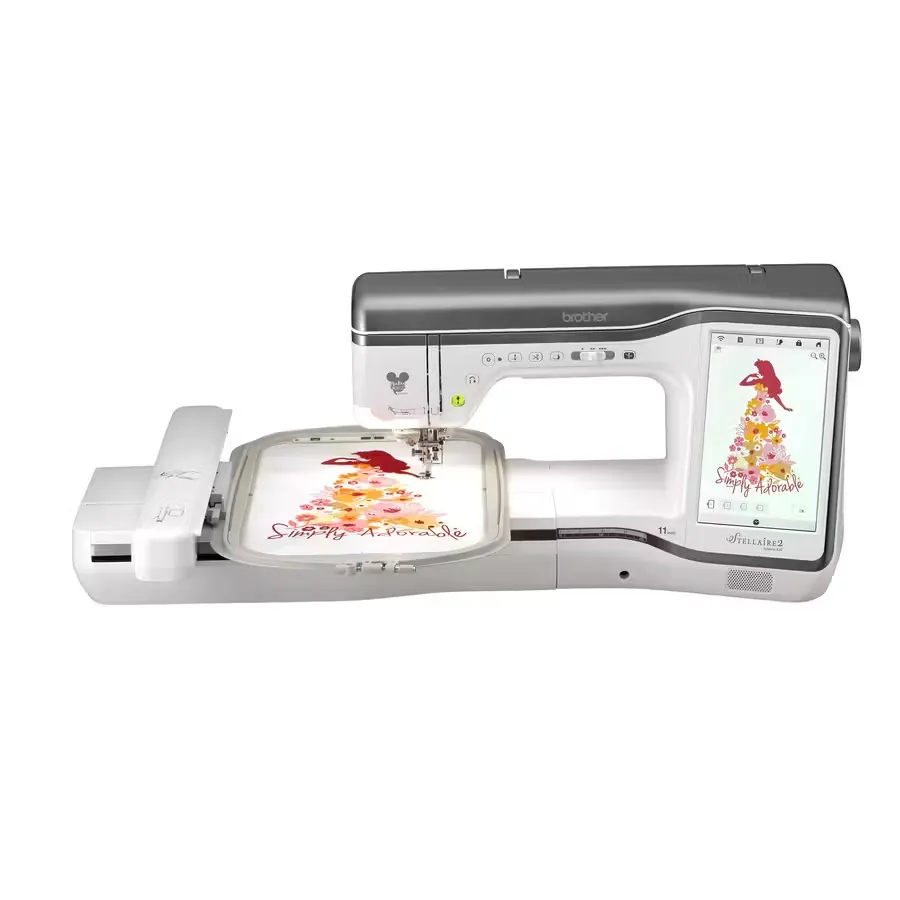
In the tutorial, I’m stitching on my Brother Stellaire XJ2 — it’s a combo sewing and embroidery machine with a 9.5″ x 14″ embroidery area and all kinds of fun features. You don’t need this exact machine to make today’s project (the bag tag works on any embroidery machine!), but if you’d like to learn more or see where to purchase one, you can check it out here.
Embroidery Software:
About the Embroidery Software I Use
In the second half of the tutorial, I used a software called Embrilliance Essentials to add Amie’s name to the shaker bag tag. If you’ve ever tried to personalize an embroidery design beyond what your machine has built in, you know it can feel pretty clunky. Embrilliance Essentials makes the editing, resizing, and font work actually easy — no matter what brand of embroidery machine you have.
One of my favorite features is how it handles fonts. Most embroidery fonts require you to import each letter individually and then line them up yourself. Embrilliance uses a special format called BX fonts that let you type a name into a text box and go. Much faster, much less fussing. If you’ve bought a BX font from a shop like Creative Appliqués (Dawn’s shop — her balloon font is the one I used in the tutorial!), you can install it right into Embrilliance Essentials and type away.
Here’s what Embrilliance Essentials lets you do:
- Open and edit embroidery designs
- Merge multiple designs together (exactly what we did for the shaker bag tag)
- Resize designs without losing stitch quality
- Add lettering with BX fonts or the 15 fonts that come built in
- Save in the format your machine needs — PES, DST, JEF, and more
- Send designs wirelessly to certain Brother and Baby Lock machines
You can learn more about Embrilliance Essentials and purchase it directly from the Embrilliance website
Want to Learn Embrilliance Essentials the Easy Way?
If the software feels overwhelming when you first open it, you’re not alone — that’s exactly why I built a full course called Embroidery Essentials.
I walk you step by step through every tool in the program, how to install BX fonts, how to manipulate and customize designs, and all the things I wish someone had shown me when I first got my software. By the end, you’ll be able to open just about any design and make it your own with confidence.
🎁 Before you head to the course page — I’ve created a special coupon code for MEPS 2026 attendees! Check your virtual goodie bag (or your VIP Treasure Chest, if you upgraded) for your discount. If you can’t find it, just email me at [email protected] before you purchase and I’ll make sure you’re taken care of.
More In the Hoop Tutorials From Me:
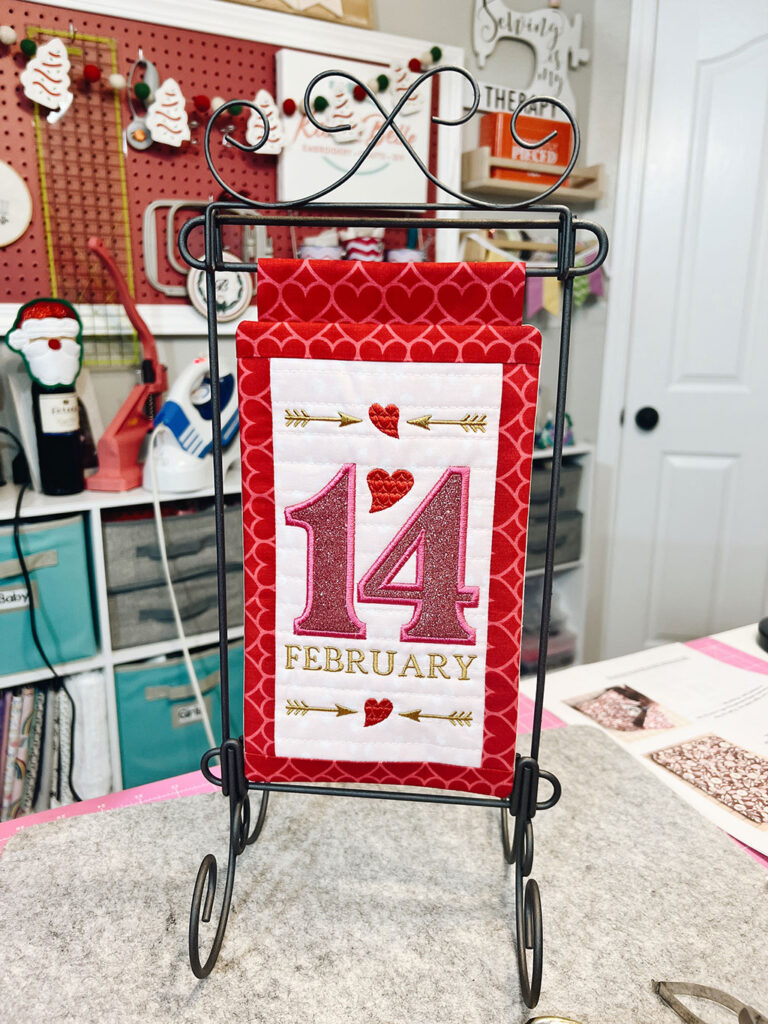
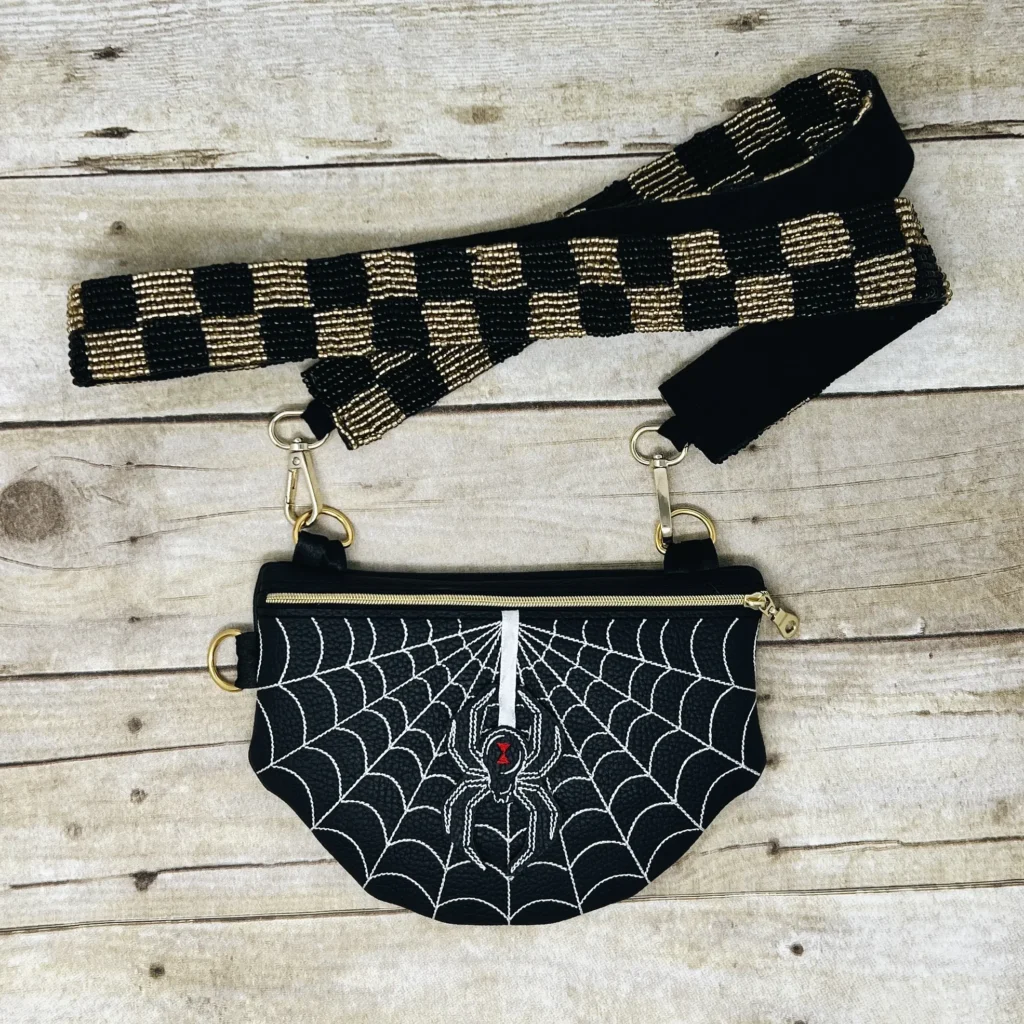
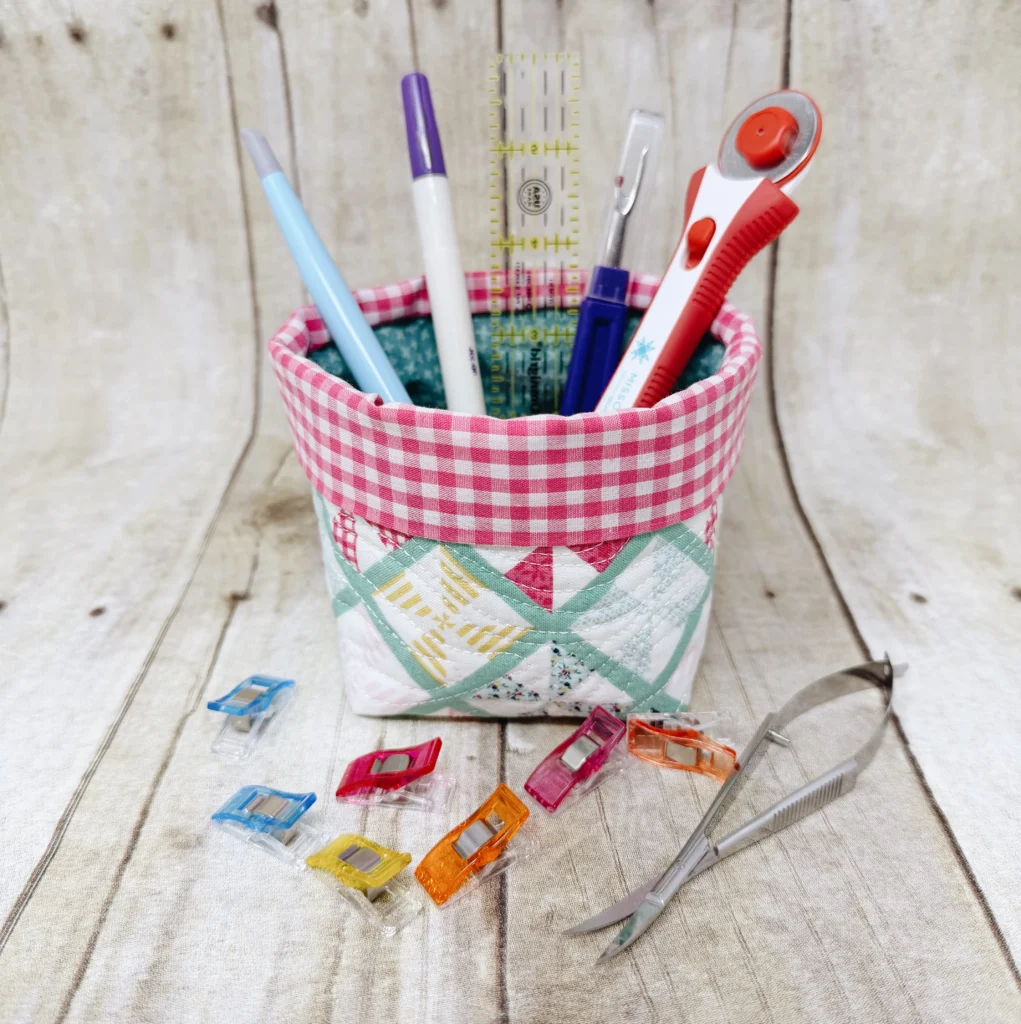
If you enjoyed making your bag tag and want to try more in-the-hoop projects, here are a few of my step-by-step tutorials to dig into next:
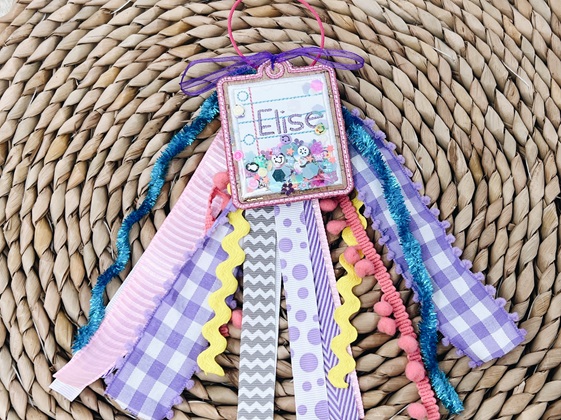
📹 Featured from today’s tutorial:
Shaker Bag Tag Tutorial — the full video walkthrough of the shaker technique I mentioned during class, with extra tips, variations, and close-ups to help you nail the shaker effect at home.
More In the Hoop Projects:


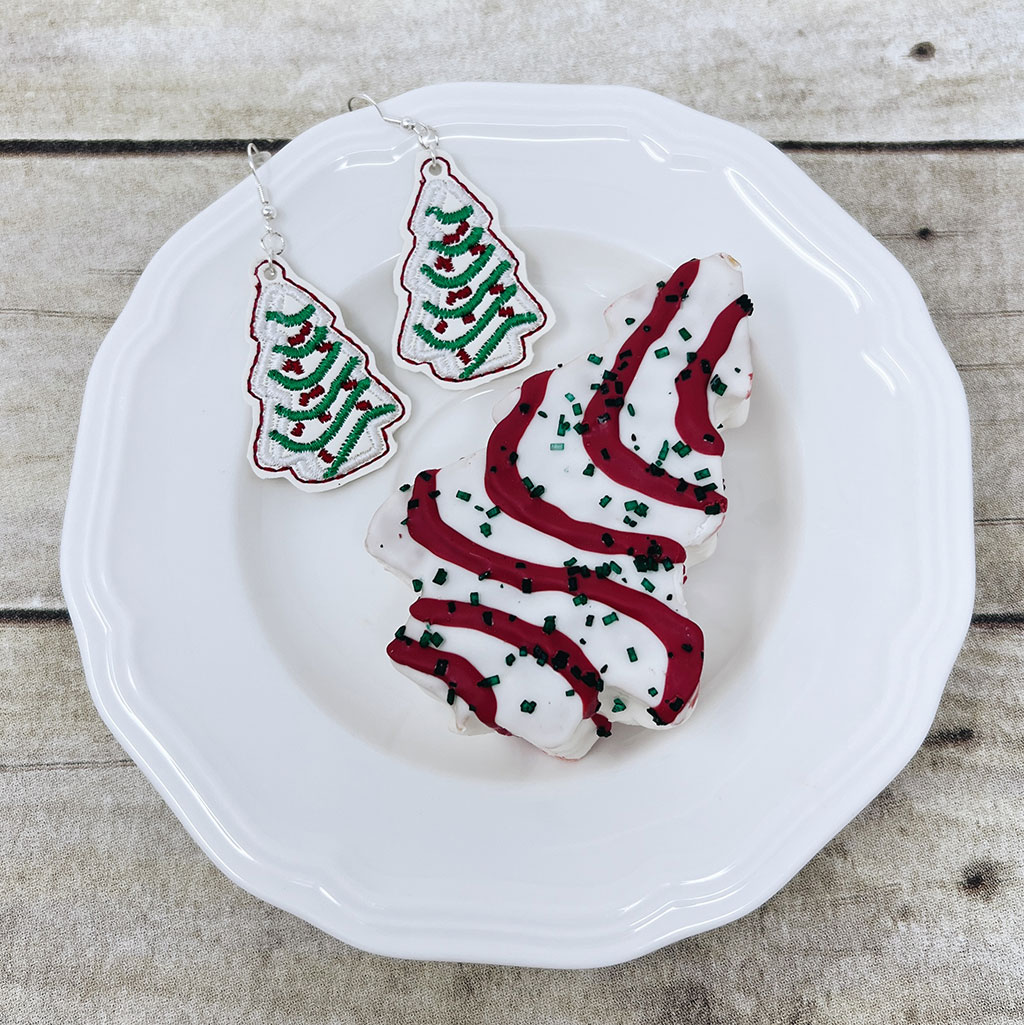
Want to be the first to know when I post new tutorials?
Subscribe to my YouTube channel → for video tutorials, or browse my full tutorial library on the blog → for written step-by-steps.
Stuck? Start Here.
Before you DM me (which you can totally do — I don’t mind!), take a peek here. These are the questions I get most often from this tutorial.
Join the Sip & Stitch Squad VIP Membership
A monthly embroidery membership for stitchers who want more projects, more community, and more confidence at their machines.
Today’s bag tag was just a taste of what I do inside the Sip & Stitch Squad. Every month, members get a brand-new exclusive in-the-hoop design you can’t buy anywhere else, plus live Zoom stitch-alongs where we project together in real time — you bring your machine, a drink, and your questions, and we make something fun while actually enjoying it. Every stitch-along is recorded, which means as a member you also get instant access to five years’ worth of past tutorials, designs, and stitch-along recordings — a full library of projects to work your way through whenever you want.
- ✨ New exclusive design every month — in-the-hoop projects, appliqués, and seasonal designs you only get as a member
- 🧵 Live Zoom stitch-alongs — hang out with me and the Squad while we stitch together, drinks and questions welcome
- 📚 5-year tutorial & design library — every stitch-along and exclusive design since day one, yours to work through at your own pace
- 🎥 Bonus training libraries — dedicated tutorials on Embrilliance software and Brother Persona / Baby Lock Alliance machines included with your membership
- 💕 Private community — a space where members share photos, troubleshoot together, and cheer each other on
That’s more than 60 exclusive designs and over 100 hours of tutorial video ready for you from day one.
🎉 MEPS 2026 Attendees: Your First Month Is On Me
As a thank-you for joining me at the summit, you can try the Sip & Stitch Squad free for 30 days using the link below.
How it works:
- Use the link below to get your first month 100% free
- You’ll get immediate access to this month’s exclusive design, the full 5-year design and tutorial library, the stitch-along calendar, and the member community
- Your card won’t be charged anything for the first 30 days
- On day 30, your membership will automatically renew at $19/month unless you cancel before that date
- To cancel before your first charge, email [email protected] at least one week before day 30 — we need 5 business days to process cancellation requests, and that buffer makes sure your card isn’t charged.
I want you to love it, not feel stuck. If the Squad isn’t the right fit, just email [email protected] at least a week before day 30 and you won’t be charged a cent.
Join 300+ stitchers already in the Squad.
Made Your Bag Tag? Show Me!
There is genuinely nothing that makes me happier than seeing what you’ve made. If you stitch up your bag tag (or any version of the shaker, or one of the related projects linked above), please share it with me — I want to see your fabric choices, your color combos, your creative twists, all of it.
Tag me on Instagram @karliebelle or use #KarlieBelleEmbroidery so I can find your post. I reshare Squad member makes all the time, and yours might be next.
And if social media isn’t your thing, you can always just email me a photo at [email protected] — I read every single one and will absolutely respond.
Find me here:
- 📸 Instagram: @karliebelle
- 🎥 YouTube: Karlie Belle
- 👥 Facebook: @KarlieBelleBlog
- 📌 Pinterest: @karliebelle
A quick note before you go —
Thank you for spending part of your summit weekend with me. Embroidery is the hobby (and then career) that genuinely changed my life, and getting to teach it to a room full of stitchers who actually want to be there is my favorite thing in the world.
Whether you walked away with a finished bag tag, a brand-new supply list to build, or just the confidence to try an in-the-hoop project for the first time — that matters to me, and I’d love to hear about it.
And if you want to keep stitching together after the summit ends, you know where to find me (pick literally any link on this page).
Happy stitching, friend. 💕
Karlie
P.S. — If this resource page helped you, the single nicest thing you can do is share it with a stitcher friend who was at the summit with you. It costs you nothing and it means the world.