Hello friends! I’m so glad you’re here today because I’m going to walk you through making a beautiful in the hoop luggage tag from start to finish. This project is perfect for those of you who love machine embroidery and want to try something a little different and fun. I’ll share all the details, tips, and tricks I’ve learned to help you create a professional-looking luggage tag using your embroidery machine.
To help us get ready for summer travel, this month’s Sip & Stitch will be on how to make an in the hoop luggage tag on your embroidery machine. This is the first time I have purchased and made a project from Embroidery Garden, and now I am excited to try more of Reen’s designs!
This particular in the hoop luggage tag is a bit fancier than some of the projects I’ve done before, with some cool construction details, including cutting vinyl and cork right in the hoop and adding a clear vinyl window. I will be doing this project on my Brother PR1x single needle free arm machine. The design comes in 4×4, 5×7, and 6×10 options so it can be made on any embroidery machine.
Gathering Your Supplies
Before we jump into the stitching, it’s important to have all your supplies ready. For this project, you’ll need:
- Luggage Tag from Embroidery Garden
- Faux Leather/ Embroidery Vinyl
- Options on Amazon
- Sweet n Sassy Blanks
- GlitterBug Fairy
- MyPunkbroidery (promo vinyl is great)
- Clear Vinyl
- Tear Away Stabilizer Use coupon code “karliebelle” to save 10%
- Applique Scissors Use coupon code “karliebelle” to save 10%
- Organ 75/11 BP Needles Use coupon code “karliebelle” to save 10%
- Precision Tweezers Use coupon code “karliebelle” to save 10%
- Embroidery Thread Use coupon code “karliebelle” to save 10%
- Bobbins for Free Arm Machines Use coupon code “karliebelle” to save 10%
- Bobbin wound with top color thread for last step
- For free arm machines, you can find prewound FilTech Magna-glide colored bobbins on Amazon or wind your own on an L style bobbin
- I found another couple websites that have lots of colors of magna-glide bobbins- Quilted Joy and Lindas
- Exacto Knife
- Rotary Cutter
- Cutting Mat
- Acrylic Ruler
- Some of my favorite places to buy faux leather and cork are Sweet and Sassy Blanks and Sweet Pea Embroidery. They offer beautiful options perfect for in the hoop luggage tag projects. You can also find lots of vinyl options on Amazon or specialty sites like MyPunkbroidery.
Brother PR1X
Awesome single needle, free arm embroidery machine with large 8×12 hoop, cuts jump stitches, and stitches at speed of 1050 spm
Featured machine

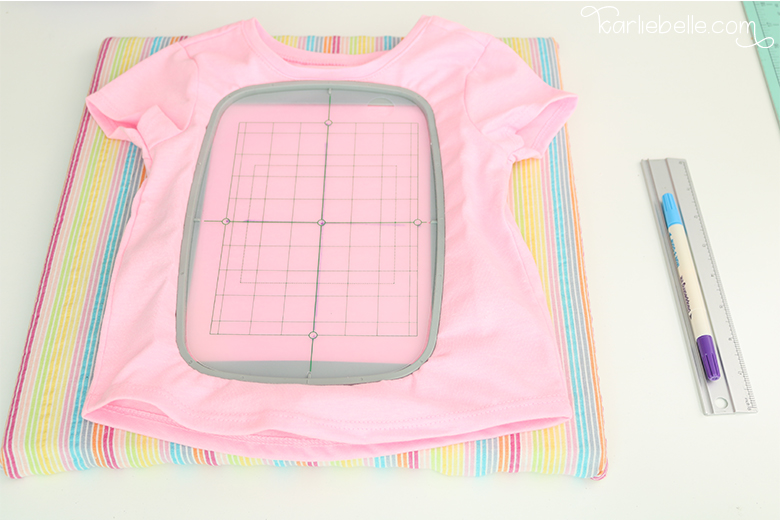
Preparing Your Machine and Hooping Stabilizer

Now that you have your supplies, it’s time to prepare your machine and stabilizer. For this project, I’m using a 5×7 hoop on my Brother PR1X free arm machine. If you have a different machine or hoop size, no worries! The design includes files for 4×4, 5×7, and 6×10 hoops.
Here’s how to hoop your stabilizer:
Cut two pieces of tear away stabilizer large enough to cover your hoop area because this project requires two hoopings. Place one piece of stabilizer between the inner and outer hoop so it’s taut and smooth but not stretched. Make sure everything is secure, so your embroidery won’t shift during stitching.

Step 1: Stitching the Strap Placement Design
The first hooping will create the strap portion of the luggage tag. Load the strap design onto your machine and set the hoop size to match your hoop. On my machine, I rotate the design 90 degrees to fit the hoop orientation.
Start the embroidery. The first step is a placement stitch that shows where you will lay your vinyl pieces for the strap on both the front and back. This stitch is only a light outline to guide your vinyl placement.

While the machine is stitching the placement outline, cut two pieces of vinyl or faux leather for the strap. The recommended size is approximately 1 3/4 inches by 6 3/4 inches. Use your ruler and rotary cutter for straight lines and scissors for curves if needed.
Once the placement stitch is done, carefully lay your two vinyl pieces on top and bottom of the stabilizer according to the stitch guide. Use embroidery tape sparingly to hold the vinyl in place. Be careful not to stretch or shift the vinyl and avoid pressing too hard to prevent hoop damage.

After securing the vinyl, stitch the strap outline. Here’s a tip: to avoid a big thread knot on the back where the stitching starts, pull the bobbin thread up before starting. On flatbed machines, you can lower and raise the needle once to do this. On free arm or multi-needle machines without a needle down button, quickly start and stop the machine while holding the top thread to pull the bobbin thread up.
When the stitching finishes, unhoop and trim the excess stabilizer and vinyl around the strap, using your rotary cutter and scissors. Try to keep about 1/8 inch beyond the stitch line for a clean look. You can also use titanium non-stick scissors dedicated to vinyl for best results.

Step 2: Preparing for the Tag Hooping
Now it’s time for the main tag hooping, which will include the tag body, the clear window, and the strap attachment.
Start by hooping the second piece of stabilizer. Cut two pieces of vinyl or cork for the front and back of the tag. The front piece remains solid, but the back piece needs a slit cut into it for inserting your information card. The design files include a PDF with a pattern and instructions on where to cut this slit.
To cut the slit accurately, print the PDF at actual size (not scaled) and trim it. Align the pattern on your back vinyl piece and mark the slit ends with pins. Using an X-acto knife or rotary blade, carefully cut along the marked slit. You want to avoid shifting the material as you cut to keep it precise.

If you don’t have an X-acto knife, you can start the cut with a rotary blade and finish with scissors. The slit allows you to slide in a card with your contact information once the tag is complete.
Step 3: Stitching the Tag Placement and Window
Load the tag design onto your machine and select the appropriate hoop size. The tag stitching includes several steps, starting with a placement stitch to outline where the front vinyl piece will go.
After the placement stitch, lay the front vinyl piece on the stabilizer. You can use a stiletto or your fingers to hold it in place if needed. The next stitching step will create the window outline where the clear vinyl will be attached.

Once the window stitch is done, you’ll need to cut out the window opening inside the hoop. Place the hoop flat on your cutting mat and use a ruler as a guide to cut about 1/8 inch inside the stitch line. Use a rotary cutter for straight edges and an X-acto knife or applique scissors to round the corners.

Step 4: Adding and Securing the Clear Vinyl Window
Cut a piece of clear vinyl approximately 2 3/4 inches by 4 inches. This piece should be slightly larger than the window opening you just cut, so it will be fully covered when stitched.
Turn the hoop over and place the clear vinyl on the back side of the hoop, behind the window opening. Use small pieces of tape to hold it gently in place. Be careful not to press too hard on the hoop to avoid damage.

Stitch the step that secures the clear vinyl to the stabilizer and vinyl. This step tacks the vinyl in place so it won’t shift during the final embroidery.
Step 5: Attaching the Back Piece and Creating the Buttonhole
Next, place the back vinyl piece with the pre-cut slit on the back side of the hoop inside the placement stitch line. Make sure the slit is positioned just above the window opening and use small pieces of tape to secure it.
Stitch the buttonhole placement step, which creates a zigzag outline where the buttonhole will be sewn. This buttonhole is where the strap will loop through later.

Carefully cut out the buttonhole opening along the stitched outline. You can use an X-acto knife to start the slit and then use scissors to trim close to the zigzag stitch line. This cut goes through both layers of vinyl and stabilizer.
If you want a cleaner finish, apply a small piece of water-soluble topper on top of the buttonhole area before stitching the satin stitch. This topper stabilizes the stitches and helps prevent puckering.
Step 6: Stitching the Buttonhole Satin Stitch
Now, stitch the satin stitch around the buttonhole. This satin stitch finishes the buttonhole edge and secures the slit.
Make sure your bobbin thread matches your top thread for a neat finish. Use the same bobbin thread color you used for the top thread and pull the bobbin thread up before stitching to avoid knots on the back.

After stitching, carefully remove the water-soluble topper by tearing or rinsing it away.
Step 7: Positioning the Strap and Final Stitching
Pull down the vinyl on the front of the hoop to expose the strap placement line just above the buttonhole. Place the end of the strap you created earlier so that it aligns evenly with this placement line. Tape it gently to hold it in place.

The final stitching step will sew the outline of the tag from front to back and secure the strap in place. Because this step involves stitching through multiple layers, including the strap, slow down your machine speed if your presser foot drags or struggles to sew through the thick layers.
Again, pull your bobbin thread up before starting to avoid thread nests on the back of your work.
Step 8: Finishing Touches – Trimming and Inserting Card
Once the final stitching is complete, trim the tag carefully around the stitch lines, keeping in mind the location of the strap so you don’t accidentally cut it off. Use a ruler and rotary cutter for straight edges and scissors for curves or corners. You may choose to round the corners for a polished look.
After trimming, you can tuck the strap through the buttonhole loop to create the luggage tag strap. Insert a card with your contact information into the slit on the back of the tag. The design files come with printable cards you can fill out and cut to size, or you can use a business card or cardstock.

Additional Tips for a Professional Finish

- When winding bobbins for in-the-hoop projects, match your bobbin thread color to your top thread color for a neat finish on both sides.
- Use embroidery tape with low tack to hold vinyl pieces in place without damaging your hoop or vinyl.
- Be gentle when flipping hoops over, especially if you don’t have a wool mat to fill the empty space inside the hoop.
- If you don’t have an X-acto knife, appliqué scissors, and rotary cutters can be used effectively for cutting vinyl.
- Take your time with cutting inside the hoop; a steady hand and proper tools make a big difference.
Why I Love This In the Hoop Luggage Tag Project
This in the hoop luggage tag project is one of my favorites because it combines machine embroidery with clever construction techniques. You get to work with vinyl and cork, cut inside the hoop, and create a usable, beautiful item that looks store-bought. I love how the clear window adds a nice touch and the buttonhole strap attachment is neat and functional.
It’s a great project for anyone wanting to take their in the hoop skills to the next level. Plus, it’s versatile—you can customize colors, materials, and sizes to suit your style or make personalized gifts.
More Fun In the Hoop Projects to Try
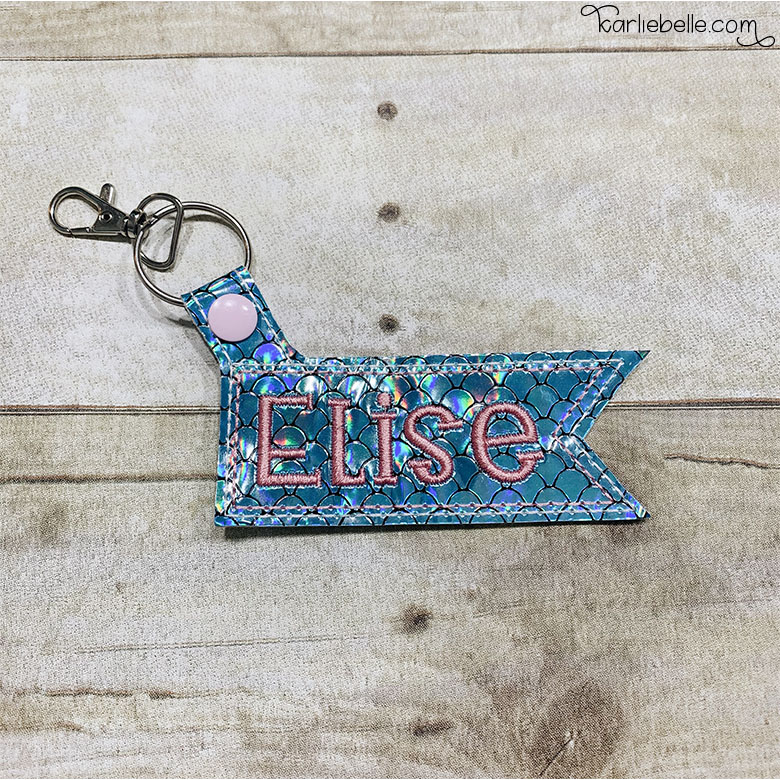
If you enjoyed this in the hoop luggage tag, you might also want to try some of our other in the hoop projects like the key fob or the chapstick holder. These smaller projects are great for practicing placement and stitching, and you end up with cute, functional items perfect for gifts or personal use.
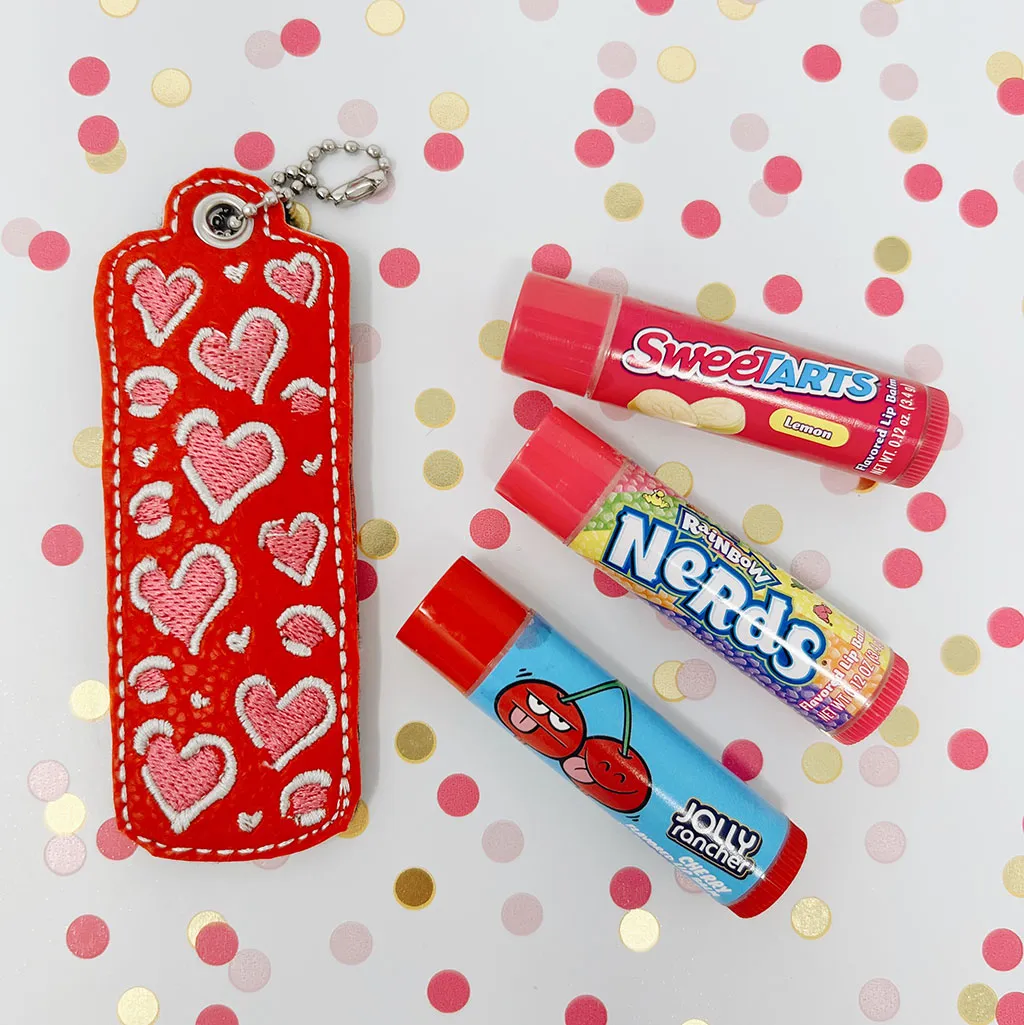
For those interested in makeup bags, the in the hoop chapstick holder is a perfect companion project that’s quick and fun to make.
Conclusion
Thank you so much for following along with this detailed tutorial on making an in the hoop luggage tag. It’s such a rewarding project that gives you a professional-looking item with every stitch. Remember to take your time with each step, especially the cutting and placement, and don’t forget the tips I shared for pulling up your bobbin thread and matching your thread colors for a polished finish.
Feel free to experiment with different materials and colors to make your luggage tag uniquely yours. And if you want to explore more in the hoop projects, check out our other tutorials—you’ll find plenty of inspiration and ideas to keep your embroidery machine busy.
Pin It

OTHER LINKS
Before we jump into the stitching,🛍 Kimberbell Punch Needle Embroidery Kit Giveaway ends 5/31/25 at 11:59pm mst
🚨 Oh Sew Delightful Quilt Sew Along Info
🪡 Learn more about my beginner course on machine embroidery, From Start to Stitch
💻 Enroll in my new course Embroidery Essentials
❤️ Join my Sip & Stitch Squad VIP Membership
🧵 Join my Facebook Group for discussion and help on machine embroidery and crafting
Thanks for stopping by!