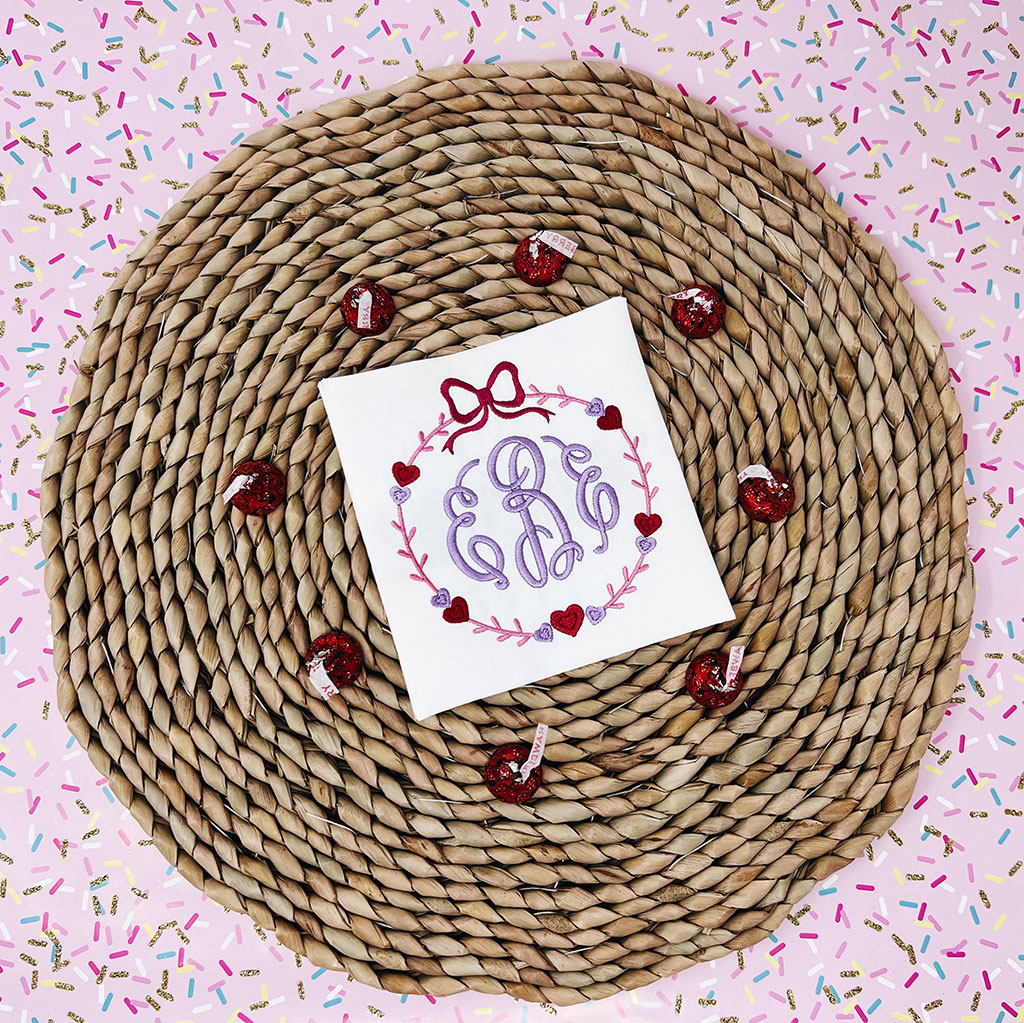
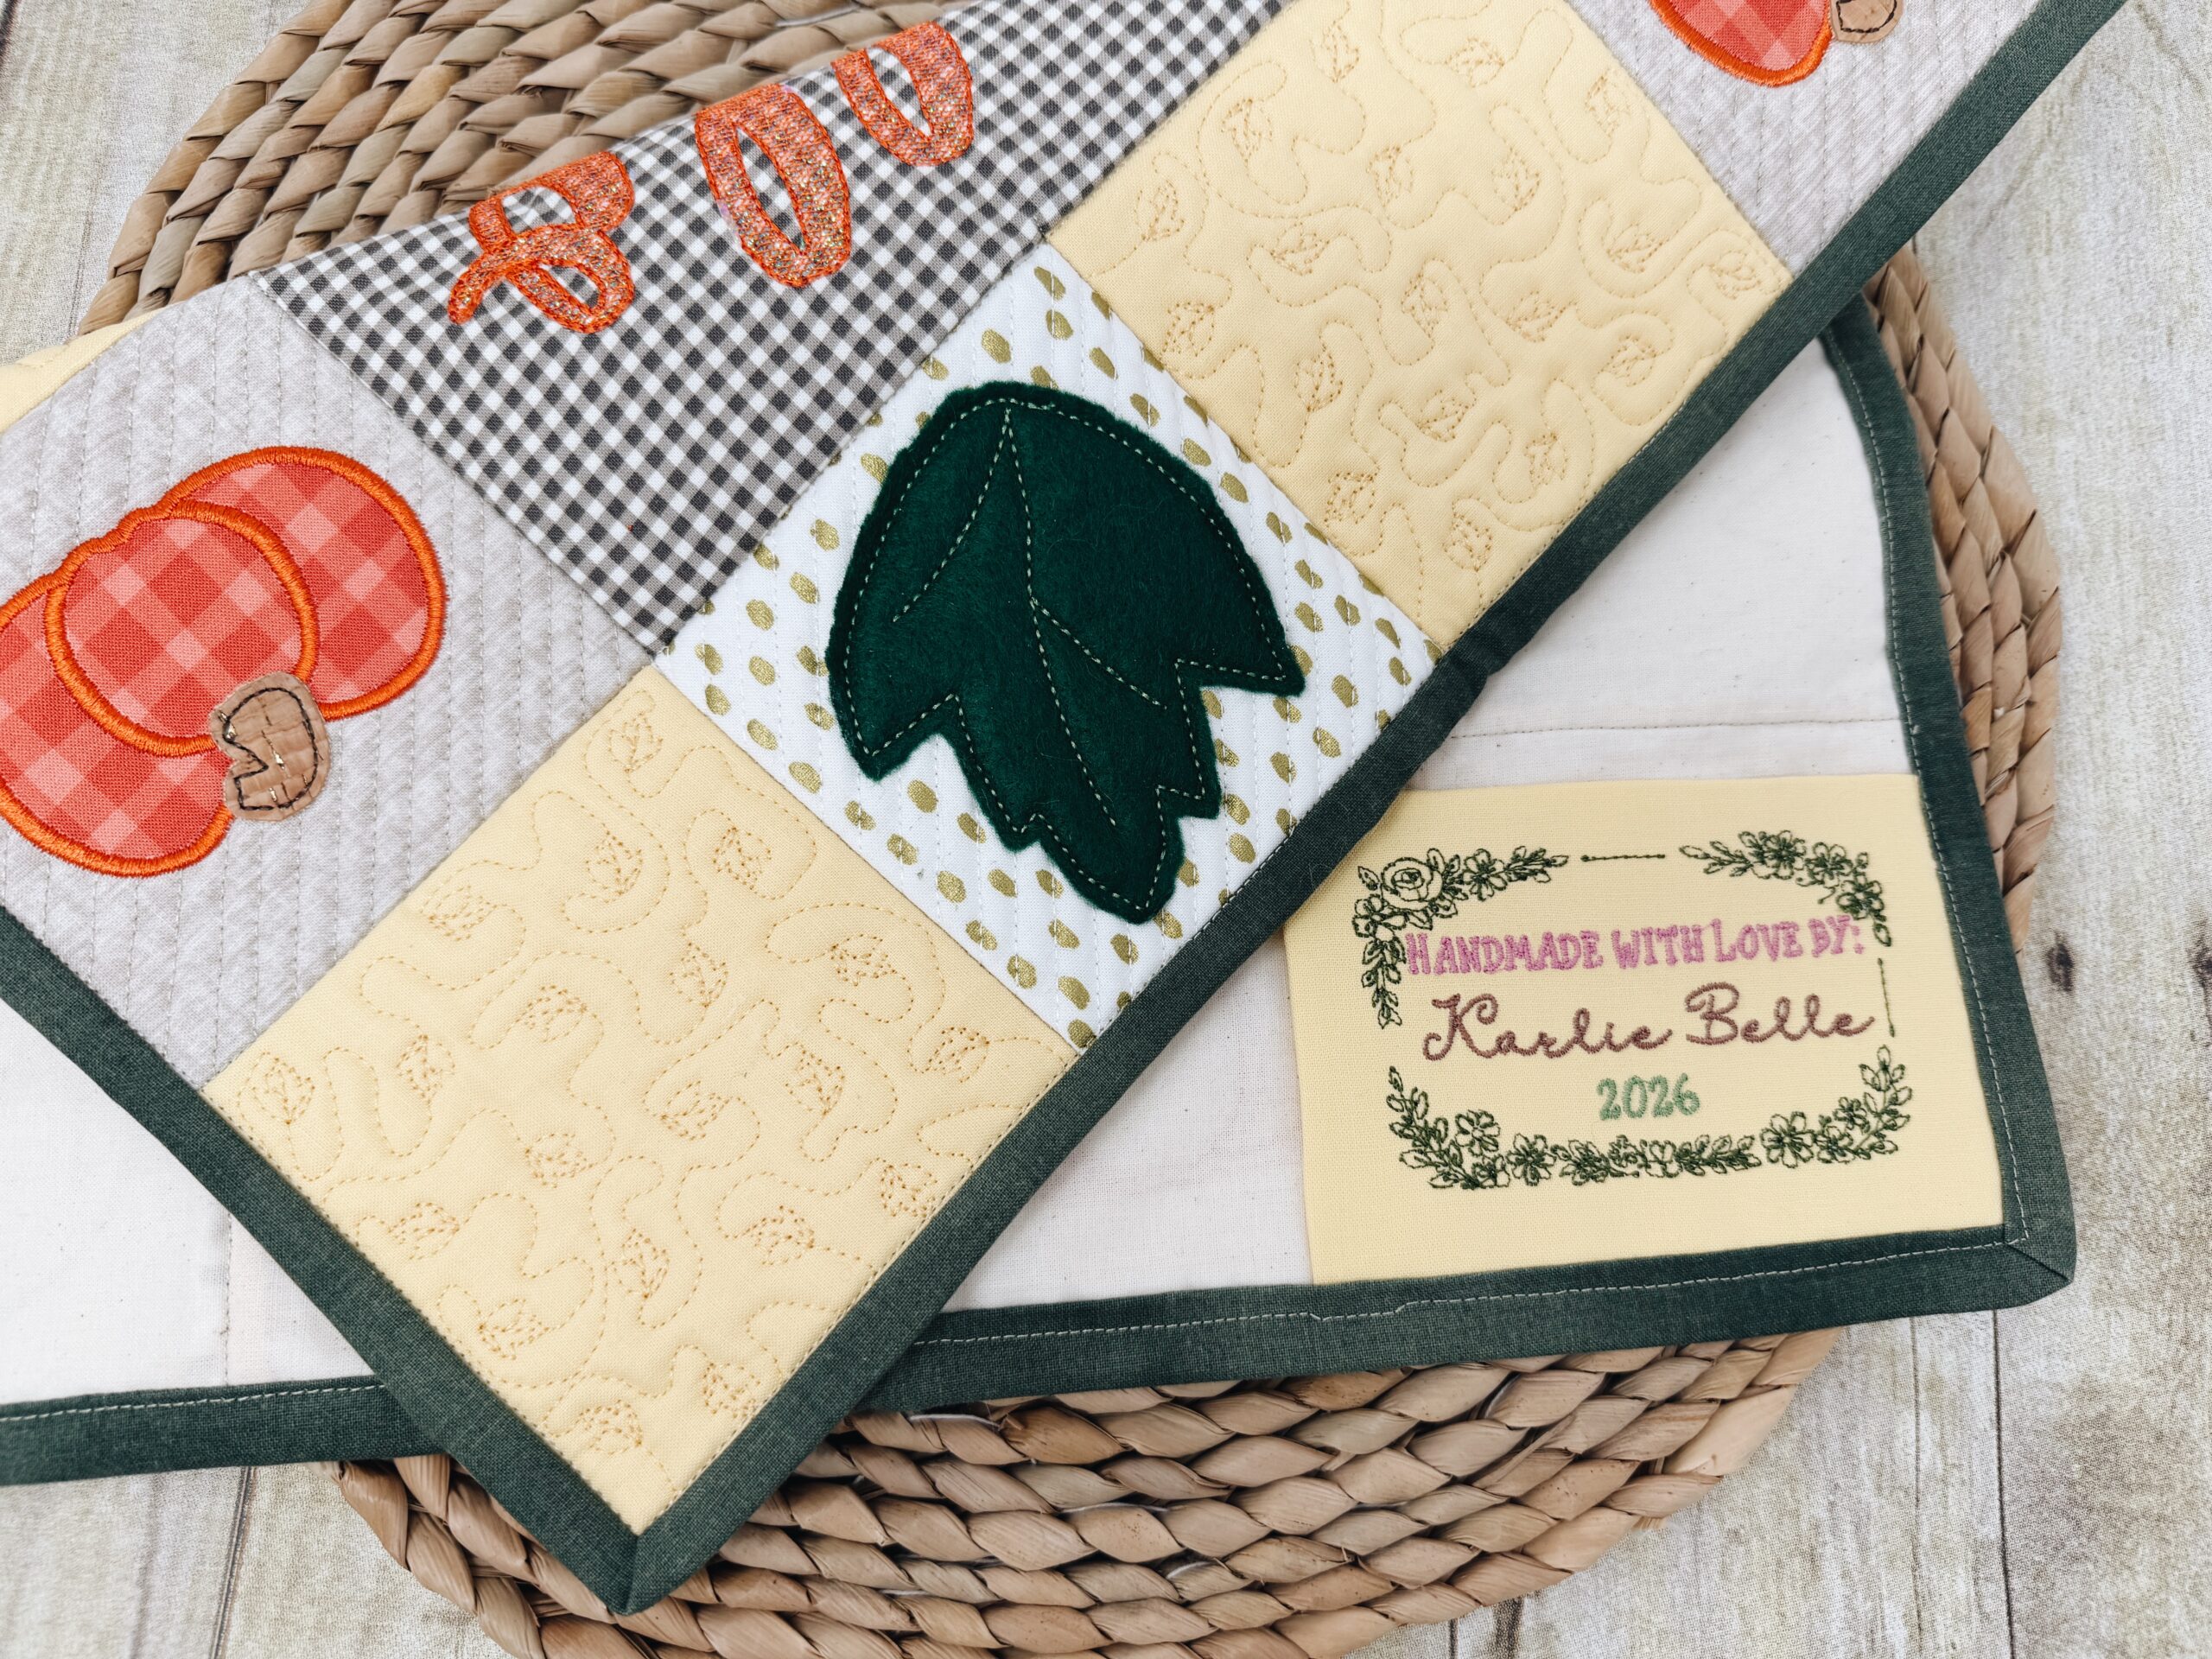
Machine embroidered quilt labels are one of those small finishing touches that make a handmade quilt feel truly complete.
In this month’s Sip & Stitch, we’re creating something every quilt deserves — a beautiful, personalized quilt label. In this step-by-step tutorial, I’ll show you how to design your own quilt label from scratch inside Embrilliance Essentials, combining frames, simple design elements, and embroidery fonts to create something meaningful and completely custom. I’ll be demonstrating on my Brother PE800, but this project can be made on any embroidery machine.
We’ll talk through where to find design elements — whether that’s designs and frames you already own or themed elements from places like Creative Fabrica — and how to bring everything together into a cohesive layout. Then I’ll walk you through stitching it out, including fabric choices, stabilizer recommendations, sizing, and shape options to get the cleanest, most professional result.
Finally, we’ll cover how to attach your quilt label to your quilt — whether the quilt is unfinished and waiting for binding or already completely bound. I’ll share several finishing options, including sewing machine stitching and decorative hand stitching, so you can choose the look that fits your project.
By the end of this class, you’ll know how to design, stitch, and attach a quilt label with confidence.
Gathering Your Supplies
Before we jump into the stitching, it’s important to have all your supplies ready. For this project, you’ll need:
- Fabric of choice for background of Quilt Label
- Embrilliance Essentials
- Creative Fabric for lots of frames and Designs
- Pre-made designs found on Etsy
- Cut Away Use coupon code “karliebelle” to save 10%
- SF101 Use coupon code “karliebelle” to save 10%
- Applique Scissors Use coupon code “karliebelle” to save 10%
- Organ 75/11 BP Needles Use coupon code “karliebelle” to save 10%
- Precision Tweezers
- Clover Stiletto Use coupon code “karliebelle” to save 10%
- Embroidery Thread Use coupon code “karliebelle” to save 10%
- Invisible Thread
- Pre-wound Bobbins for Flat Bed Machines
Why Add a Quilt Label at All?
The more quilts you make for other people, the more meaningful labels become. Every stitch tells a story, but a simple label makes sure that story is never forgotten. Years from now, when your quilt is wrapped around someone you love, they’ll know exactly who made it—and they’ll remember the hands and heart that created it.
A quilt label can include:
- Who the quilt is for
- Who made it
- The month or year
- A special message
- A phrase like “handmade with love”
- A decorative shape like a heart or applique-style patch
For baby quilts especially, I love the idea of adding something personal on the back. It can be as simple as “Made with love by Aunt Karlie” with a date, or something more detailed if you want to commemorate a birth, a wedding, or a family milestone.
There are lots of ways to label a quilt. Some people use a fabric marker or Sharpie. Some print onto fabric. Sublimation is another option. But if machine embroidery is already your thing, machine embroidered quilt labels are such a beautiful fit.
What Can Machine Embroidered Quilt Labels Look Like?
There really is not one right answer here, which is part of what makes this so fun.
Your label can be:
- A rectangle
- A square
- A triangle folded into a corner
- A narrow strip sewn into the binding
- A decorative shape like a heart or applique-style patch
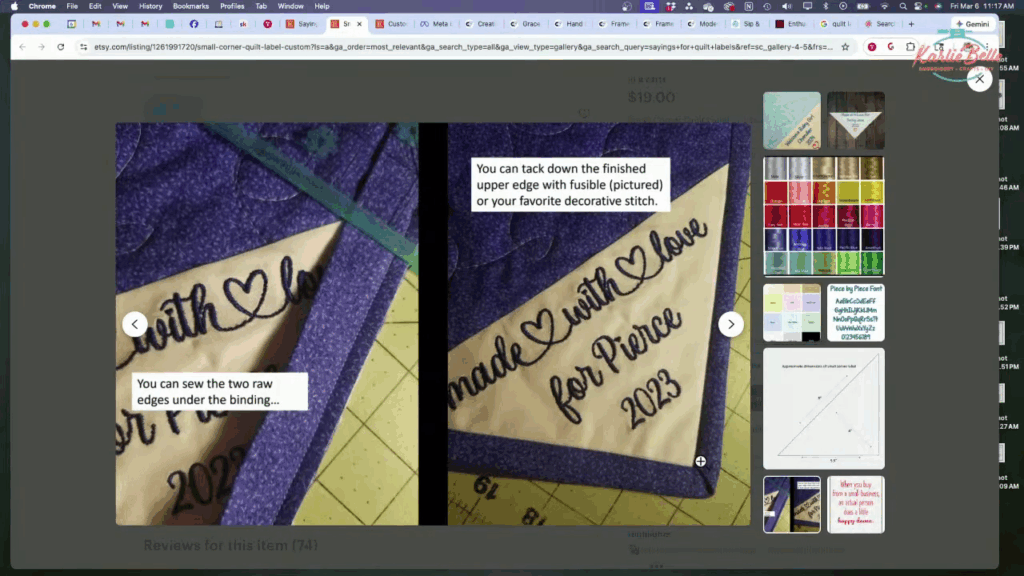
One of the prettiest options for machine embroidered quilt labels is the corner triangle. You embroider on a square of fabric, fold it diagonally, and sew the two raw edges into the quilt binding so the folded edge becomes a finished corner detail on the back.
What Fabric Works Best for Machine Embroidered Quilt Labels?
The simplest and most common choice is just regular woven quilting cotton. That is what I used, and it works beautifully as long as you prep it properly.
You can also use:
- Craft felt
- Linen
- Wool
- Vinyl or cork for non-traditional projects
For machine embroidered quilt labels specifically, cotton is lovely because it coordinates easily with the quilt backing and feels like it belongs there.
A Note About Puckering
When you embroider on woven cotton, puckering can happen if the fabric is not stabilized well. The easiest fix is to add a fusible woven interfacing to the back of the cotton before hooping.
A great option is Pellon SF101 Shape-Flex. It gives the cotton a little more body and helps it stay smooth while stitching.
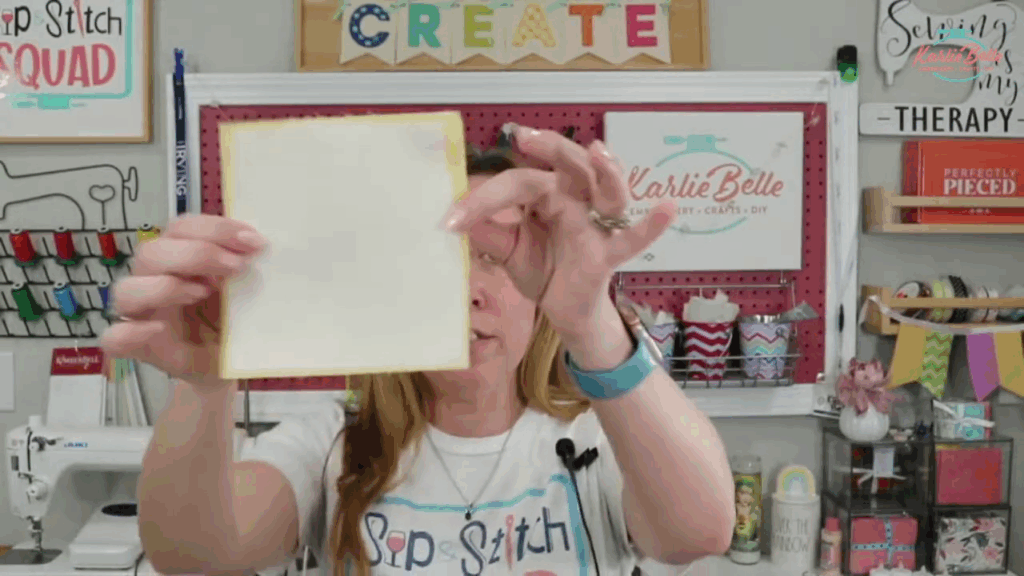
The basic prep looks like this:
- Press the cotton fabric well.
- Apply starch if you like your fabric extra crisp.
- Cut a piece of fusible interfacing slightly smaller than the fabric.
- Fuse it to the wrong side of the fabric.
Be careful with fusible interfacing. The adhesive side needs to go against the wrong side of the fabric. If the adhesive side touches your iron, you will have a mess on your hands.
What Stabilizer Should You Use?
For this project, I used medium-weight cutaway stabilizer. That gives the stitched label enough support to stay smooth and professional looking. See supplies link above for what I recommend.
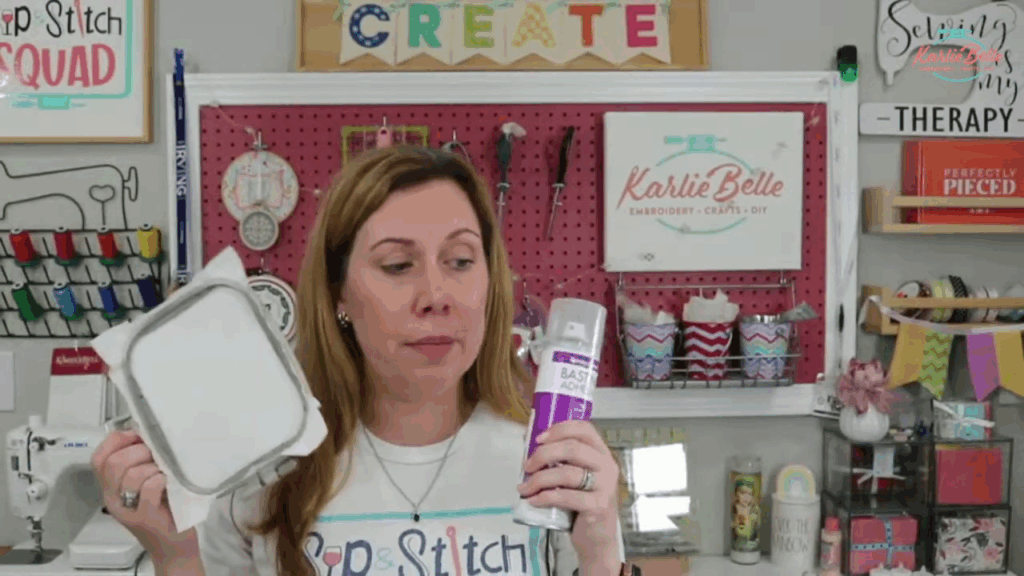
You can either:
- Hoop the fabric and stabilizer together, if your fabric piece is large enough
- Hoop only the stabilizer and float the fabric on top, if you are working from a scrap or smaller cut
If you float the fabric, a light spray of temporary adhesive on the hooped stabilizer helps a lot. A regular glue stick also works if that is what you have on hand.
If your machine or software allows it, adding a basting box around the design is another smart way to keep everything stable.
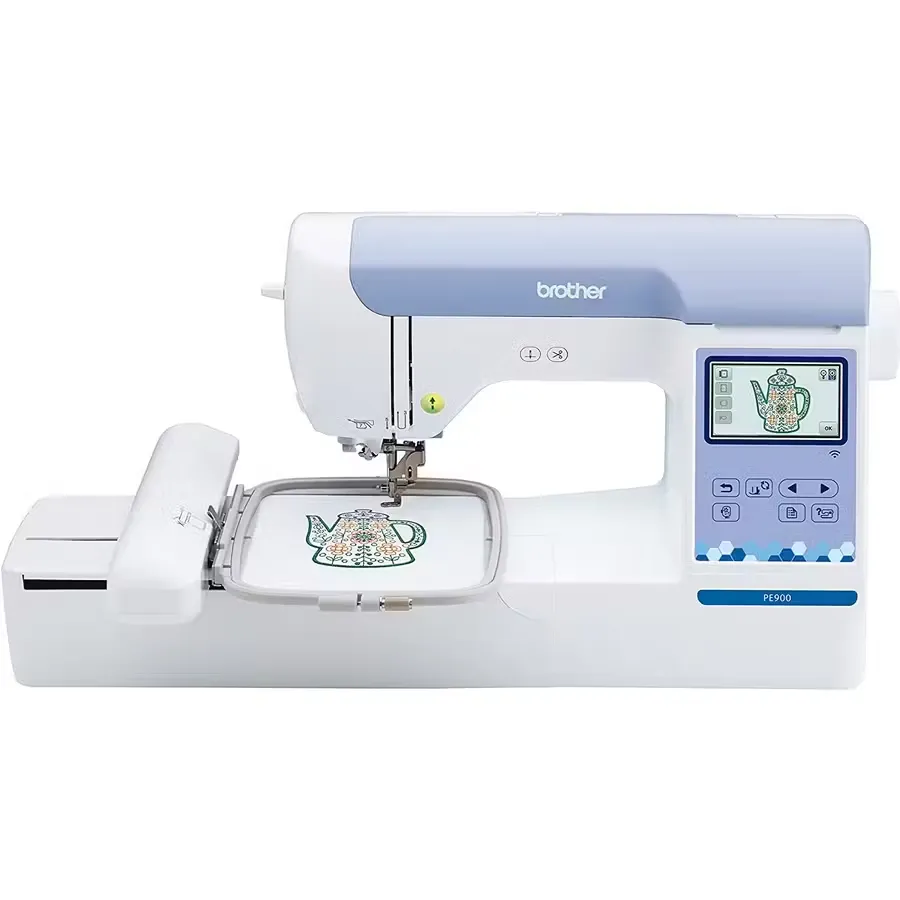
Brother PE900
Great beginner embroidery machine with 5×7 hoop, cuts jump stitches, wifi enabled, and stitches at speed of 600 spm
Featured machine
What to Include on Machine Embroidered Quilt Labels
This part is personal, so keep it simple or make it detailed. Both work.
Some ideas:
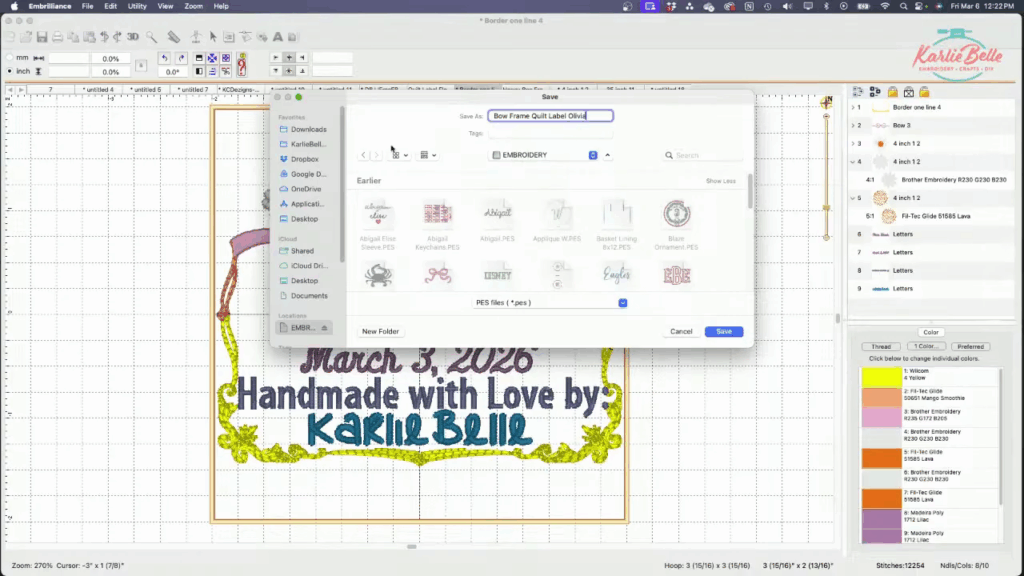
- Made for Baby Olivia
- Handmade with love by Karlie Belle
- March 2026
- Made especially for…
- Stitched with love
- Made with love and prayer
You can also add a frame, little floral accents, bows, woodland animals, or any small design element that ties into the quilt theme.
How to Design Machine Embroidered Quilt Labels in Embrilliance Essentials
This is where the fun really starts. If you already use Embrilliance Essentials, you can create completely custom machine embroidered quilt labels by combining frames, fonts, and small embroidery elements into one design.
If you are not familiar with Embrilliance and would like to learn more about the different programs that they offer, check out this blog post, which breaks it all down for you. If you already have Embrilliance Essentials and need help with learning, step by step, all of the tools and features the software offers, check out my online course, Embroidery Essentials.
🎓 Want Step-by-Step Help with Essentials?
Inside this course, I walk you step-by-step through:
- The toolbar and preferences window
- Objects & properties panels
- Lettering and BX fonts
- Resizing and merging designs
- Saving & exporting files
- And all the foundational tools that make up Embrilliance
Option 1: Start With a Ready-Made Quilt Label Design
Some embroidery shops sell quilt label designs that are already set up for this purpose. Designs by JuJu has several cute options, including triangle corner labels, circular labels, and text-based labels where you just add a name.
This is a great choice if you want something easy and ready to stitch.
Option 2: Build Your Own Custom Layout
This is my favorite approach.
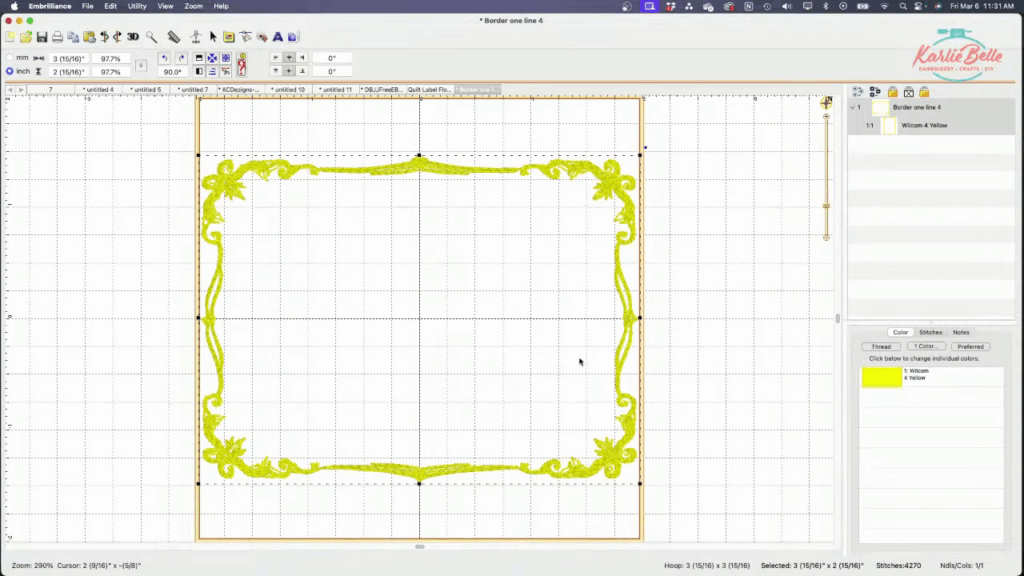
For one label, I used:
- A floral frame from Creative Fabrica
- Three different embroidery fonts
- Custom text for the recipient, maker, and date
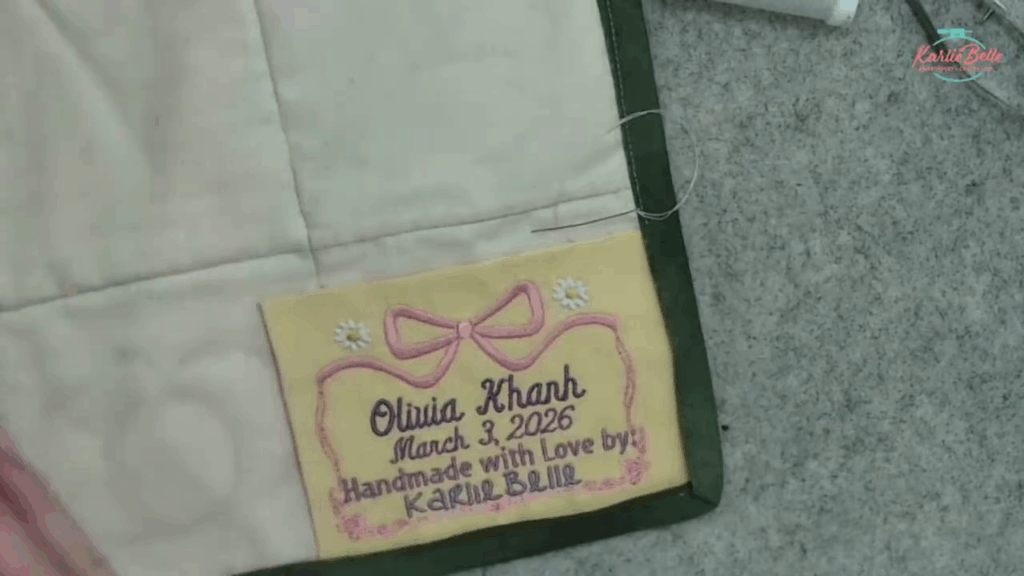
For another version, I made a bow-topped frame with two tiny flowers and personalized text for a baby quilt. That one was stitched in a 4×4 hoop and turned out so sweet.
Where to Find Design Elements
Creative Fabrica can be incredibly useful for this. You can search for:
- Frames
- Floral sprays
- Bows
- Woodland animals
- Corner motifs
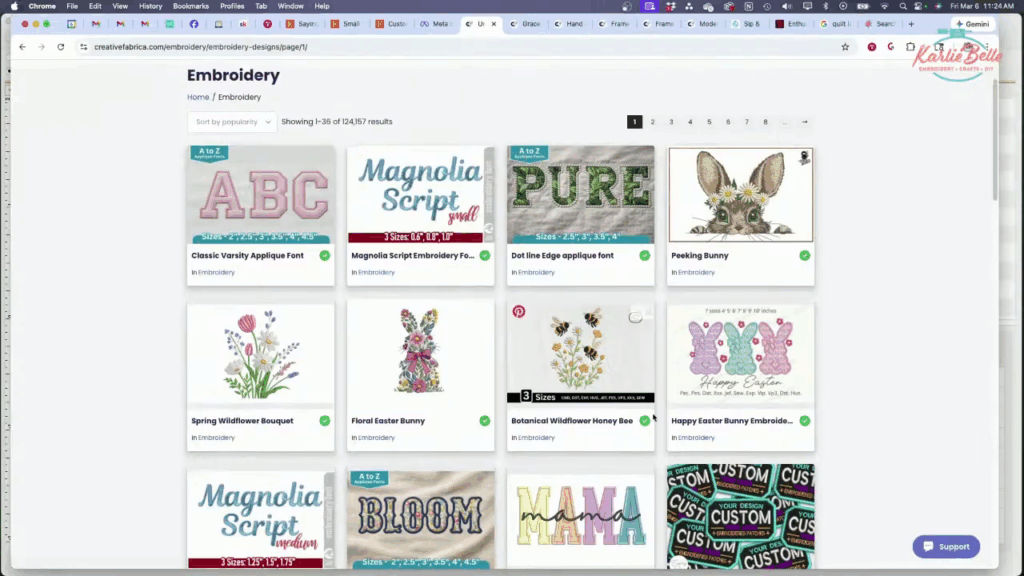
I like it for projects like this because I can pull together a custom look without having to buy multiple full-priced designs from different shops just to experiment.
One thing to keep in mind is that designs on Creative Fabrica come from lots of different digitizers, so quality can vary. I always check the stitch simulation before committing to a design.
Use Stitch Simulation Before Stitching
This is one of my favorite habits, especially when I am using a design from a new source.
Before stitching, I look for:
- Unexpected jump stitches
- Overly dense areas
- Awkward travel paths
- Anything that might cause puckering or cleanup headaches
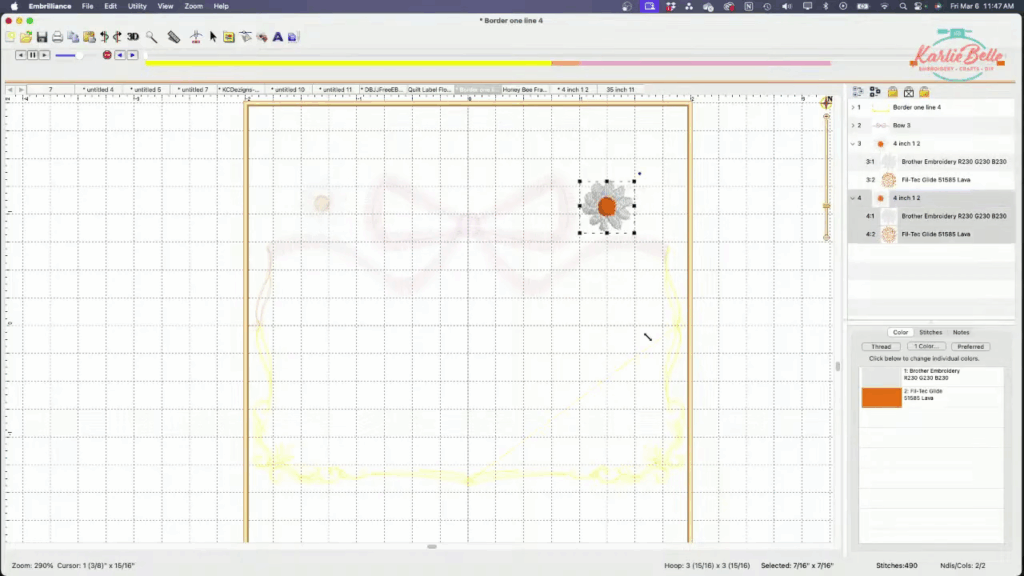
If a design has awkward extra sections, you can often edit those out in Embrilliance. For example, I took a frame and removed a top section so I could add a bow in that spot instead. I also copied a tiny flower from a totally different design and dropped it into the label layout.
That is the beauty of software. You are not stuck using designs exactly as they were sold.
BX Fonts Make Lettering So Much Easier
If you are creating machine embroidered quilt labels with text, BX fonts are a game changer.
Traditional embroidery fonts usually require importing each letter one file at a time. BX fonts let you type with your keyboard directly in Embrilliance, which saves a ton of time.
When building a label, I often use:
- One font for the phrase
- A second font for the recipient’s name
- A third font for the date or maker name
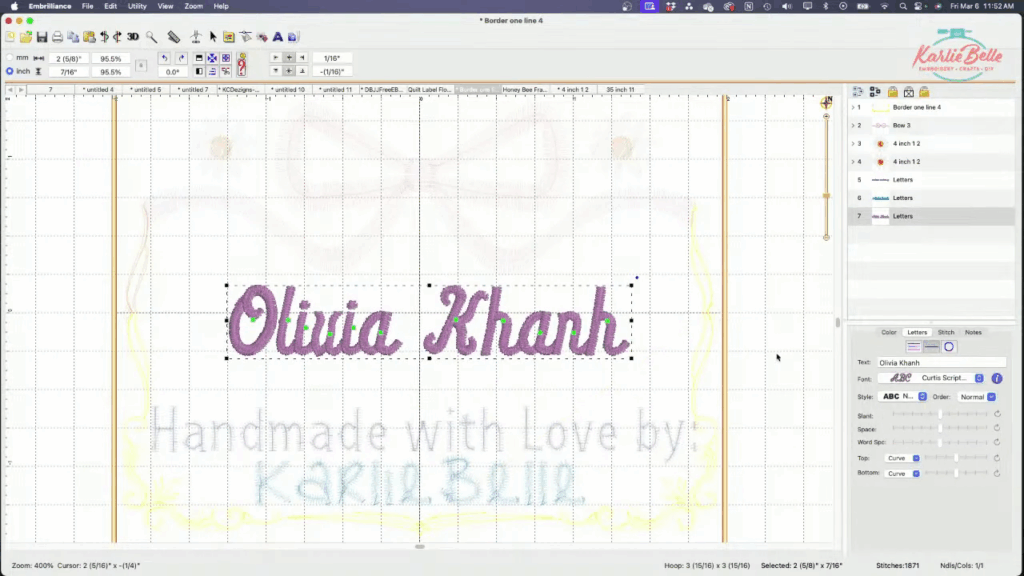
Mixing fonts adds personality, but tiny labels usually need small lettering sizes. If you buy embroidery fonts, it helps to have some in half-inch or quarter-inch sizing for projects like this.
How to Manage Jump Stitches in Your Label Design
If your embroidery machine does not cut jump stitches automatically, there is a very helpful workaround.
In Embrilliance, you can create color stops between sections of the design, even when those sections will all stitch in the same thread color. That forces the machine to stop, trim, and move before starting the next section.
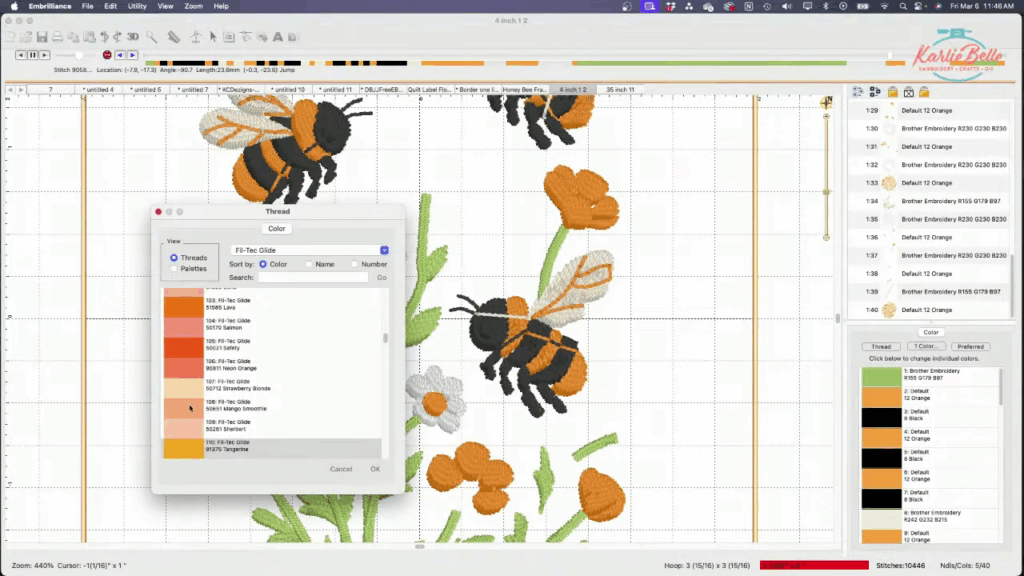
I used that trick on my frame so I would not end up with long floating thread jumps across the label.
You can do the same thing with lettering too. If the letters are spaced far apart and you do not want jump stitches between them, separating each letter into its own color stop can help.
Thread Choices and Machine Setup
For my sample label, I stitched the frame and bow in pink, used white and yellow for the flowers, and then stitched the text in several shades of purple for a soft ombre effect.
You can absolutely keep everything one color, but I love adding just a little color variation when the quilt theme calls for it.
I stitched the label on a Brother PE800, but this project works on any embroidery machine.
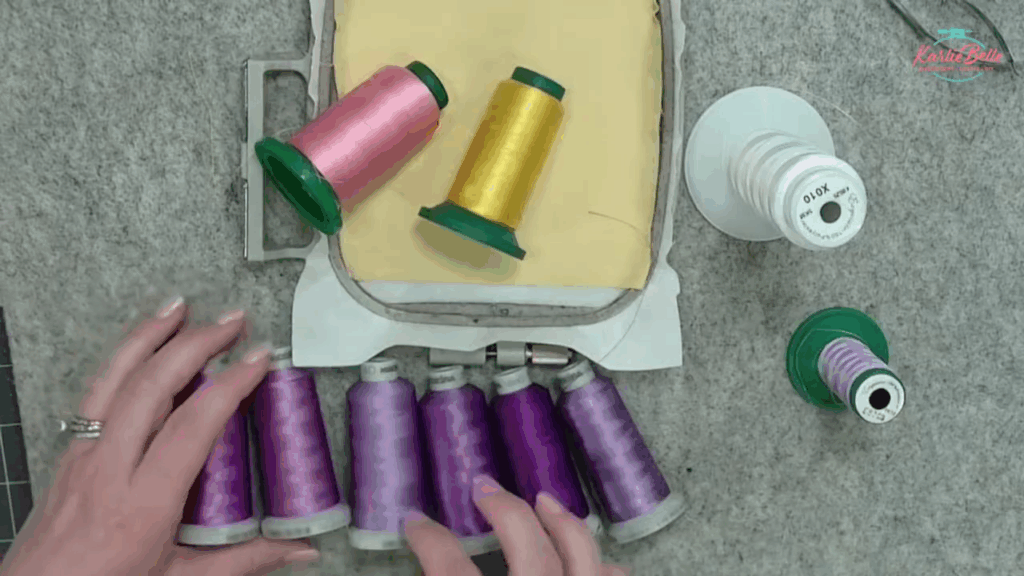
A few setup notes that matter:
- I used a 75/11 ballpoint needle
- I used pre-wound bobbins
- I prefer a separate thread stand over onboard spool pins because thread feeds more smoothly that way
If you are shopping for a beginner embroidery machine, the PE900 is a nice upgrade over the PE800 because it cuts jump stitches automatically.
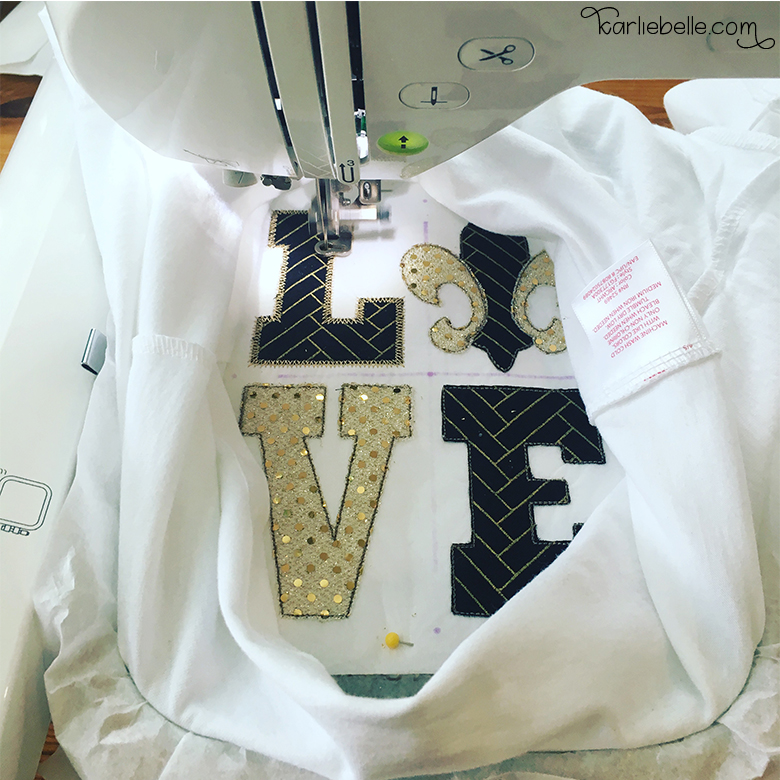
How to Stitch the Label Cleanly
Once your design is saved to your USB and loaded into the machine, the actual stitch-out is straightforward. The biggest thing is paying attention as it runs.
Here are the habits that help the most:
- Trim jump stitches as you go if your machine does not cut them
- Pause the machine when needed. It is perfectly okay to stop mid-design if you need to trim thread or troubleshoot
- Watch for dense areas that might try to lift the fabric
- Check your thread path and bobbin if the machine sounds wrong or starts nesting underneath
On one of my bookmark projects, I had a little thread nest happen because there was debris in the bobbin area. That kind of thing can happen fast. If your machine starts making ugly noises or bunching thread, stop and clean it out.
If you want to avoid a thread nest right at the beginning of a design, especially for an in-the-hoop project, you can pull the bobbin thread to the top before stitching and hold both tails out of the way for the first few stitches.
How Big Should a Quilt Label Be?
The answer depends on the hoop size, the amount of text, and the overall scale of the quilt.
For the label I made in a 4×4 hoop, the finished design area was just under 4 inches wide and about 3 inches tall. I cut the fabric larger than I needed so I had room to trim it neatly afterward.
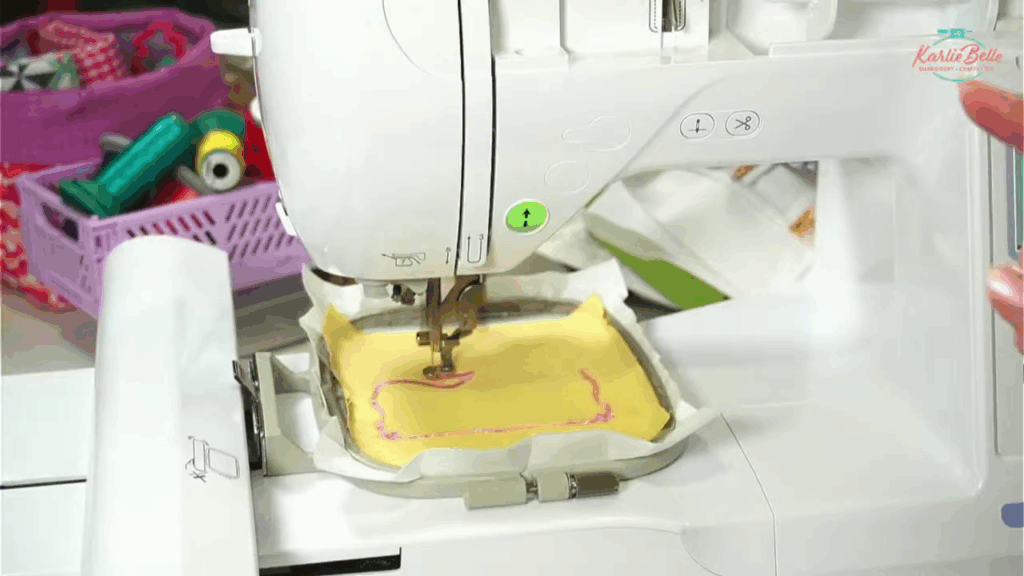
That extra margin matters because:
- It gives you room to square everything up after stitching
- It allows for folded edges
- It helps if your fabric was not perfectly centered in the hoop
If you are making a triangle corner label for a larger quilt, a 10-inch square folded diagonally can give you plenty of room for a message. For smaller projects, even a 5-inch square can work.
How to Finish the Edges of Machine Embroidered Quilt Labels
After stitching, trim away the stabilizer and decide how you want the edges finished.
Your options include:
- Fold the raw edges under and press
- Use pinking shears if fraying is not a concern or the look suits the project
- Use felt for a no-fray option from the start
- Add a decorative stitch on a sewing machine around the finished label
When folding cotton edges under, it helps to trim only the stabilizer close to the fold line so the fabric turns more cleanly and does not feel bulky.
How to Attach Machine Embroidered Quilt Labels
This is the part that usually confuses people, but you have several good options depending on the stage of your quilt.
1. Sew the Label Onto the Backing Before Quilting
If your quilt sandwich is not assembled yet, you can sew the label directly onto the backing fabric first.
You can:
- Topstitch it onto the backing
- Sew it in as part of a pieced backing block
- Use a decorative stitch around the edge
The one thing to remember is that if you do this before quilting, your quilting stitches will go right through the label.
Some people like that. Some do not. It is completely personal preference.
2. Sew the Label Into the Binding Before the Quilt Is Finished
This is such a pretty way to do machine embroidered quilt labels.
If the quilt is quilted but not yet bound, place the label in a corner on the back and catch one or two sides of it in the binding seam.
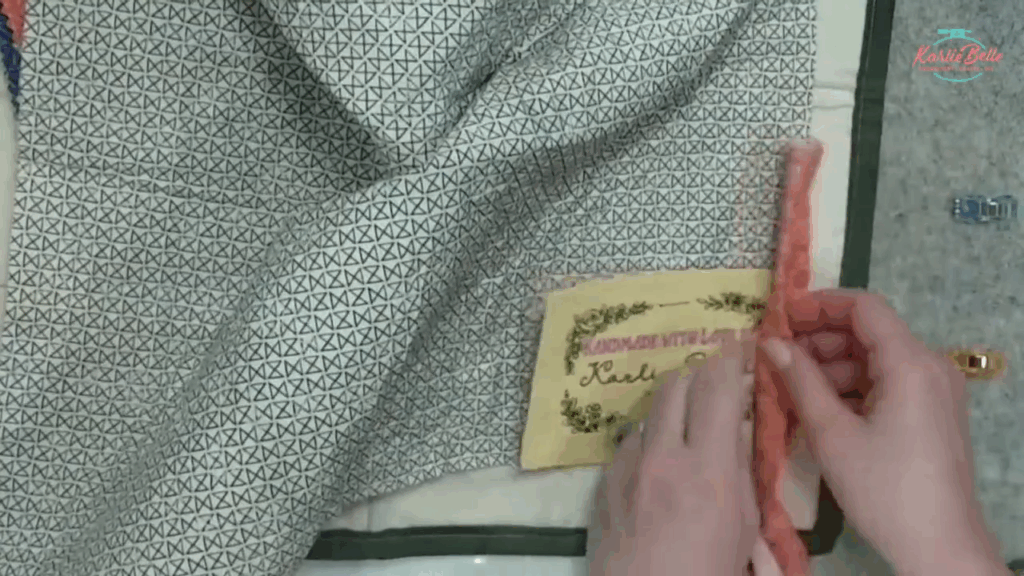
This works especially well for:
- Rectangle labels with two edges folded under
- Triangle corner labels
- Narrow strip labels
For a triangle label, you may not need to tack down the folded edge at all. Sewing the two raw edges into the binding is often enough.
3. Add the Label After the Quilt Is Fully Finished
Yes, you can still add machine embroidered quilt labels even if the quilt is already completely bound.
You have a few ways to do it:
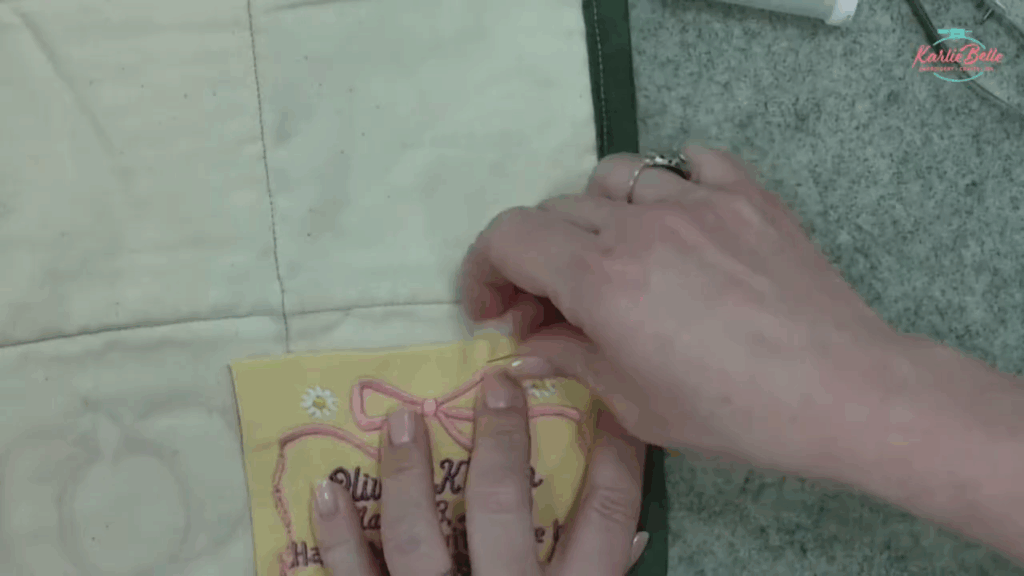
- Hand sew the label onto the backing only, being careful not to stitch through to the quilt front
- Open a small section of the binding seam, tuck the label in, and resew that section
- Fuse it in place with HeatnBond Lite or Ultra, with or without a few hand tacking stitches
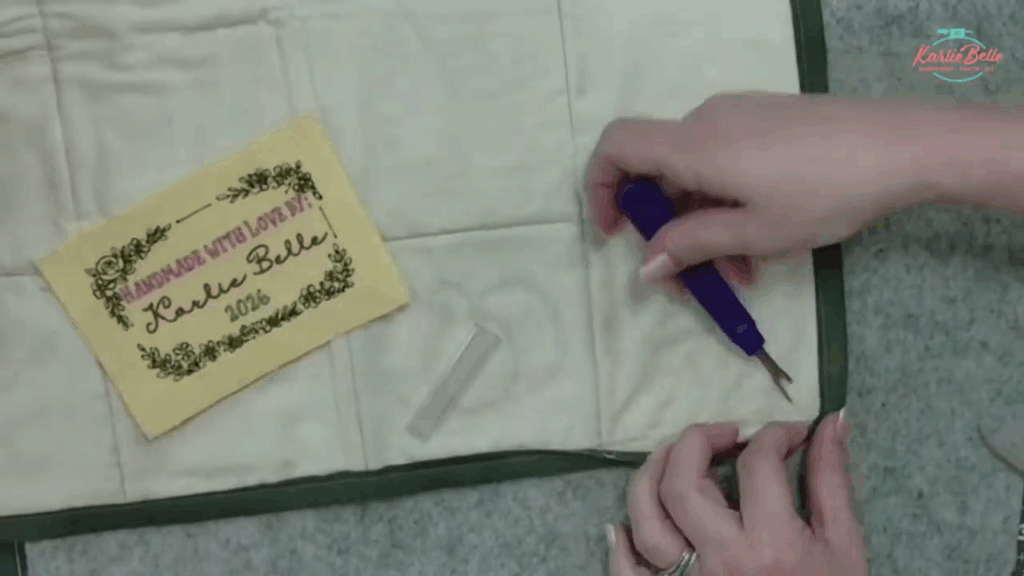
That binding-opening trick is especially handy. You can carefully remove stitches in one corner, slide the label edges into place, and stitch the binding back closed.
4. Use Invisible Thread for Nearly Hidden Hand Stitching
If hand sewing is not your favorite thing, invisible thread can be your best friend.
A simple blind stitch or whip stitch around the folded edges lets you secure the label with very little visible stitching. If you want the label attachment to become a decorative detail, then use a contrasting thread or even thicker embroidery floss instead.
Helpful Beginner Reminders
Making machine embroidered quilt labels is a simple project that helps you practice several essential embroidery skills.
If you are new to machine embroidery, this is actually a great beginner project because it teaches several useful skills at once.
- Choosing stabilizer for woven fabric
- Using fusible interfacing
- Floating fabric in the hoop
- Using embroidery fonts
- Combining simple designs in software
- Trimming jump stitches cleanly
- Finishing and attaching embroidered pieces
If you want more beginner-friendly project ideas, you can browse past Sip and Stitch projects here.
Final Thoughts on Machine Embroidered Quilt Labels
Machine embroidered quilt labels do not have to be complicated to be beautiful. A tiny frame, a sweet phrase, a name, and a date can be more than enough.
What matters most is that the quilt carries its story with it.
Whether you choose a simple rectangular label, a corner triangle, a pieced-in backing block, or a hand-sewn finish on a fully completed quilt, machine embroidered quilt labels are a lovely way to sign your work and make it personal.
And honestly, once you make one, you will probably want to add them to every quilt from now on.
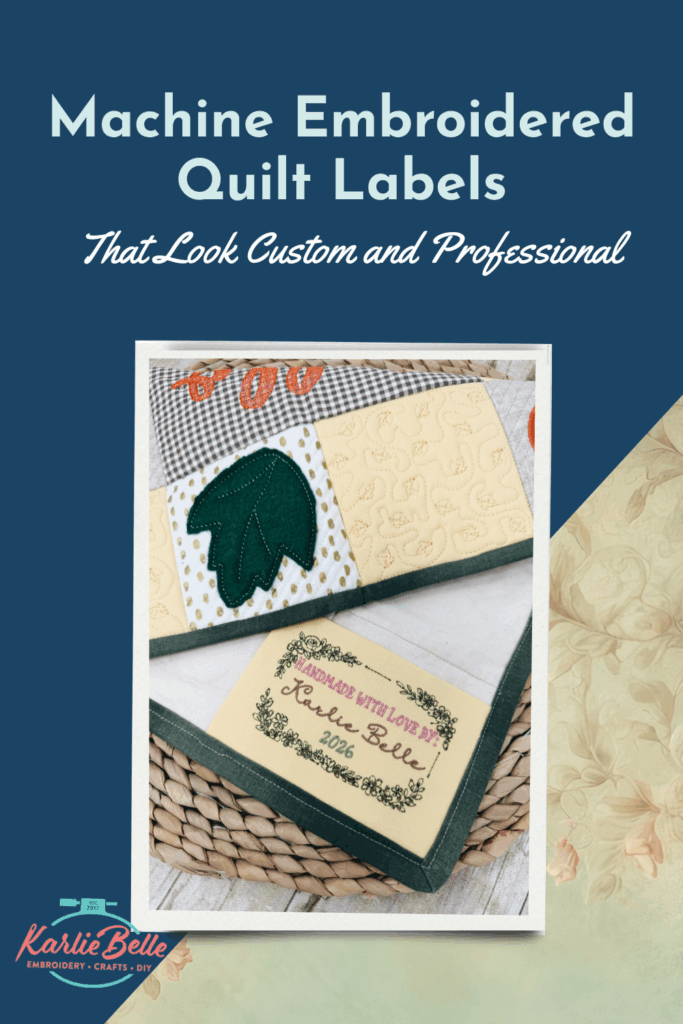
PIN IT
OTHER LINKS
🪡 Learn more about my beginner course on machine embroidery, From Start to Stitch
💻 Enroll in my new course Embroidery Essentials
❤️ Join my Sip & Stitch Squad VIP Membership
🧵 Join my Facebook Group for discussion and help on machine embroidery and crafting
Thanks for stopping by!