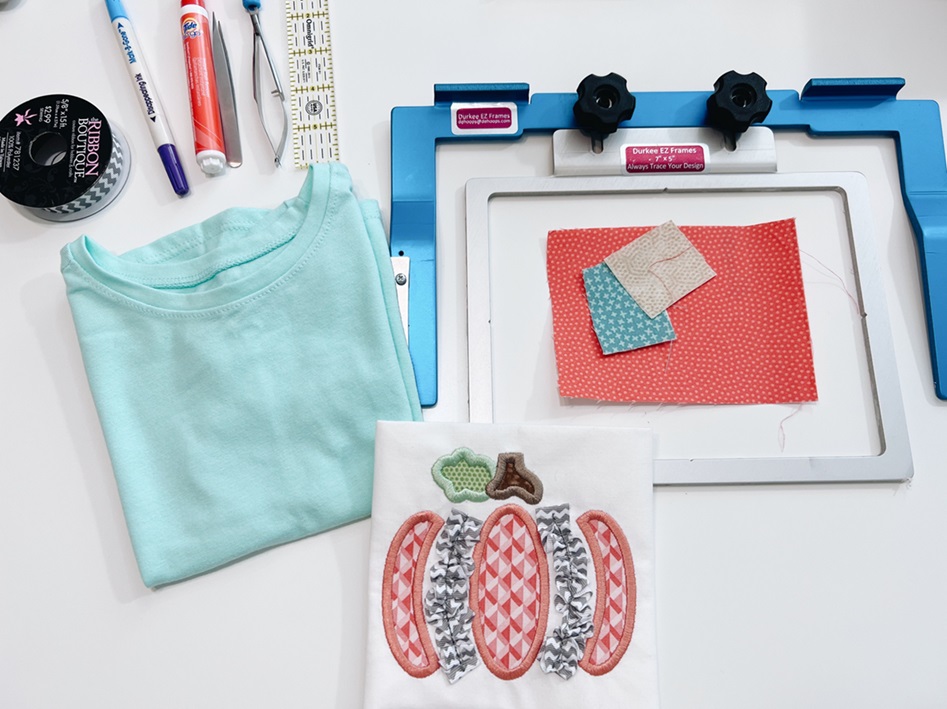
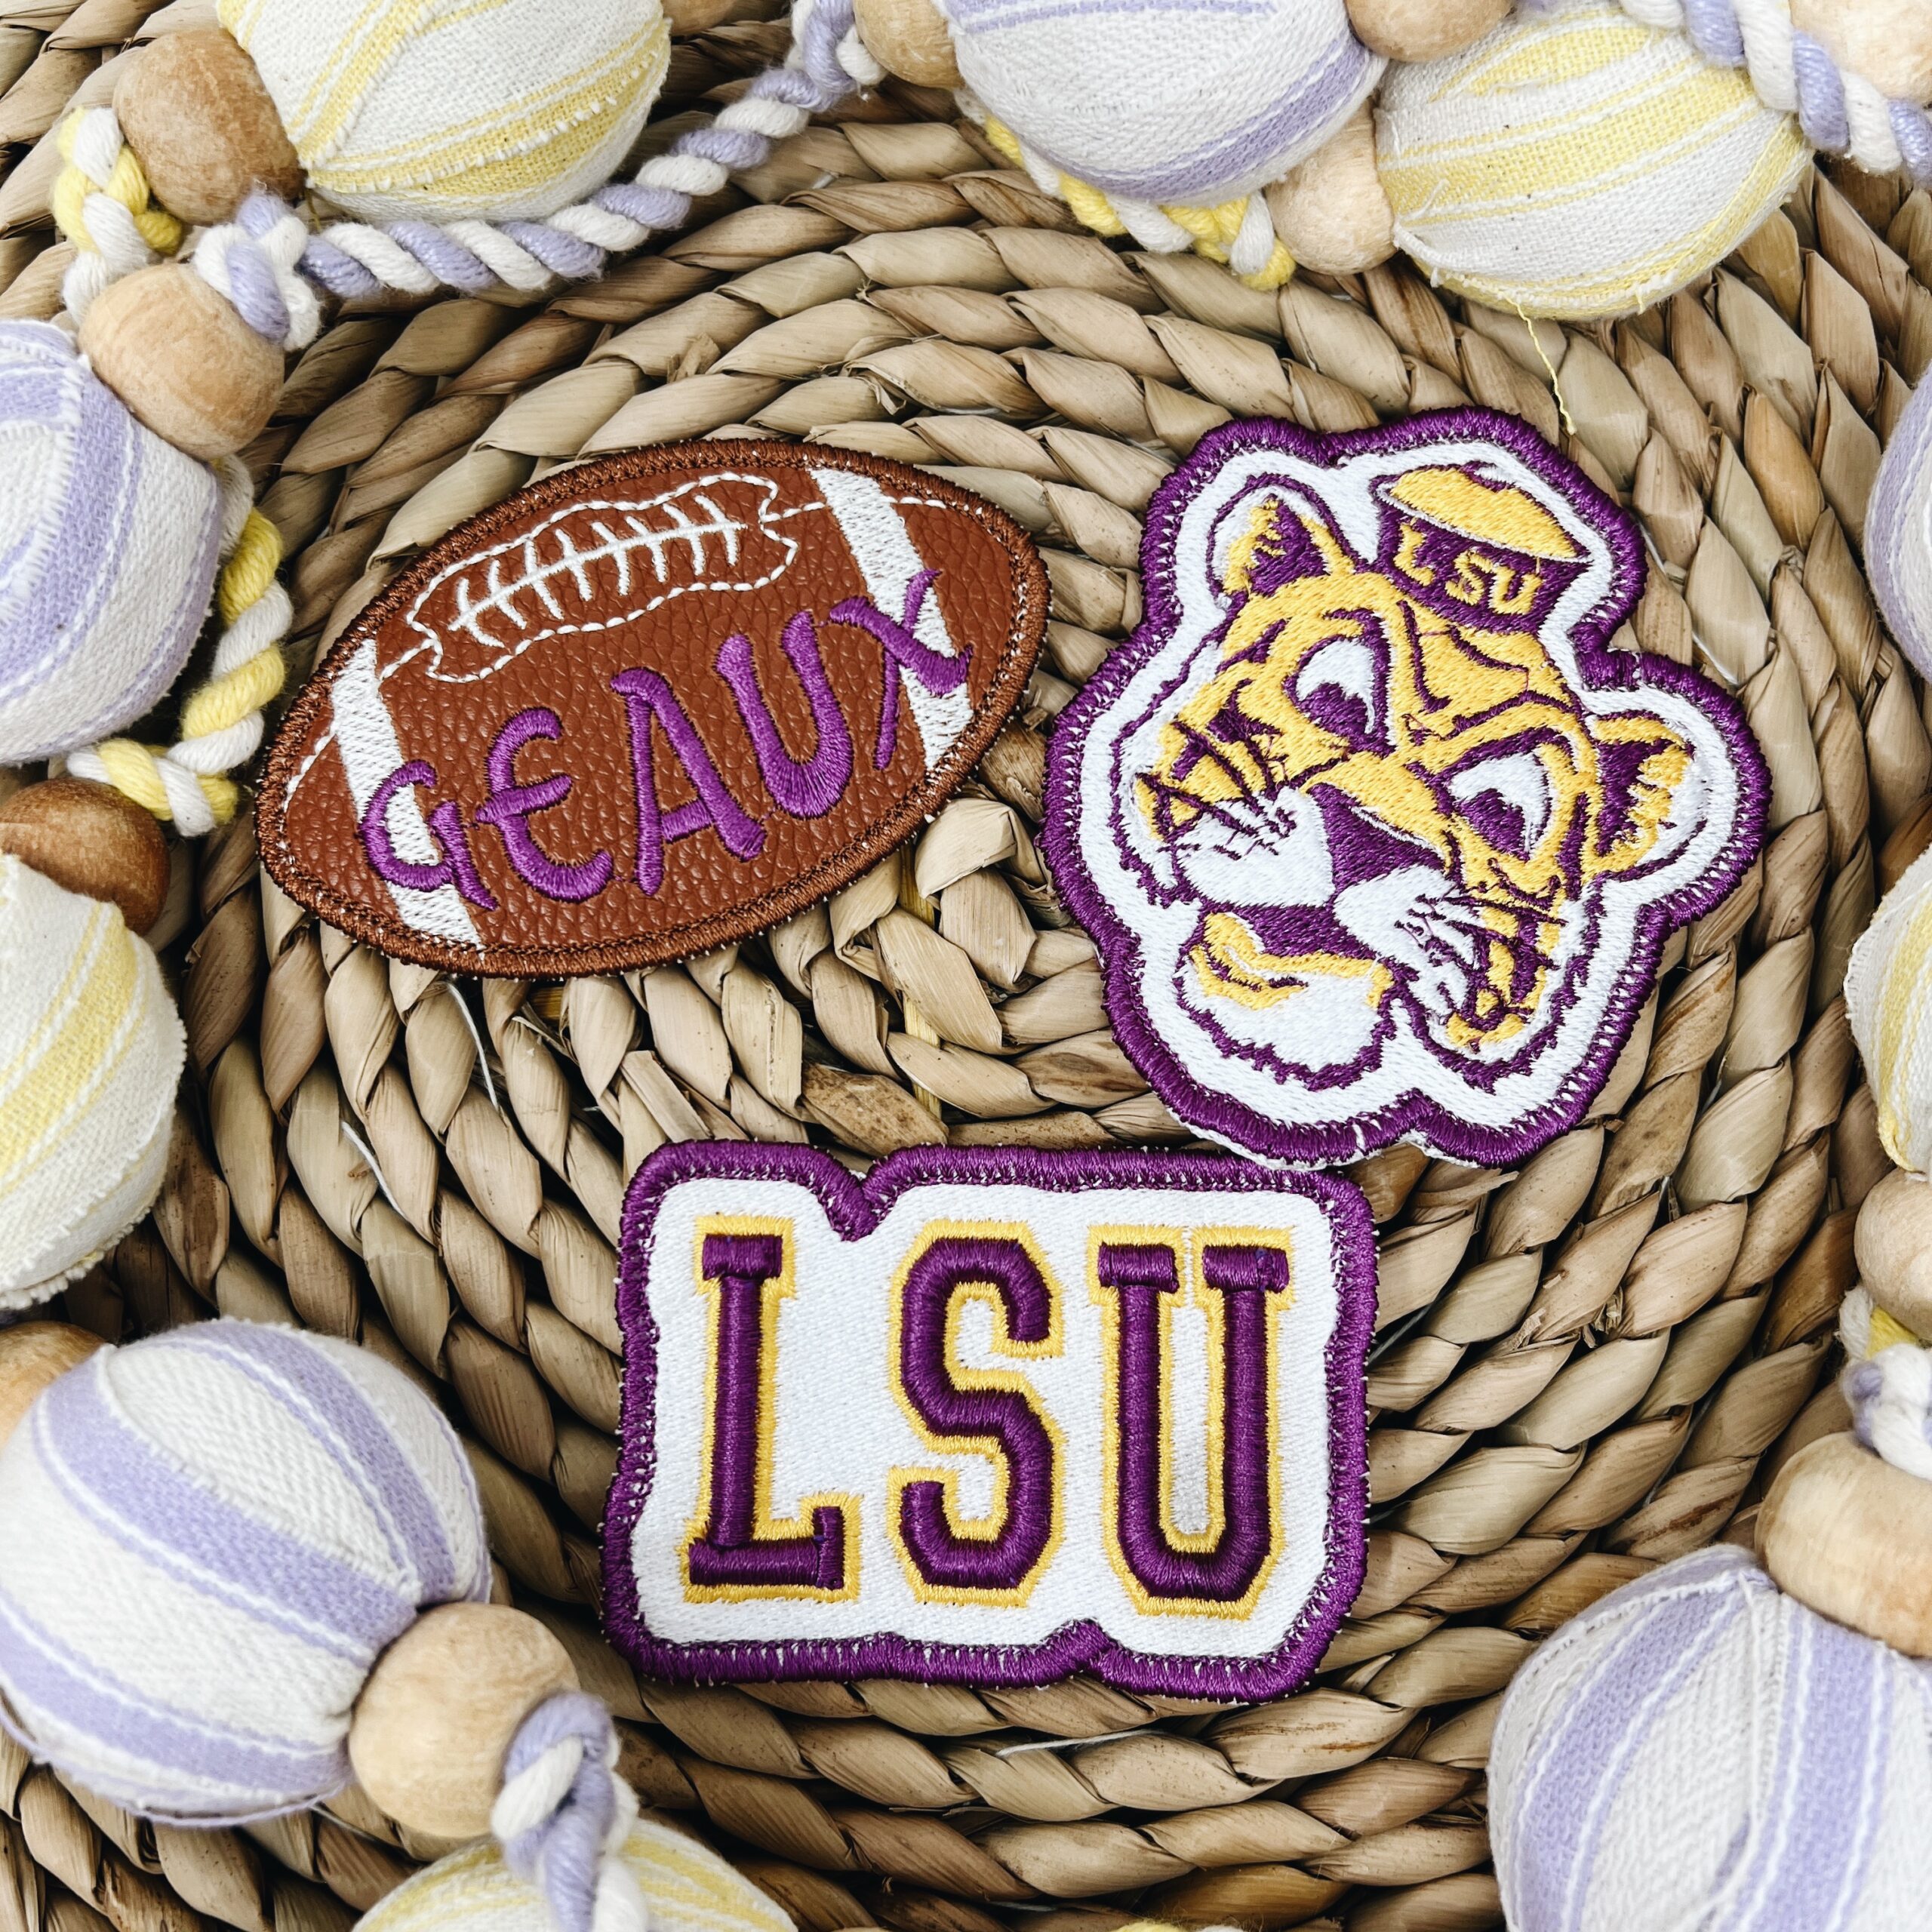
If you’ve ever wondered how to make embroidered patches, this tutorial will walk you through the entire process. Today we’re working on custom patches, and since I love teaching machine embroidery, I’ll guide you from the first design to a polished iron-on piece. You’ll learn how I use Embrilliance Patch Artist for the software steps, the supplies and stabilizers I rely on, my exact hooping and trimming methods, and even how to send files to a Brother Skitch (PP1) using a phone app. I’ll also share finishing tips for ironing patches onto shirts or bags. This is the same approach I used for an LSU-themed patch project, and I’ll include the practical lessons I picked up along the way so you can get great results and avoid common mistakes.
Gathering Your Supplies
Before we jump into the stitching, it’s important to have all your supplies ready. For this project, you’ll need:
- Patch Artist software from Embrilliance
- Brother Skitch Embroidery Machine
- Stabilizer Options:
- Heavy Tear Away Use coupon code “karliebelle” to save 10%
- Wash Away Use coupon code “karliebelle” to save 10%
- BadgeMaster
- Cut Away Use coupon code “karliebelle” to save 10%
- Optional Materials:
- Poly Patch Twill Use coupon code “karliebelle” to save 10%
- Faux Leather
- Adhesive Backing:
- Heat n Lite Ultra
- Fuse and Seal (OESD)
- Double Sided Bond Pro (Kimberbell)
- Applique Scissors Use coupon code “karliebelle” to save 10%
- Organ 75/11 BP Needles Use coupon code “karliebelle” to save 10%
- Precision Tweezers Use coupon code “karliebelle” to save 10%
- Embroidery Thread Use coupon code “karliebelle” to save 10%
- Pre-wound Bobbin
Quick overview: what you will learn about how to make embroidery patches
- Choosing a design and turning it into a patch using Patch Artist
- Installing the Patch Artist library and fonts
- Creating different patch styles (all thread, light fill over fabric, in‑hoop applique)
- Hooping stabilizer, trimming, and washing away stabilizer
- Finishing: adhesives, ironing, adding rhinestones, keychain eyelets
- How different machines handle dense patches and what to expect
Why make your own patches
When you learn how to make embroidery patches you can customize team colors, fonts, and placement. Making patches also saves money compared to boutique shirts in my inspiration photo and gives you control over size, texture, and materials. You can make freestanding thread patches, fabric patches, or a hybrid light‑fill patch that looks dense without using a huge stitch count.
Step 1 — Install Patch Artist and the library files
Installing Patch Artist properly is the first to making sure you know how to make embroidery patches with the software.
- Purchase Patch Artist from Embrilliance and copy the serial number at checkout.
- Open Embrilliance Essentials. Go to Help > Serial Numbers. Paste the serial number and click Set.
- Download the BX library file that came with Patch Artist. Install it by either double‑clicking the BX file or dragging it into Embrilliance. The BX file adds the Patch Artist library and fonts to your program.
- Restart Embrilliance if needed. The new library will appear in the library tool drop‑down menu.
Tip: Patch Artist installs a set of native fonts digitized specifically for small sizes. Use them for clear small lettering in patches. These fonts show as native fonts (no little needle icon). Some of these fonts are optimized for 60‑weight thread and very small heights.
Step 2 — Create a patch from a design or pre‑made patch frame
This section explains the core of how to make embroidery patches using the software tools.
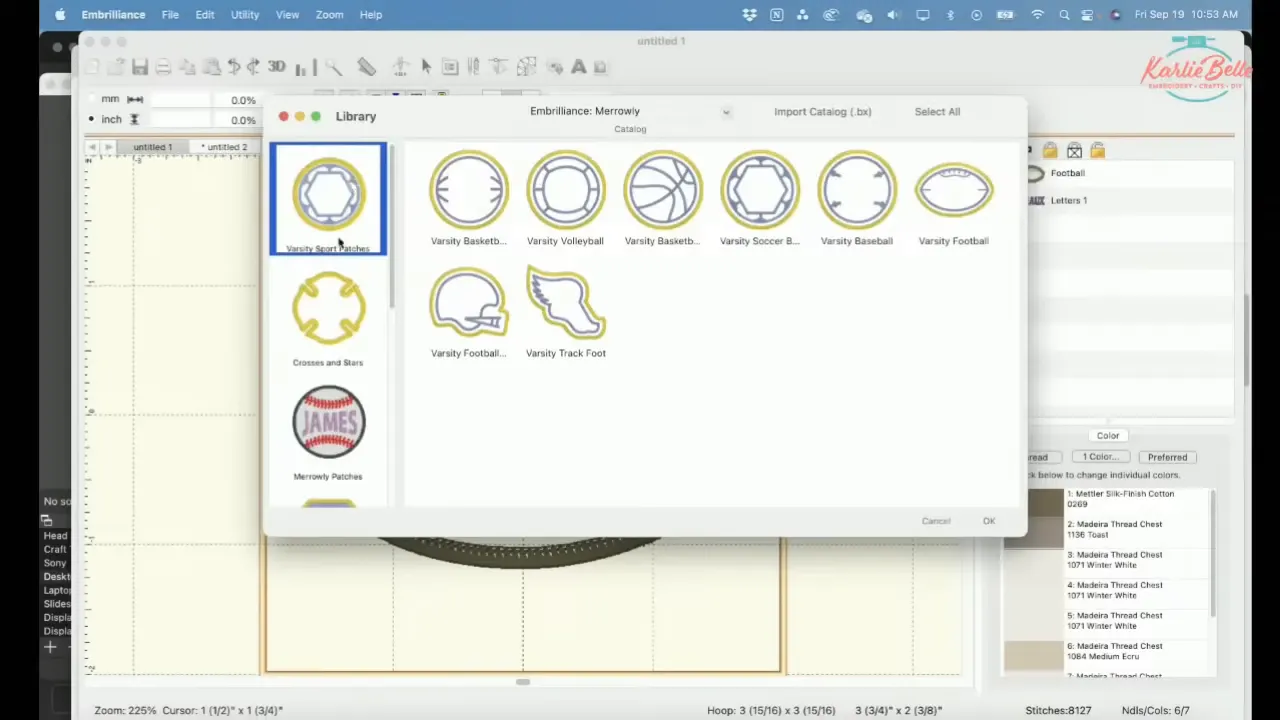
Open a patch frame from the library
- Start a new document in Embrilliance.
- Click the Library tool and choose your Patch Artist library. Browse the sports or emblem categories.
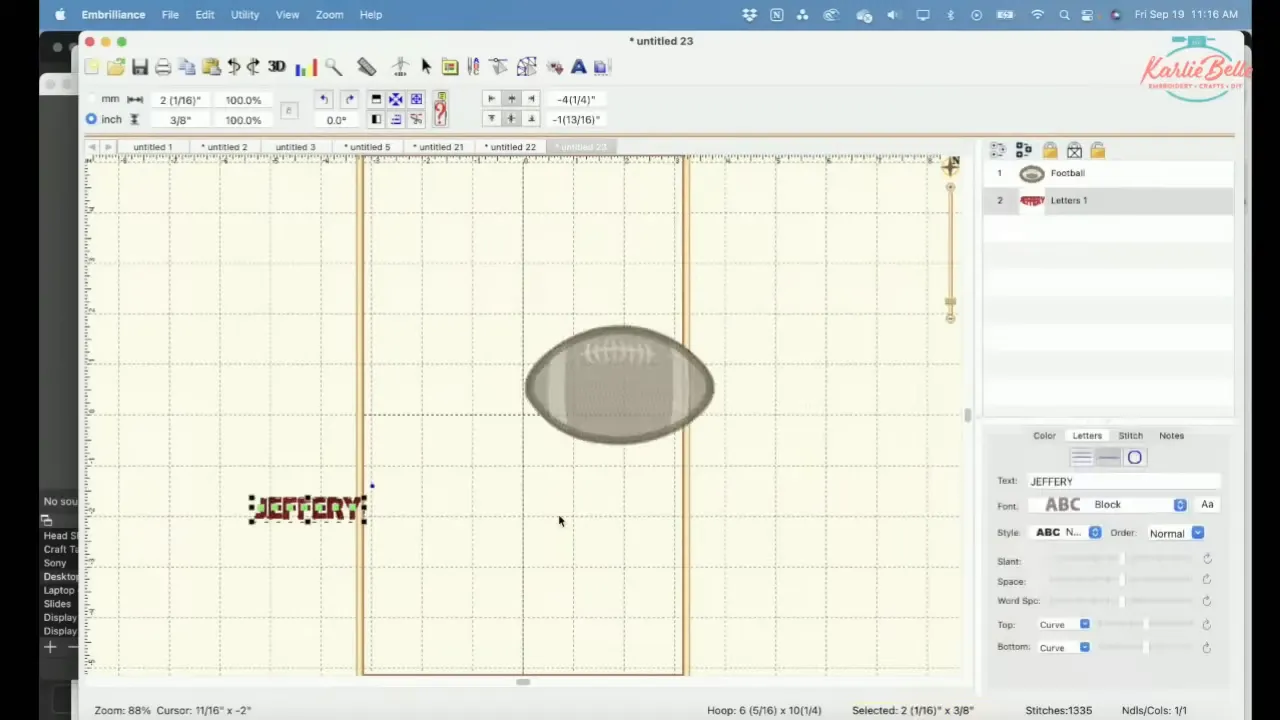
- Click a patch frame, for example a football. Merge the design into your page. The library frame will insert a grouped object: the patch shape and lettering envelope.
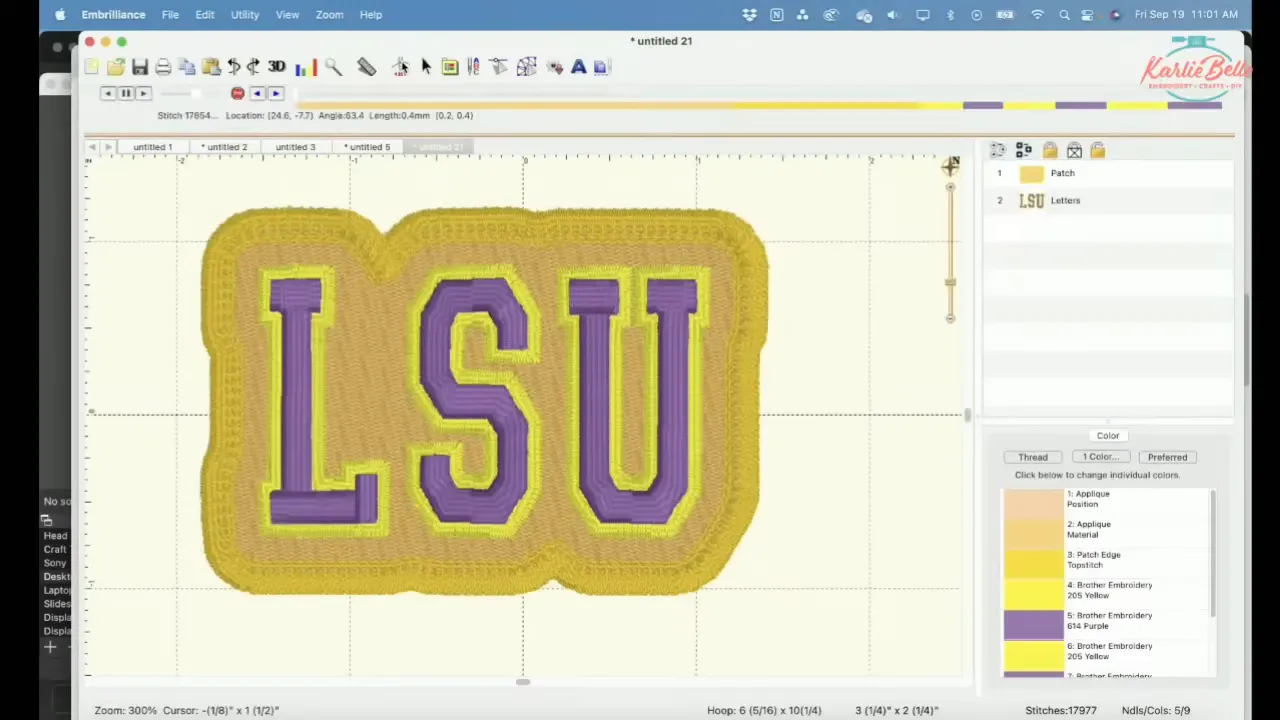
Add or edit lettering in the envelope
- Select the lettering object and type your text. The envelope will warp the text into the frame.
- Prefer native Patch Artist fonts for warped text. If you use a non‑native BX font, resize carefully.
- To make alternating colors in a single word, select a letter’s green edit box and change the color for that letter. Repeat for each letter to achieve purple/gold alternation or other color patterns.
Tip: If you plan to stitch very small text, use one of the Merrily fonts marked for small sizes. They limit resizing to avoid distortion.
Add a patch edge
- With your design on the page, choose Utility > Add Patch Edge.
- Choose Rectangle, Circle, or Page Wrap. Page Wrap fits the shape of the current object.
- A new object called “patch” will be added to the object list. This creates the special maro or edge stitch around the patch.
Interactive options now appear in Patch properties. These determine how the patch is created at stitch time. The interactive settings control whether the patch is
- Cut when complete — cut the shape after stitching (usually with cutaway or hot knife)
- Precut — use with a pre‑cut fabric piece from a cutter like ScanNCut or Cricut
- Hand cut in hoop — in‑hoop applique with placement and tackdown stitches
- Create using fill — all thread patch (dense stitch fill, like freestanding lace)
- Light fill — a less dense fill stitched on top of fabric to reduce stitch count
- Add light fill advanced — control density, stitch length, and angle
Step 3 — Decide what type of patch you want
There are three common patch types and each affects materials and stabilizer choice.
- All thread patch — no fabric backing; very dense stitch fill; best with two layers of wash‑away stabilizer so the patch becomes freestanding after dissolving the stabilizer.
- Light‑fill over fabric — a thin thread fill over a fabric base such as polyester patch twill. This gives a stitched look while keeping stitch count down.
- In‑hoop applique (hand cut in hoop or precut) — fabric fills the patch shape and the edge is stitched. Use when you want a solid colored background that looks like twill or faux leather.
Best fabric for embroidery patches
Choosing the best fabric for embroidery patches depends on your goal.
- Polyester patch twill: This is the best fabric for embroidery patches when you want a traditional patch look. It is sturdy, washable, and commonly used for professional patches. Sizes like 9″ x 24″ sheets give you multiple patches per sheet.
- Faux leather or marine vinyl: Good for textured patches such as football shapes. Faux leather gives a leather look and works well with hand‑cut in hoop patches. Use low‑pile faux leather that does not melt under heat if you will use a heat press later.
- Cotton or quilting fabric: Use when you want a softer background but these fray more and may need edge finishing.
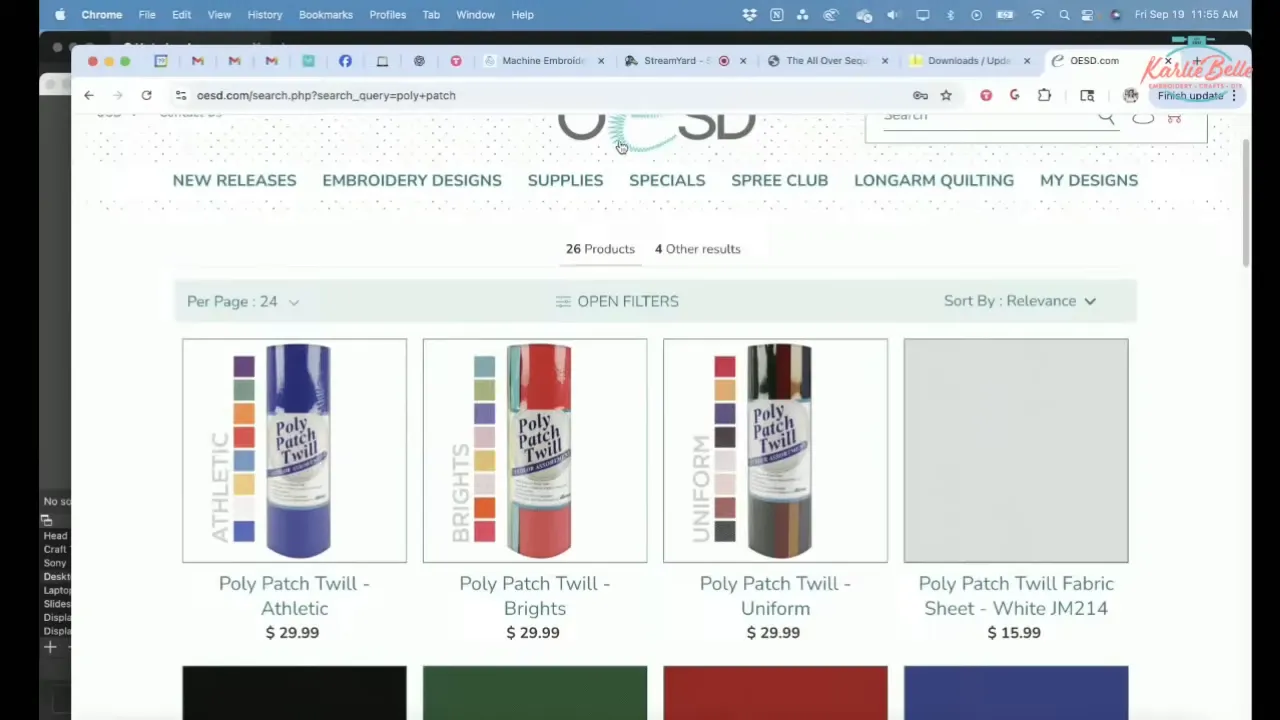
#Tip how to make embroidery patches: Polyester patch twill is machine‑washable and the strongest for iron‑on adhesive. If you plan to iron on to apparel and wash the garment often, polyester twill is the best fabric for embroidery patches.
Step 4 — Configure the patch interactive settings and color sort
Open the patch object and click Interactive. Choose the method you want; hand cut in hoop, precut, cut when complete, create using fill or light fill.
- If you will hand‑cut in hoop: enable Position and Top (outline) stitch. Turn on Fabric Preview to see the patch with a fabric color.
- If you will use a cutting machine: select the Position step used for cutting, open the color chip, choose Applique > Cutting, and save the outline as an SVG to import into Silhouette or Cricut software.
- For dense all‑thread patches choose Create using Fill and check the estimated stitch count in Stitch Simulator. High stitch counts need stronger machines and may require two layers of wash‑away stabilizer.
- Use Utility > Color Sort if you want to change the stitch order so the outer border stitches before inner fill, or so you can stitch all letters in one color and then the second color in a later step.
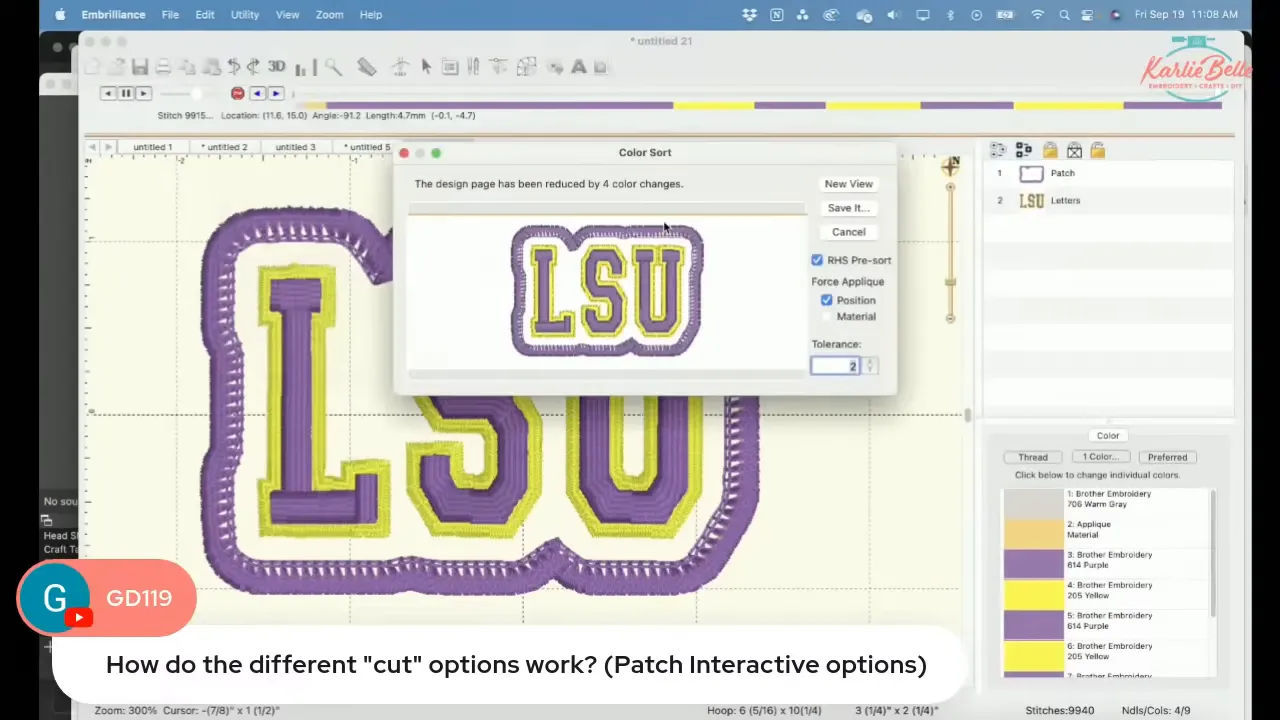
Tip: For in‑hoop applique, make the placement stitch equal to the outer tracing you want for cutting. When you export SVG for cutting, use the placement or tackdown outline depending on how tight you want the fabric fit.
Step 5 — Save the stitch file and transfer to your machine
Save the stitch file in the machine format you need (PES for Brother). You can save to a USB if your machine supports wireless or direct USB transfer. For the Brother Skitch PP1, use a cloud‑to‑phone workflow:
- Save the PES file to Dropbox, Google Drive, iCloud, or OneDrive in a folder you can access on your phone.
- Open the Artspira app (ArtSpira/Artspira is the app name used by Brother Skitch) on your phone. Use My Creations > Import External Files to pull the PES file from your cloud storage.
- Select the design and tap Transfer. The app will prompt you to press the accept button on the machine to start the Bluetooth transfer.
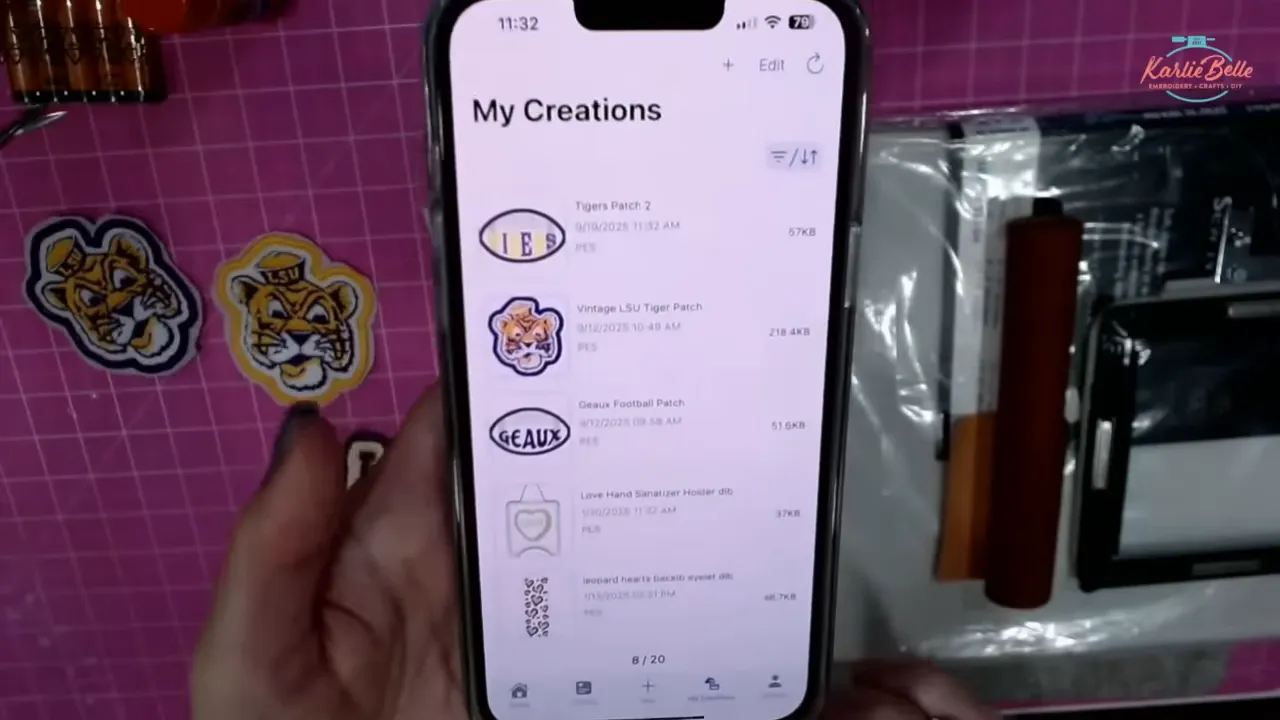
Tip: The free version of the app has limited storage. Delete designs from the app after transfer to free space if needed. The app shows step time and stitch count and can run a trial to verify fit in the hoop before you stitch.
Step 6 — Hooping stabilizer and machine setup (detailed)
Hooping and stabilizer setup are critical for how to make embroidery patches that hold together and wash well. I give exact steps so you can follow without jargon.
- Choose your hoop. For the Brother Skitch PP1 you will use the supplied magnetic 4″ x 4″ hoop. If you are on a larger machine you can use a 5″ x 7″ or larger hoop to stitch multiple patches at once.
- Cut two layers of Sew and Wash woven wash‑away stabilizer slightly larger than the hoop area. For a 4×4 hoop cut two squares that are 5″ x 5″ so you can clamp them without edges under the frame.
- Place one layer on the hoop base, lay the second layer on top if you prefer extra support, then place the top hoop and snap the magnets shut. Ensure the stabilizer is flat and taut but not stretched out of shape. The stabilizer should not have any wrinkles.
- Check machine bed clearance and thread the machine. Use a good quality embroidery thread and pre‑wound bobbin if you prefer.
- On the app or machine do a trial run to confirm the needle path will not hit the hoop edge. This checks the design alignment.
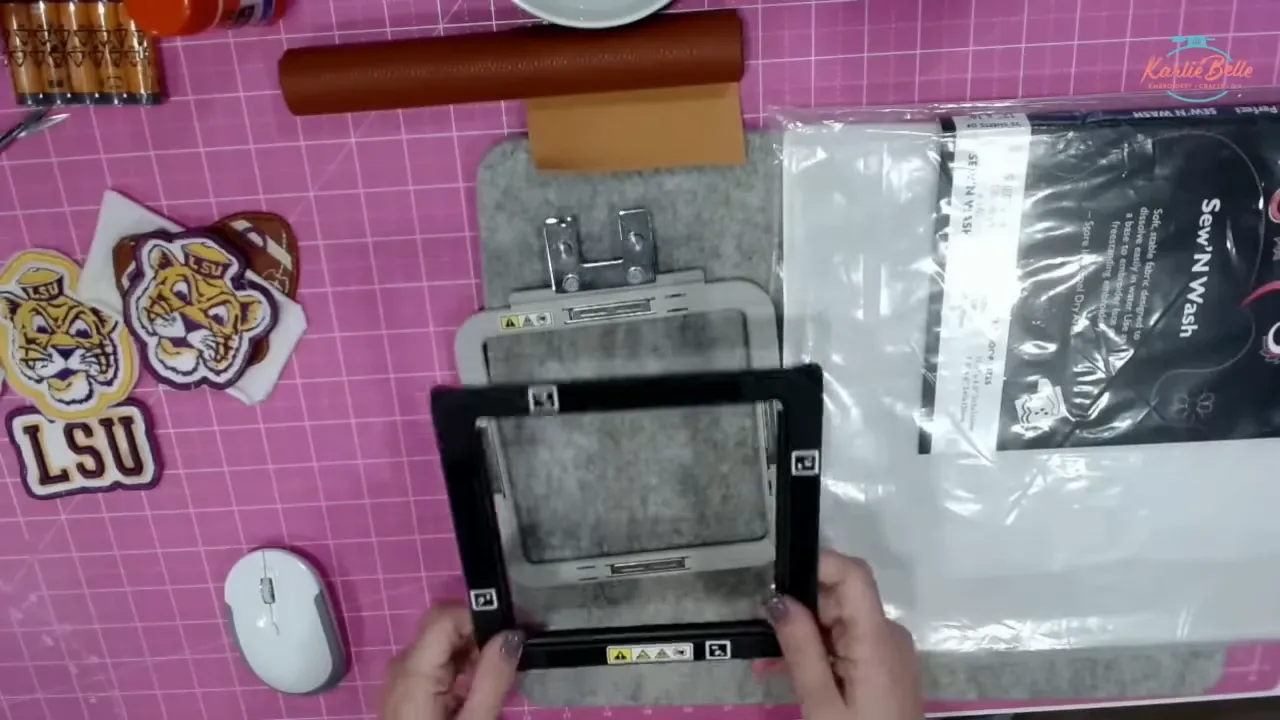
Tip: For wash‑away stabilizer make sure the hoop magnets are clean so the stabilizer sits flat. Magnets that are low in strength may let the stabilizer move during very dense stitching. For dense all‑thread patches a larger machine with stronger spindle is preferred.
Step 7 — Stitching the patch: step order and trimming
Follow the stitch order carefully. I describe each step and what to do after the machine stops.
- Start stitching the placement or position stitch. This will outline where to place your applique fabric if you are doing hand cut in hoop. Pause the machine after the placement stitch if you want to confirm alignment.
- Lay your fabric into the hoop inside the placement outline. For faux leather cut a piece slightly larger than the placement area so you have workspace. Hold the fabric flat and smooth within the placement outline.
- Resume stitching. The machine will tack down the fabric over the placement outline.
- When the tackdown is complete, remove the hoop, keep the stabilizer supported and trim the applique fabric close to but not into the tackdown stitch. Trim about 1–2 mm from the inside of the tackdown line to avoid cutting stitches. Use sharp small scissors and lift the fabric gently while trimming. Do not pull or stretch the stabilizer while trimming.
- Replace the hoop and continue stitching. The next steps will stitch details (like football laces) and then the outer patch edge. Finally the lettering will stitch on top.
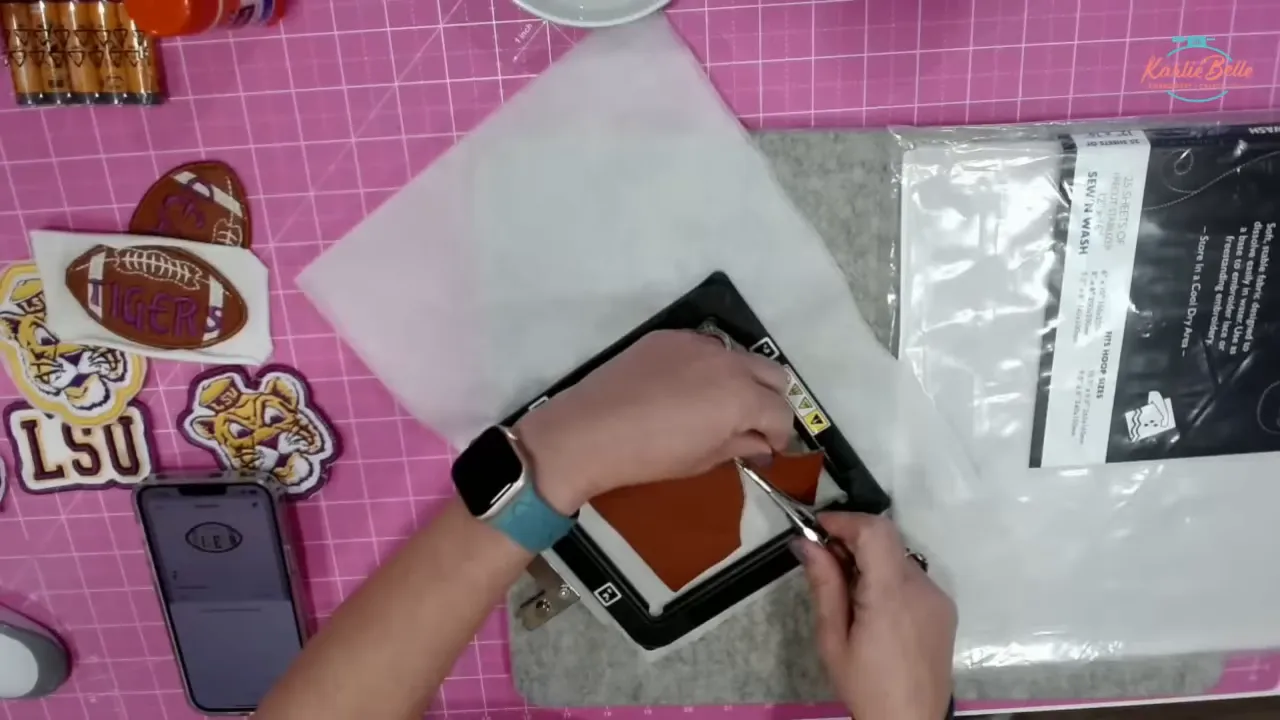
Tip: Pause the machine a few stitches after each color change to trim any thread tails before they get caught. For thick materials like faux leather clip tails as they appear; a thread burner works well to secure tiny tails.
Step 8 — Removing stabilizer: washing and drying
Once stitching is complete, remove the patch from the hoop and trim stabilizer away from around the outside of the patch so you only have a small margin of stabilizer left. Then dissolve the remaining wash‑away stabilizer.
- Fill a cup or shallow bowl with warm water. Submerge the patch and gently rub the back where the stabilizer is located. Sew and Wash takes longer to dissolve than water soluble topper; be patient. Rub gently until the stabilizer softens and comes away.
- Rinse the patch and remove as much water as possible by pressing between two towels. Do not wring. Allow to air dry or blot with a towel.
- Trim any remaining thread tails. If you have a thread burner, singe very short tails carefully to prevent unraveling.
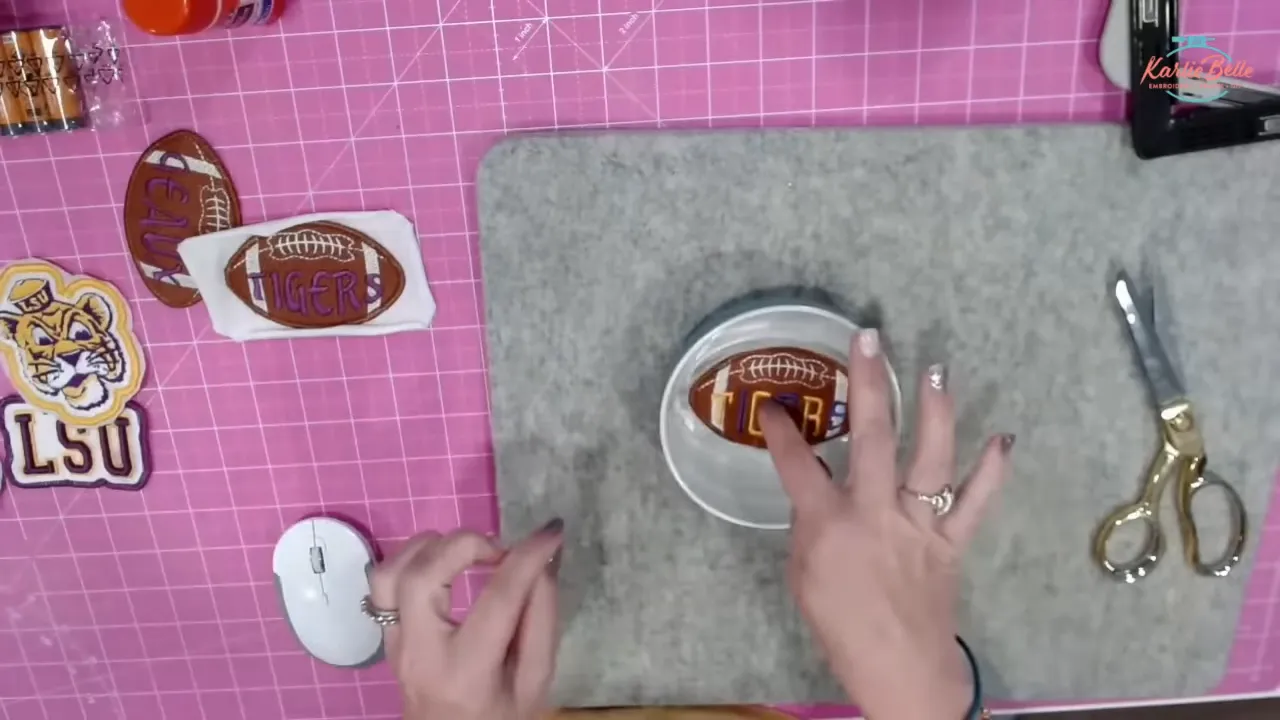
Tip: Sew and Wash is very sturdy and does not tear easily by hand. Cut close to the stitching before dissolving to reduce the amount of water‑soluble material you must remove. Avoid leaving a large stabilizer margin as it will become gooey during washing and be harder to remove.
Step 9 — Adding adhesive to make an iron‑on patch
After your patch is dry and trimmed you can make it iron‑on by adding a heat‑activated adhesive to the back. I use HeatnBond Ultra for testing, but there are adhesives made specifically for patches from OESD, DIME, Kimberbell Fuse & Seal or Stahls.
- Trace the outline of the patch on the paper side of the adhesive backing. Cut the adhesive about 1–2 mm inside the line so it does not create a halo when ironed.
- Place the adhesive rough side down on the back of the patch, paper side up. Use a pressing cloth or parchment to protect the patch and the iron or heat press surface.
- Apply heat from the back of the garment when you iron later. If ironing the patch to fabric place the patch (adhesive side down) onto the garment and press from the garment side so the heat must travel through the garment to the patch adhesive. If you must press from the patch side, use a Teflon sheet to protect the patch surface.
- Allow to cool and remove the paper backing to reveal a strong adhesive layer. Ironing directly onto the adhesive paper backing can be done but follow the adhesive manufacturer instructions for temperature and time.
Tip: Never sew through HeatnBond Ultra in a machine afterward — it will gum up needles. Use the Ultra only for finished, iron‑only patches. If you will sew around the patch later, use a light fusible instead or leave off the adhesive until after the final sewing.
Step 10 — Optional extras: adding rhinestones or making keychains
- Add sparkle: use a light fill with spaces so a hotfix crystal backing shows through. Or individually add rhinestones with a heat tool to the patch after the adhesive is applied. Use a protective cloth while applying heat.
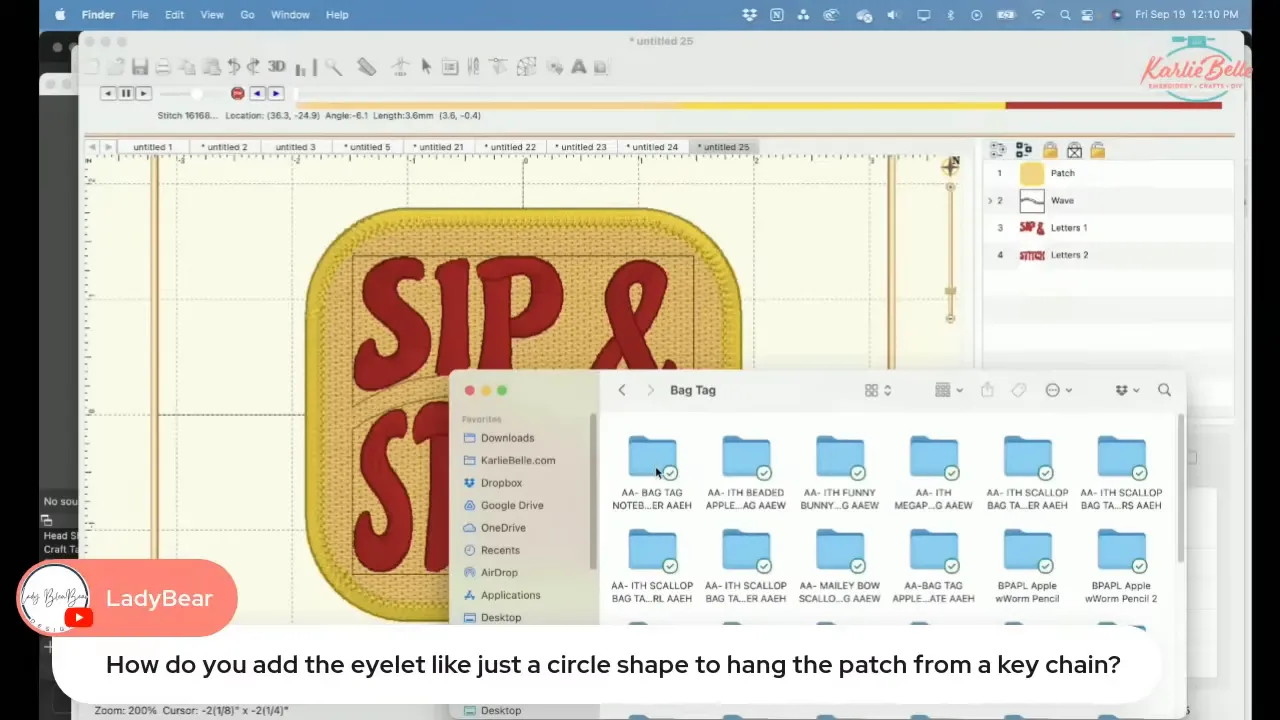
- Create keychain tags: to add an eyelet, copy an eyelet object from a tag design or create a small circle in a digitizing program. Paste it into your patch design before adding the patch edge. After stitching, punch the hole and add a split ring or grommet.
Tip: If you want sequins, be careful. Sequins tend to break during automated trimming and stitching. For sparkle, rhinestones or glitter vinyl as an applique are more consistent options.
Machine differences and what to expect
Not all embroidery machines will produce identical results. Here is what I learned about how different machines handle patches:
- Brother Skitch PP1 (4×4, Bluetooth): Great for small in‑hoop applique patches. It handles normal patch designs well but is slower (around 400 stitches per minute). Very dense all‑thread patches are possible but take longer and can stress the machine during very dense blocks of stitches.
- Six‑needle or larger commercial/consumer machines: Faster stitch speeds and multiple needles reduce color change time and handle dense all‑thread patches better. Density issues are less likely to cause stabilizer movement if the hoop is larger and the machine is more powerful.
- Multi‑needle machines with higher max speed: These machines stitch out dense pieces much faster and more reliably. If you plan to make lots of all‑thread patches, a larger machine or multi‑needle setup is preferred.
Tip: If you only have a single‑needle or slower machine, favor light‑fill or in‑hoop applique methods for patches rather than very dense all‑thread fills. Two layers of wash‑away stabilizer help prevent migration during dense stitching.
Common problems and simple troubleshooting
- Thread not catching on first stitch: Stop, rethread the needle and bobbin. Use the app or machine controls to back up to the start of the current color step and try again. Confirm the needle is properly threaded through any threading lever.
- Stabilizer moving during stitching: Ensure the stabilizer is taut in the hoop and magnets are clean. Consider adding a second layer of wash‑away or using a hoop tape for added grip.
- Edge looks fuzzy after washing: Trim stabilizer closer before washing and rub gently when dissolving. Let the patch dry flat.
- Adhesive melts or damages patch material: Reduce heat or use a press with temperature control. Use a protective sheet between the iron and the patch.
How many stitches and time to expect
All‑thread patches can be tens of thousands of stitches. The stitch time depends on machine speed:
- High speed machines (800–1,000+ SPM): Dense patches complete faster.
- Lower speed machines (around 400 SPM): Expect longer stitching times. For example, a complex tiger patch might take 90–95 minutes on a small/slow machine and much less on a 6‑needle fast machine.
How to make embroidery patches — sample workflow recap
- Create or open patch frame in Patch Artist library.
- Type text, choose font, apply Envelope if needed and add patch edge.
- Choose Interactive patch type: hand cut in hoop, precut, or all‑thread.
- Color sort so stitch order makes sense for your machine and adhesives.
- Save PES to cloud and import into the machine app or save to USB.
- Hoop two layers of Sew and Wash stabilizer and test fit on machine.
- Stitch placement, lay fabric, tackdown, trim, and continue stitching outer edge and details.
- Remove excess stabilizer, dissolve remaining wash‑away, dry and trim.
- Apply adhesive backing and press onto garment or add rhinestones or hardware.
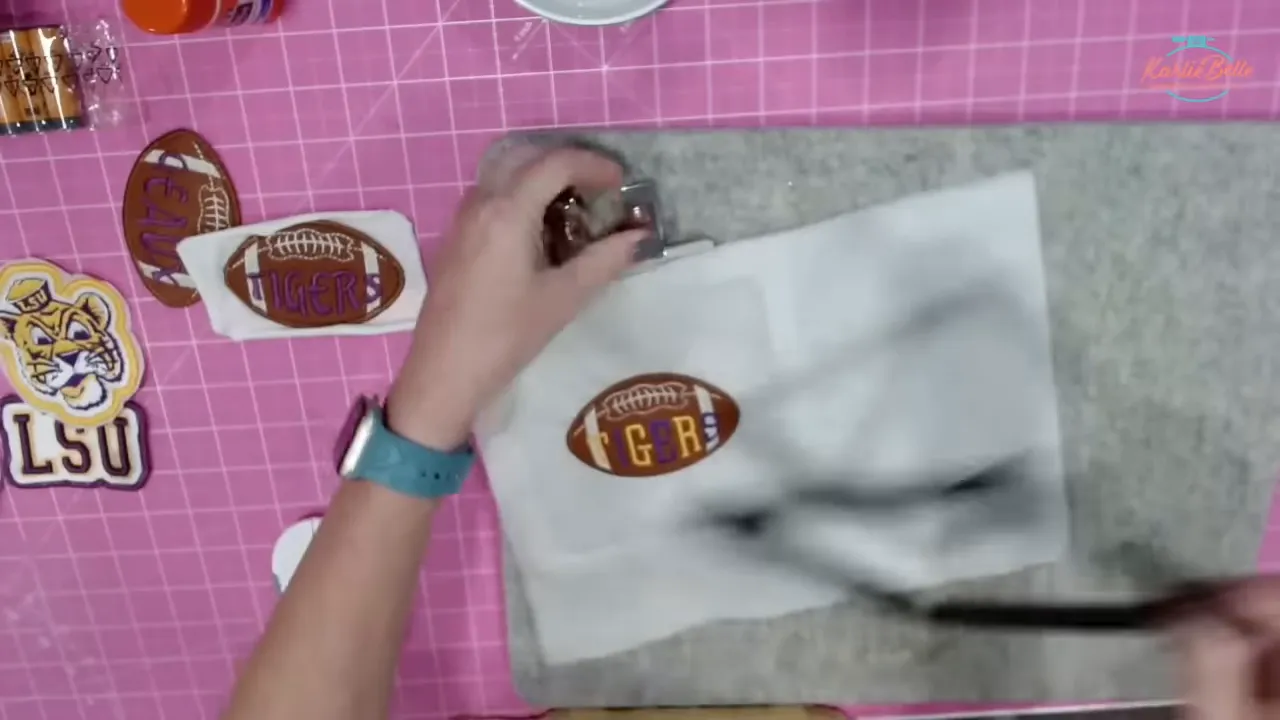
Examples of what to make next
- Team spirit shirts with multiple patches ironed in place
- Keychains and bag tags using an eyelet in the design
- Hat patches using heat press and protective teflon sheet
- Ornaments or small freestanding badges using all‑thread patches
Resources and links I use
I recommend these categories when you are ready to buy supplies: Patch Artist software from Embrilliance, sew and wash wash‑away stabilizer, polyester patch twill sheets, faux leather vinyl, and a reliable adhesive made for patches (Fuse & Seal, DIME/OESD adhesives, or HeatnBond Ultra for testing). Also consider a vertical thread stand for large spools and pre‑wound bobbins to reduce downtime.
Conclusion
Learning how to make embroidery patches opens many creative possibilities. Start with a simple in‑hoop applique patch using sew‑and‑wash stabilizer and polyester twill or faux leather. Use Patch Artist to add a patch edge and to experiment with all‑thread vs light‑fill options. Transfer to your machine via USB or cloud app, hoop carefully, follow the stitch order, trim, dissolve the stabilizer, and add adhesive for iron‑on convenience. Expect differences depending on your machine’s speed and power: multi‑needle and high‑speed machines handle dense all‑thread patches more easily, while smaller machines are ideal for appliques and simpler patches.
If you are ready, pick a frame from the Patch Artist library, save a PES to cloud storage, hoop two layers of Sew and Wash, and give it a test stitch. Each time you make a patch you will improve your trimming speed and finishing technique. Enjoy designing and be patient when testing adhesives, especially on faux leather or delicate fabrics.
Happy stitching. I can’t wait to see what patches you create.
PIN IT
OTHER LINKS
🪡 Learn more about my beginner course on machine embroidery, From Start to Stitch
💻 Enroll in my new course Embroidery Essentials
❤️ Join my Sip & Stitch Squad VIP Membership
🧵 Join my Facebook Group for discussion and help on machine embroidery and crafting
Thanks for stopping by!