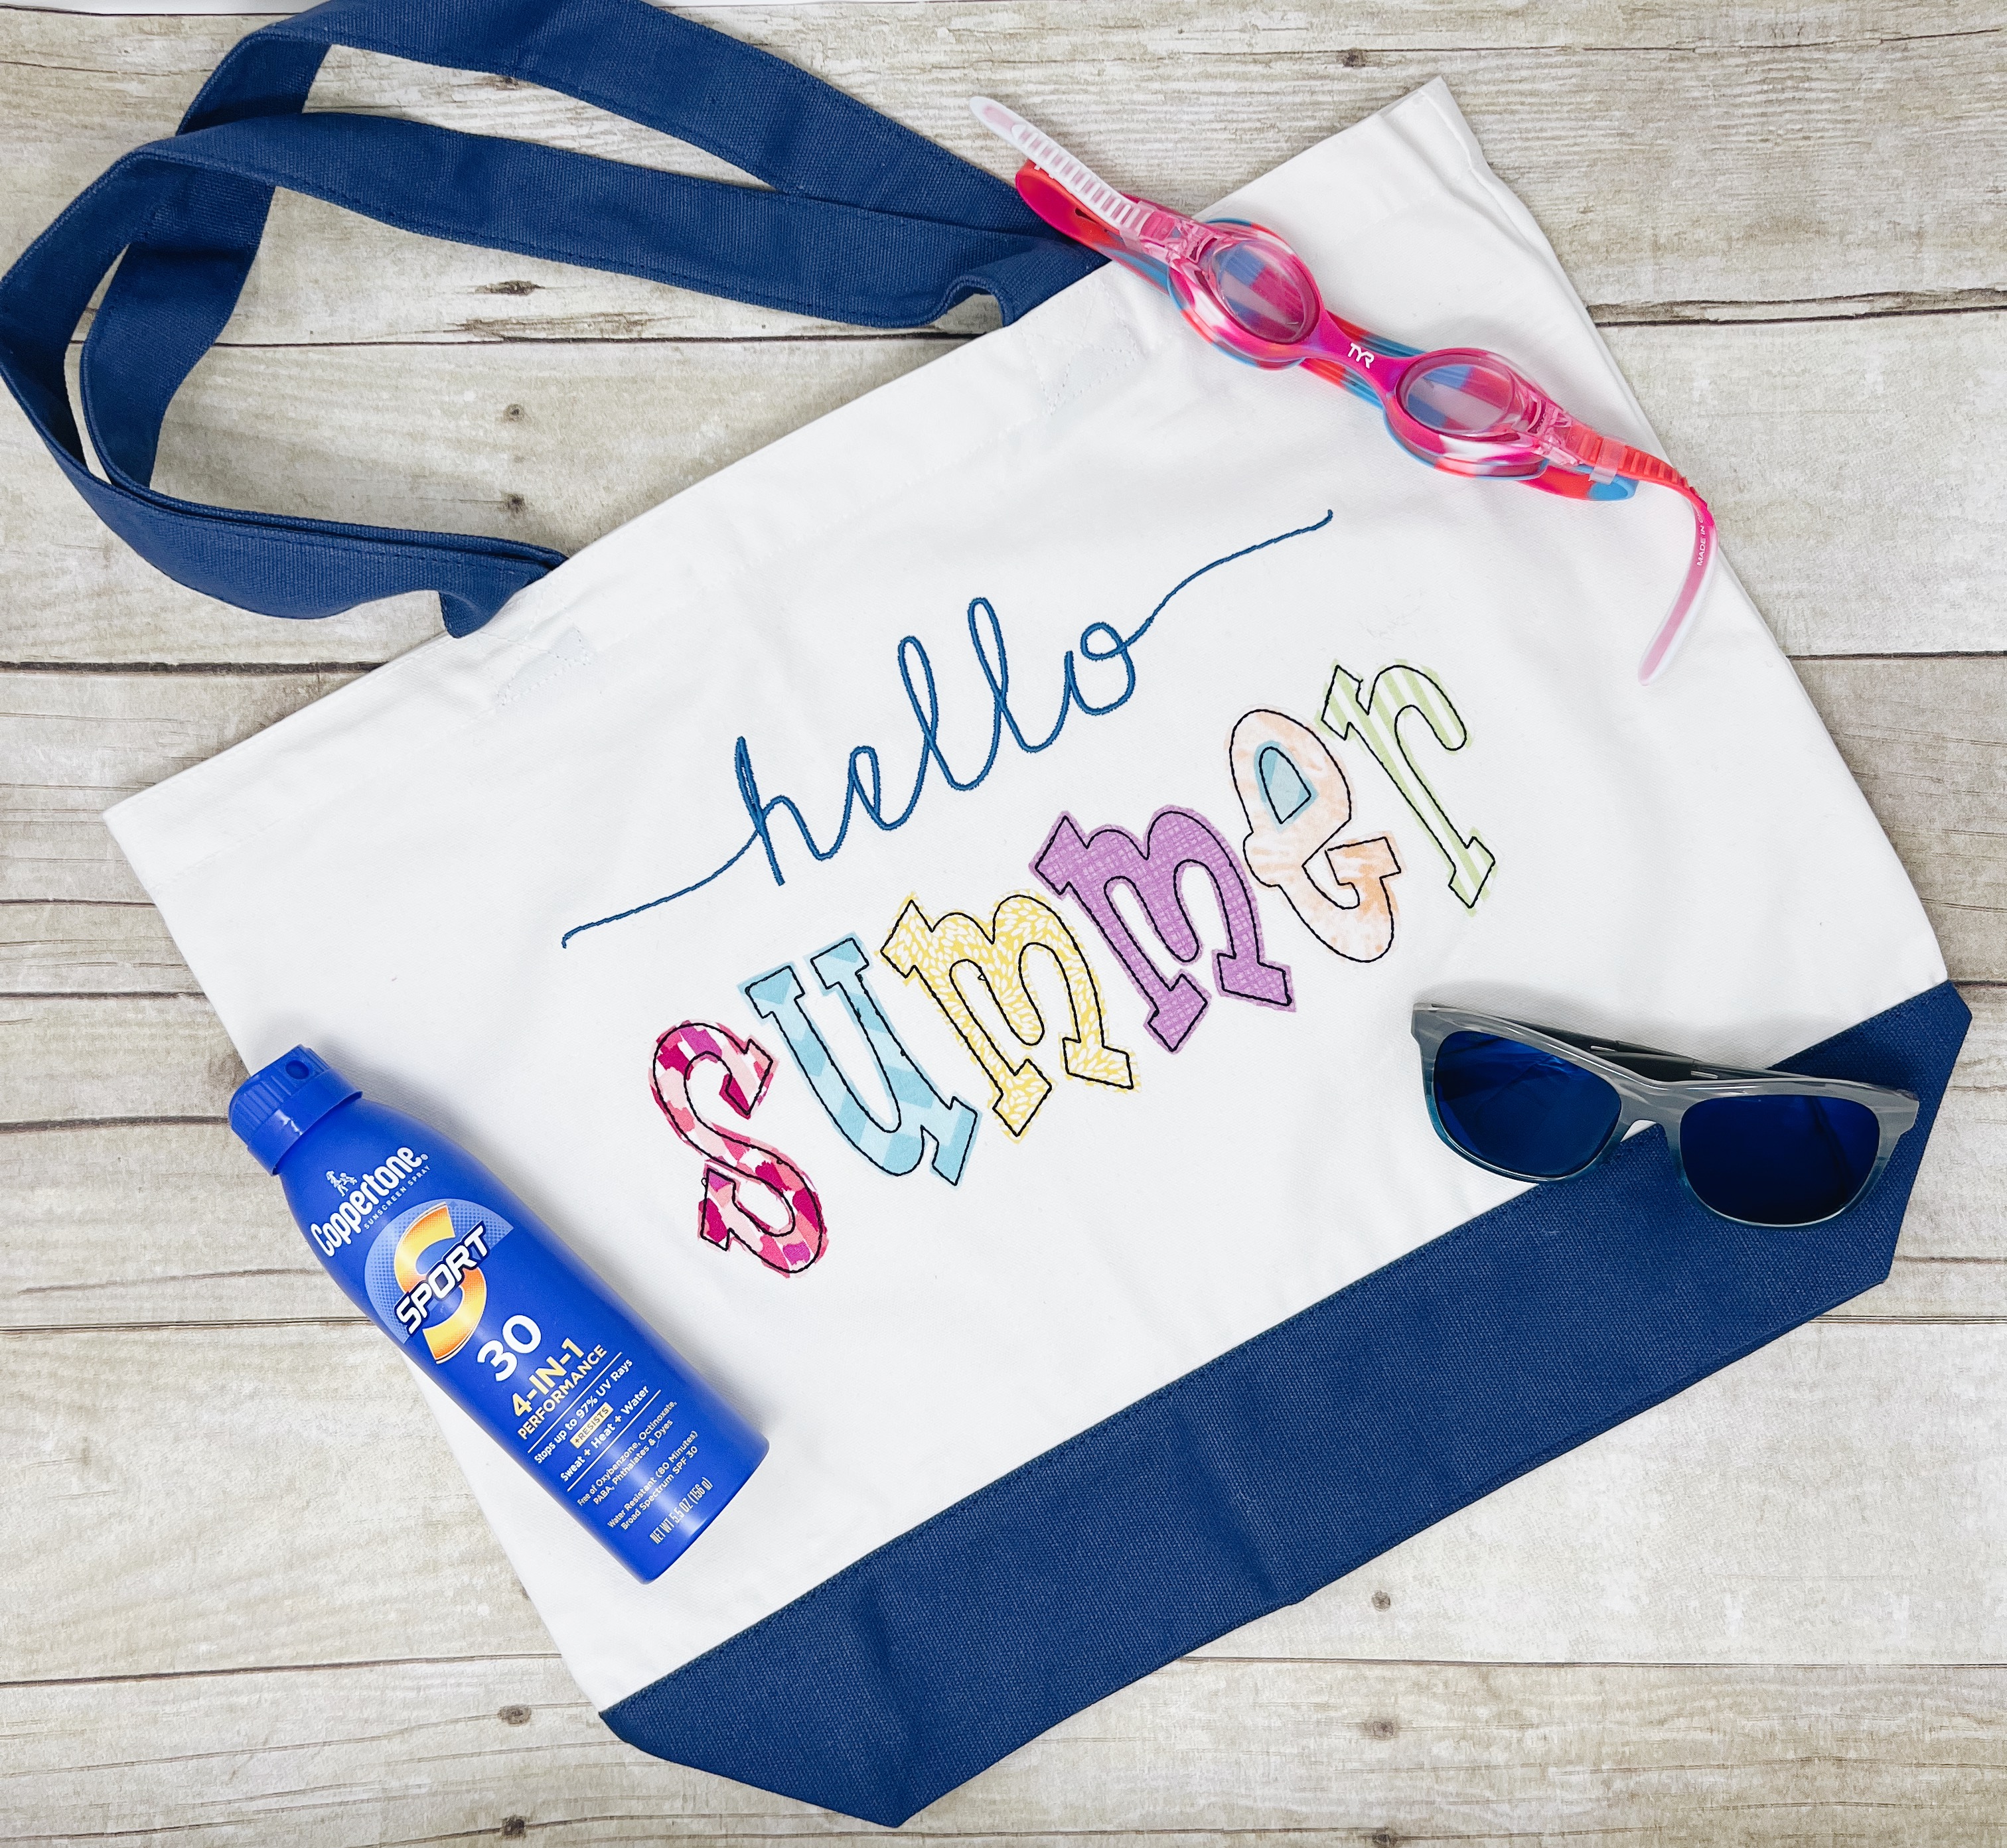
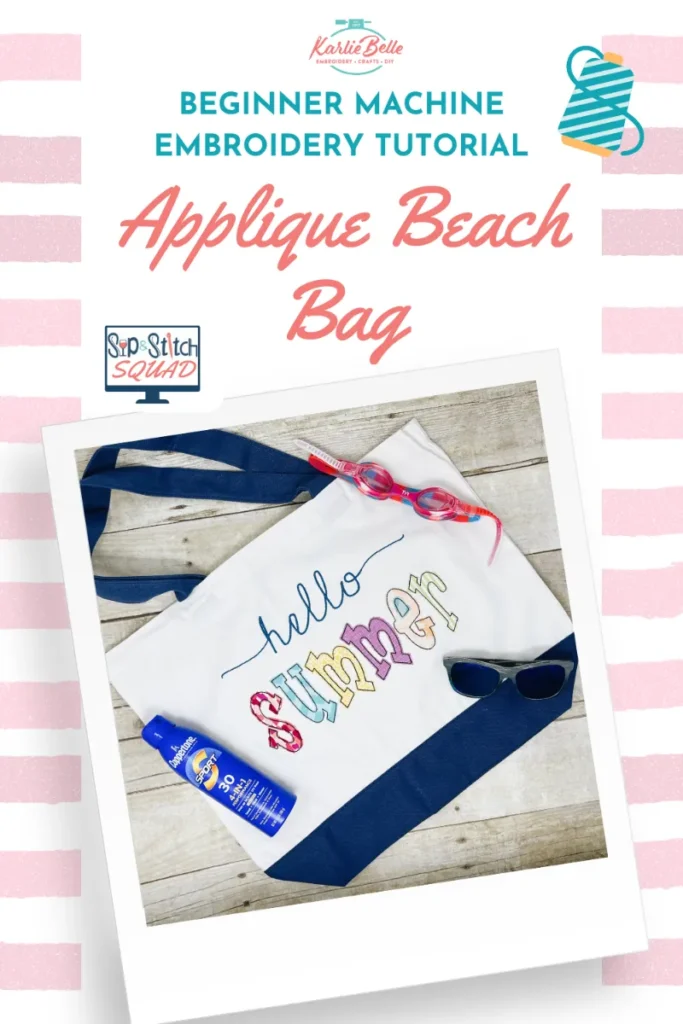
In this project, we will go over how to make an applique beach bag on my Ricoma EM-1010. I choose to embroider “hello summer” on my bag, but you can add a name, monogram, or any other saying you would like. We will be going over how to use applique letters to create the design you want. I will also go over using a multi-needle machine with a mighty hoop. Bags are easiest to hoop and embroider on a free arm machine, but if you have a smaller flatbed, it still can be done.
This post contains affiliate links and I will receive a small commission if you make a purchase after clicking on my link. All opinions are my own and I only promote products that I use and love.
Applique Beach Bag Supplies:
- Bailey Applique Font & I Love Glitter font use coupon code KARLIE to save 35% off of your order. Expires 6/17/22 at 11:59pm est
- get future coupons for AKidzCreation by joining their Facebook Group
- Embrilliance Essentials
- Large Canvas Bag
- Tear Away stabilizer. Use coupon code “karliebelle” to save 10%
- here is another brand I have used from Amazon
- Ricoma EM-1010 Embroidery Machine
- 8x13 Mighty Hoop (Use coupon code KARLIE BELLE to get free shipping within the contiguous US)
- Disappearing Ink Fabric Marker Use coupon code “karliebelle” to save 10%
- Fabric for Applique
- Heat n Bond Lite
- Mini Iron
- Applique Scissors Use coupon code “karliebelle” to save 10%
- 75/11 Ball Point Needle Use coupon code “karliebelle” to save 10%
- Embroidery Thread Use coupon code “karliebelle” to save 10%
- Pre-wound Bobbin for Ricoma
- Tide Pen
Remember if you are ever interested in getting a Ricoma, please reach out to me. My referral link will save you $100 off your order and I have a special Ricoma Owners Facebook group with free training for those who order their machine through me 😁.

You can checkout all of my previous Sip & Stitch projects here. I look forward to chatting with you the next time I am live. You can get info on all of my upcoming projects on the Sip & Stitch Homepage. I am live on my YouTube channel once a month with a new tutorial 😁.
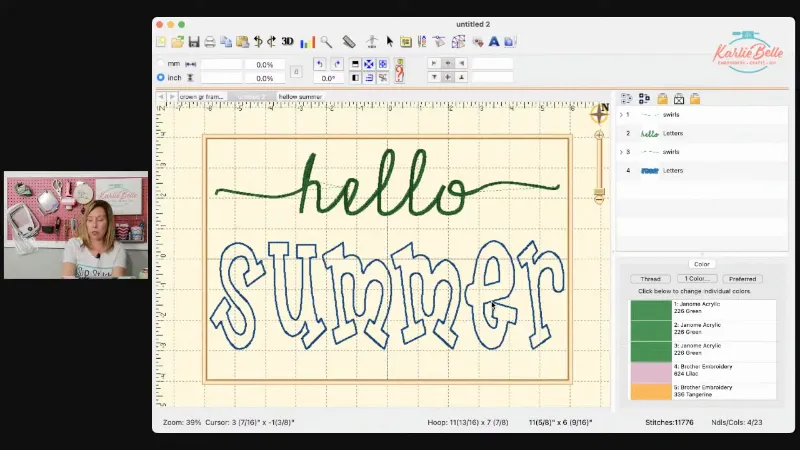
Creating the applique letters in Embrilliance
When merging fonts or multiple design to create a custom embroidery design, having the right software is crucial. Embrilliance Essentials is a versatile program that allows you to personalize, resize, and arrange your designs with ease. It provides the flexibility to manipulate the order of stitching and make necessary adjustments to create stunning embroidery design.
Using Embroidery Fonts
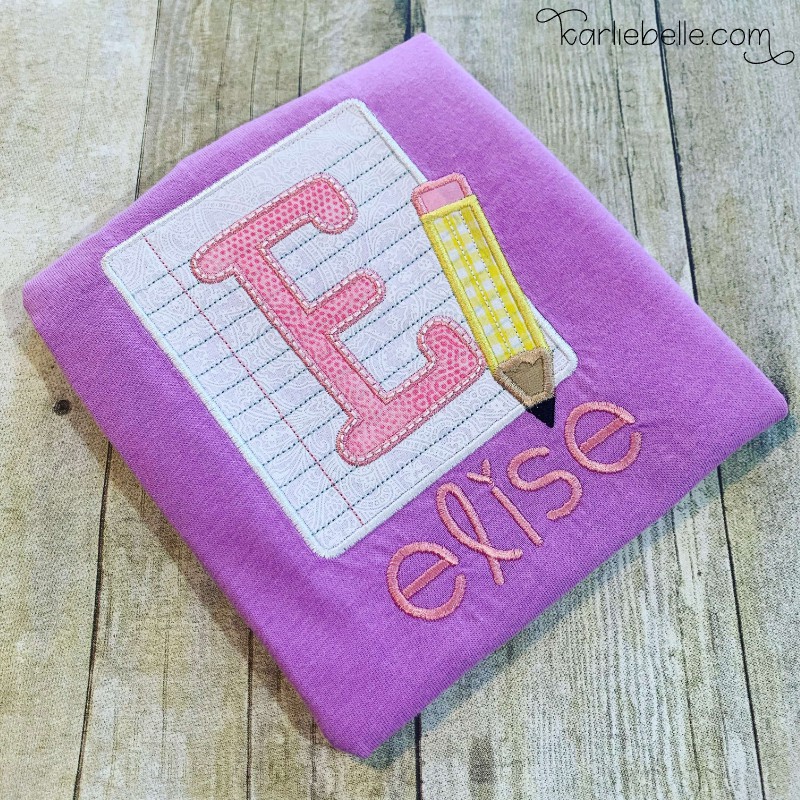
With Embrilliance, you can easily use embroidery fonts to create beautiful text designs. Whether it’s a basic font that comes with the program or a native font like “I Love Glitter” and “Bailey Applique,” Embrilliance allows for seamless integration and customization. Additionally, native fonts like “I Love Glitter” and “Bailey Applique” offer the flexibility to resize the letters beyond the standard 20%, enabling you to create unique and personalized alphabet applique embroidery design.
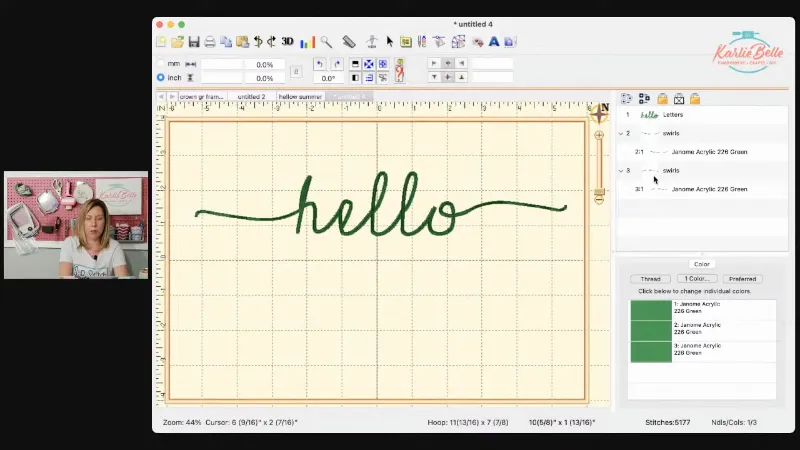
Adding Embellishments and Swirls on applique letters
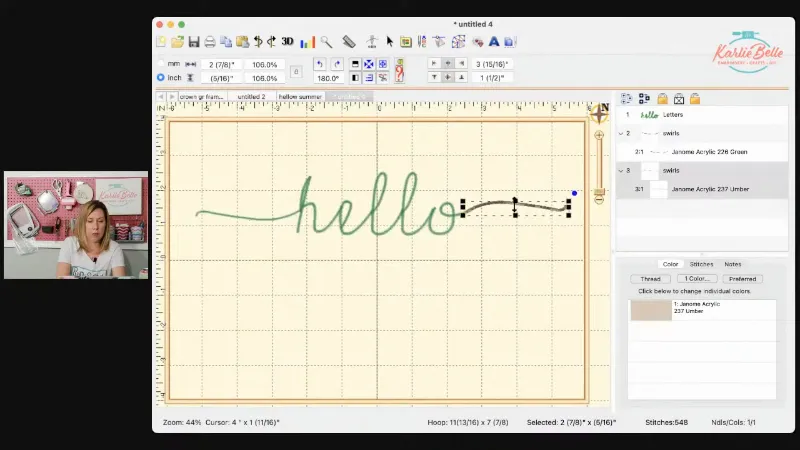
Embrilliance also simplifies the process of adding extra design elements like swirls and embellishments to your embroidery. You can easily import and position these additional elements to complement your text, creating a cohesive and visually appealing design.
Managing Stitching Order and Colors
One of the key features of Embrilliance is the ability to manage the stitching order and colors of your design. You can easily adjust the sequence of stitching to ensure a smooth and efficient embroidery process. Additionally, the program allows you to assign different colors to specific elements of your design, giving you full control over the final look of your embroidery.
Once the design is ready, you can save it in the desired format for your embroidery machine, ensuring a seamless transition from software to stitching. Embrilliance simplifies the entire editing process, making it accessible and efficient for both beginners and experienced embroiderers.
For more tutorials and resources on machine embroidery, including tips on using Embrilliance and creating stunning designs, visit Karlie Belle. You can also explore a wide range of machine embroidery and crafting tutorials at Machine Embroidery and Craft Tutorials – Karlie Belle.
Hooping the Bag and Preparing for Stitching
Hooping the bag is a crucial step in preparing for the embroidery process. Ensuring that the bag is securely hooped will result in a well-executed and professional-looking alphabet applique embroidery design. Let’s break down the process of hooping the bag and preparing for stitching.
Choosing the Right Bag
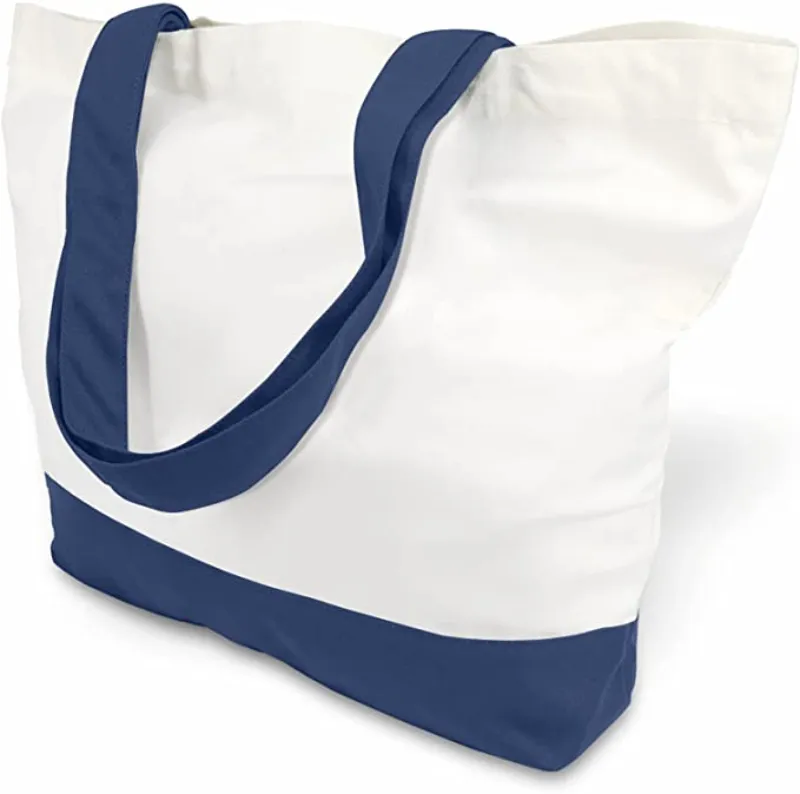
When selecting a bag for embroidery, it’s essential to choose one without sewn-in pockets on the side where the design will be stitched. This ensures that the embroidery process won’t interfere with any existing pockets or compartments on the bag.
Measuring and Marking the Bag
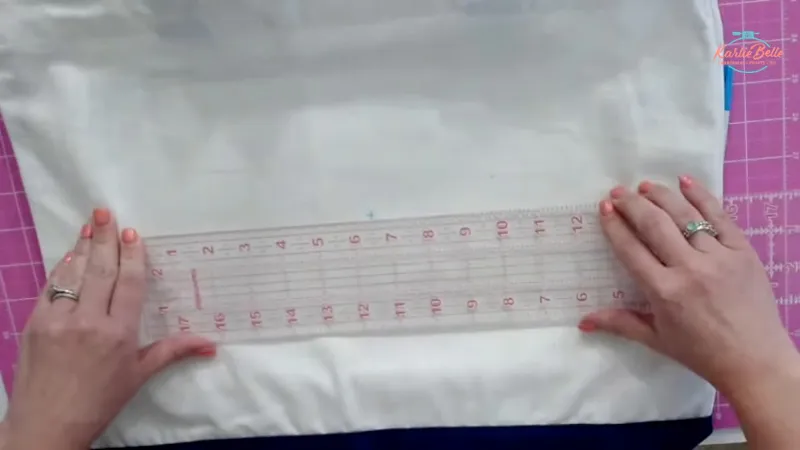
Before hooping the bag, it’s important to measure and mark the center of the bag to align the embroidery design accurately. Using a fabric marker, make a small mark at the center point to serve as a guide for positioning the design.
Hooping the Bag
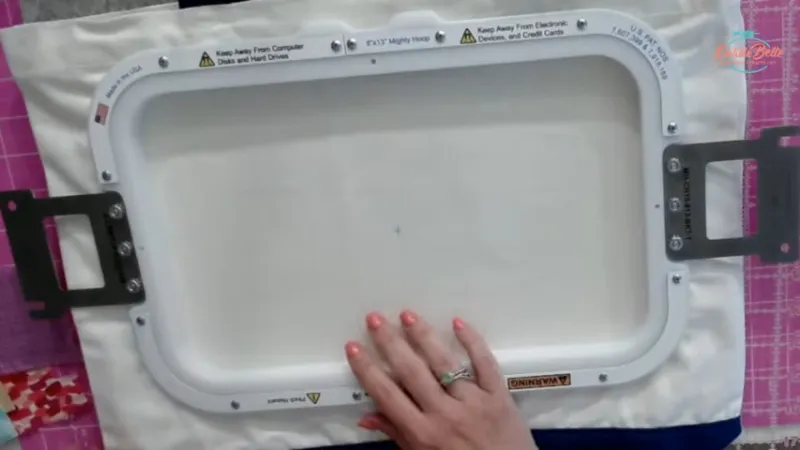
When hooping the bag, ensure that the marked center aligns with the center of the hoop. This alignment is vital for positioning the design correctly and preventing any misalignment during the stitching process. Additionally, using tearaway stabilizer inside the hoop helps maintain stability during the embroidery process.
Checking and Tracing the Design
When using Mighty Hoops or any other frames or hoops that did not come with your machine, it’s essential to check and trace the design to ensure that it falls within the hooped area and that the needle won’t accidentally hit the hoop frame. This step helps prevent any potential mishaps during the stitching process.
Now that the bag is properly hooped and prepared for stitching, the next step is to proceed with the embroidery process, ensuring that the design is accurately stitched onto the bag.
Stitching the Applique Letters
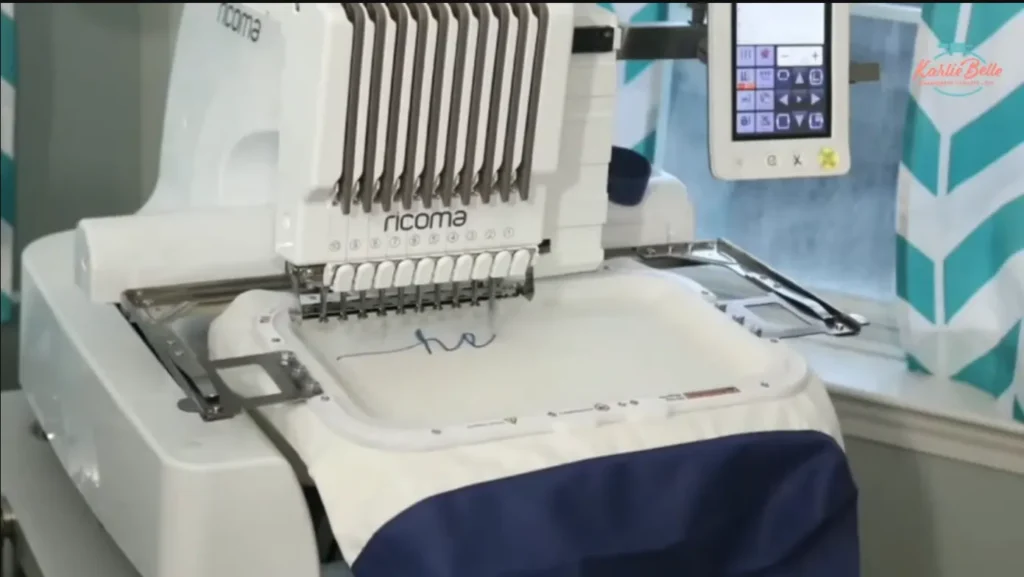
Once the design is ready, it’s time to stitch the applique letters onto the bag. The process involves hooping the bag securely, aligning the embroidery design accurately, and stitching out each letter with precision. Let’s delve into the detailed process of stitching the alphabet applique embroidery design onto the bag.
Stitching the Applique Letters
With the design hooped and ready, the machine will begin stitching the placement and tack down stitches for each applique letter. This process involves carefully placing the fabric for each letter, ensuring it covers the designated area, and securing it in place with the tack-down stitch. Once the fabric is secured, the machine will continue with the final bean or satin stitch to complete the applique letter. Our alphabet applique embroidery design on the bag is nearly finished
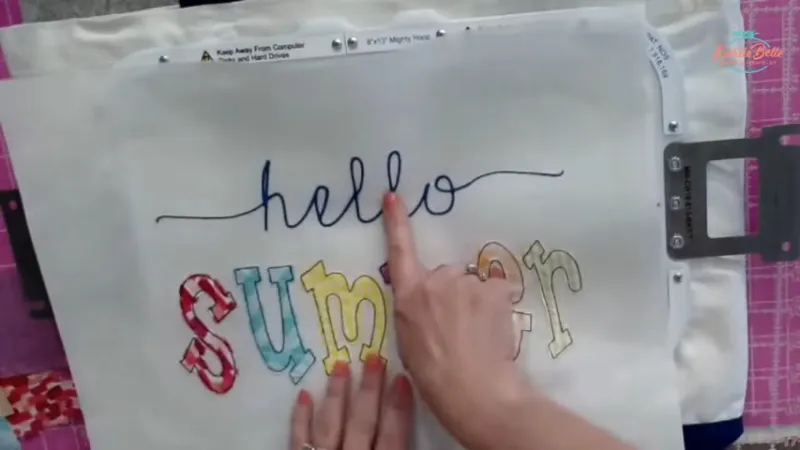
Trimming and Finishing

After the final stitch for each letter is complete, the excess fabric is trimmed away, and any remaining stabilizer is removed. The completed applique letters add a vibrant and personalized touch to the beach bag, creating a stunning and unique design that’s ready to showcase during your beach outings.
PIN IT
💻 Check out past Sip & Stitch projects
🪡 Sign up for From Start to Stitch Waitlist
❤️ Join my Sip & Stitch Squad VIP Membership
🧵 Join my Facebook Group for discussion and help on machine embroidery and crafting
🌟🌟🌟I now have a direct contact at Sewing Machines Plus whenever you have questions about products or are ready to buy a new machine. Call Jean at 800-401-8151 Ext: 139 or email her at [email protected] Tell her Karlie Belle sent you 😘.
Thanks for stoping by!