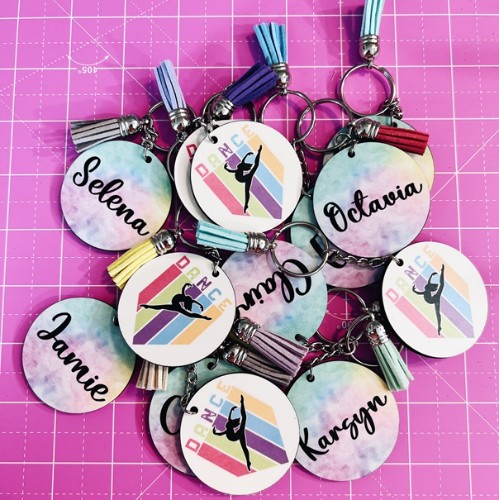
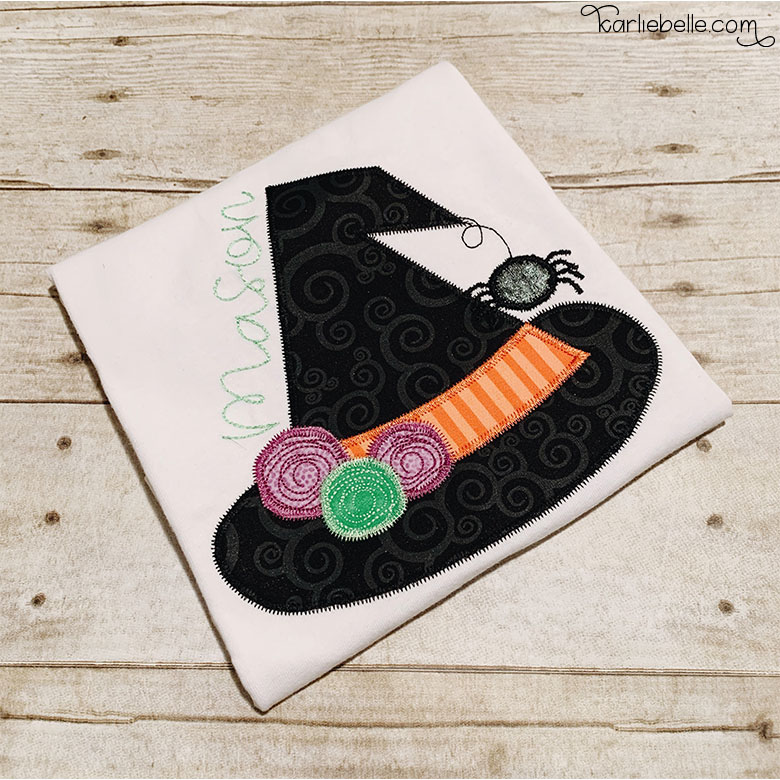
Welcome to a fun and creative journey into making a side split shirt with embroidery! I’m excited to share this tutorial with you, where we’ll transform a simple sweatshirt into a trendy piece using a side split design. Let’s dive in! The newest trend in machine embroidery definitely has to be these adorable side split designs Embroidery that I am seeing everywhere 😍. It started with an applique bow side split and now I am seeing all kinds of cute designs available as side splits now. My friends at Applique Alley have some of the cutest designs around and lots of side split designs to offer now. One of my favorites is the Christmas Lights Side Split.
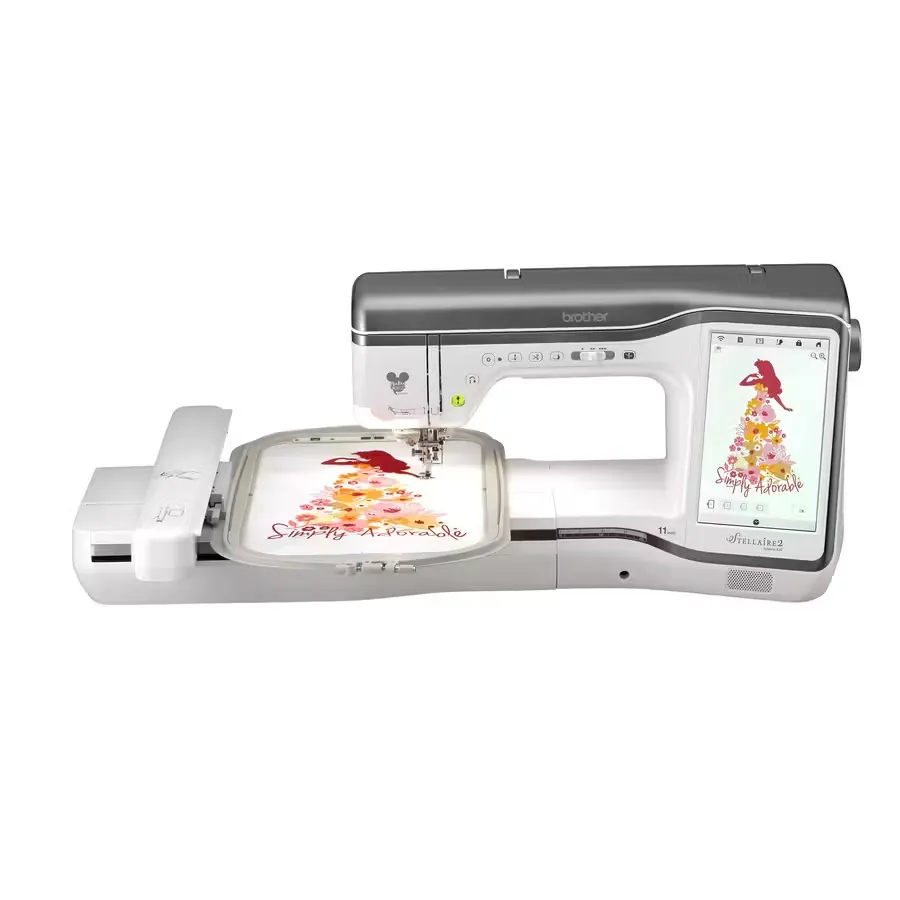
In this tutorial I will be showing you how to create this split effect from start to finish on a sweatshirt using a 5×7 hoop on a my Brother Stellaire XJ2 but this project can be done on any machine including a PE800/900.
Supplies Needed for the Project
Before we start stitching Embroidery on Side Split Shirt, let’s gather all the necessary supplies. Having everything on hand will make the process smooth and enjoyable. Here’s what you need:
- Christmas Lights Side Split Design
- Sweatshirt
- Sew n Wash Stabilizer Use coupon code “karliebelle” to save 10%
- Water Soluble Topper Use coupon code “karliebelle” to save 10%
- Spray n Bond Use coupon code “karliebelle” to save 10%
- Pins or clips
- Applique Scissors Use coupon code “karliebelle” to save 10%
- Organ 75/11 BP Needles Use coupon code “karliebelle” to save 10%
- Precision Tweezers Use coupon code “karliebelle” to save 10%
- Embroidery Thread Use coupon code “karliebelle” to save 10%
- Thread Stand Use coupon code “karliebelle” to save 10%
- Pre-wound Bobbin
Brother Stellaire XJ2
Amazing sewing and embroidery combo machine with massive 9.5 x 14 inch hoop, cuts jump stitches, wifi enabled, and stitches at speed of 1050 spm
Featured machine
Preparing the Design and Hooping
Now that we have our supplies ready, let’s prepare our design and hoop the sweatshirt. This step is crucial for achieving a professional-looking embroidered side split Christmas sweatshirt.

Printing and Aligning the Design
Start by printing your design template. Ensure it includes crosshairs to help with precise placement. Lay your sweatshirt flat and align the design template with the side seam and bottom edge of the sweatshirt. Pin the template in place to prevent it from shifting.

Hooping the Sweatshirt
Take your wash-away stabilizer and fold it in half to double the layers. Place it in the outer hoop and ensure it’s taut. Position the inner hoop over the stabilizer, aligning the arrows for correct orientation. Tighten the hoop to secure the stabilizer.

Spraying and Pinning the Sweatshirt
To make sure everything stays in place during embroidery, we’ll use a temporary spray adhesive. Spray the stabilizer generously, especially around the edges. This will help the fabric adhere without shifting.

Once sprayed, carefully position the sweatshirt on the hoop, using the printed template and grid as guides. Pin the fabric at the edges to ensure it remains secure during stitching.

Setting Up the Machine for Stitching
With the sweatshirt hooped and secured, it’s time to set up your embroidery machine. Load the design into your machine and position the hoop under the presser foot. Ensure no part of the sweatshirt is caught under the hoop to avoid stitching mishaps.

Use the machine’s layout function to align the needle with the crosshairs of your design. If your machine has a laser guide, turn it on for precise positioning. Adjust the layout until the needle is perfectly centered over the design’s starting point.

This step is crucial as it sets the foundation for the rest of the embroidery process. Take your time to ensure everything is aligned correctly, and don’t hesitate to make adjustments if needed.
Stitching the Design
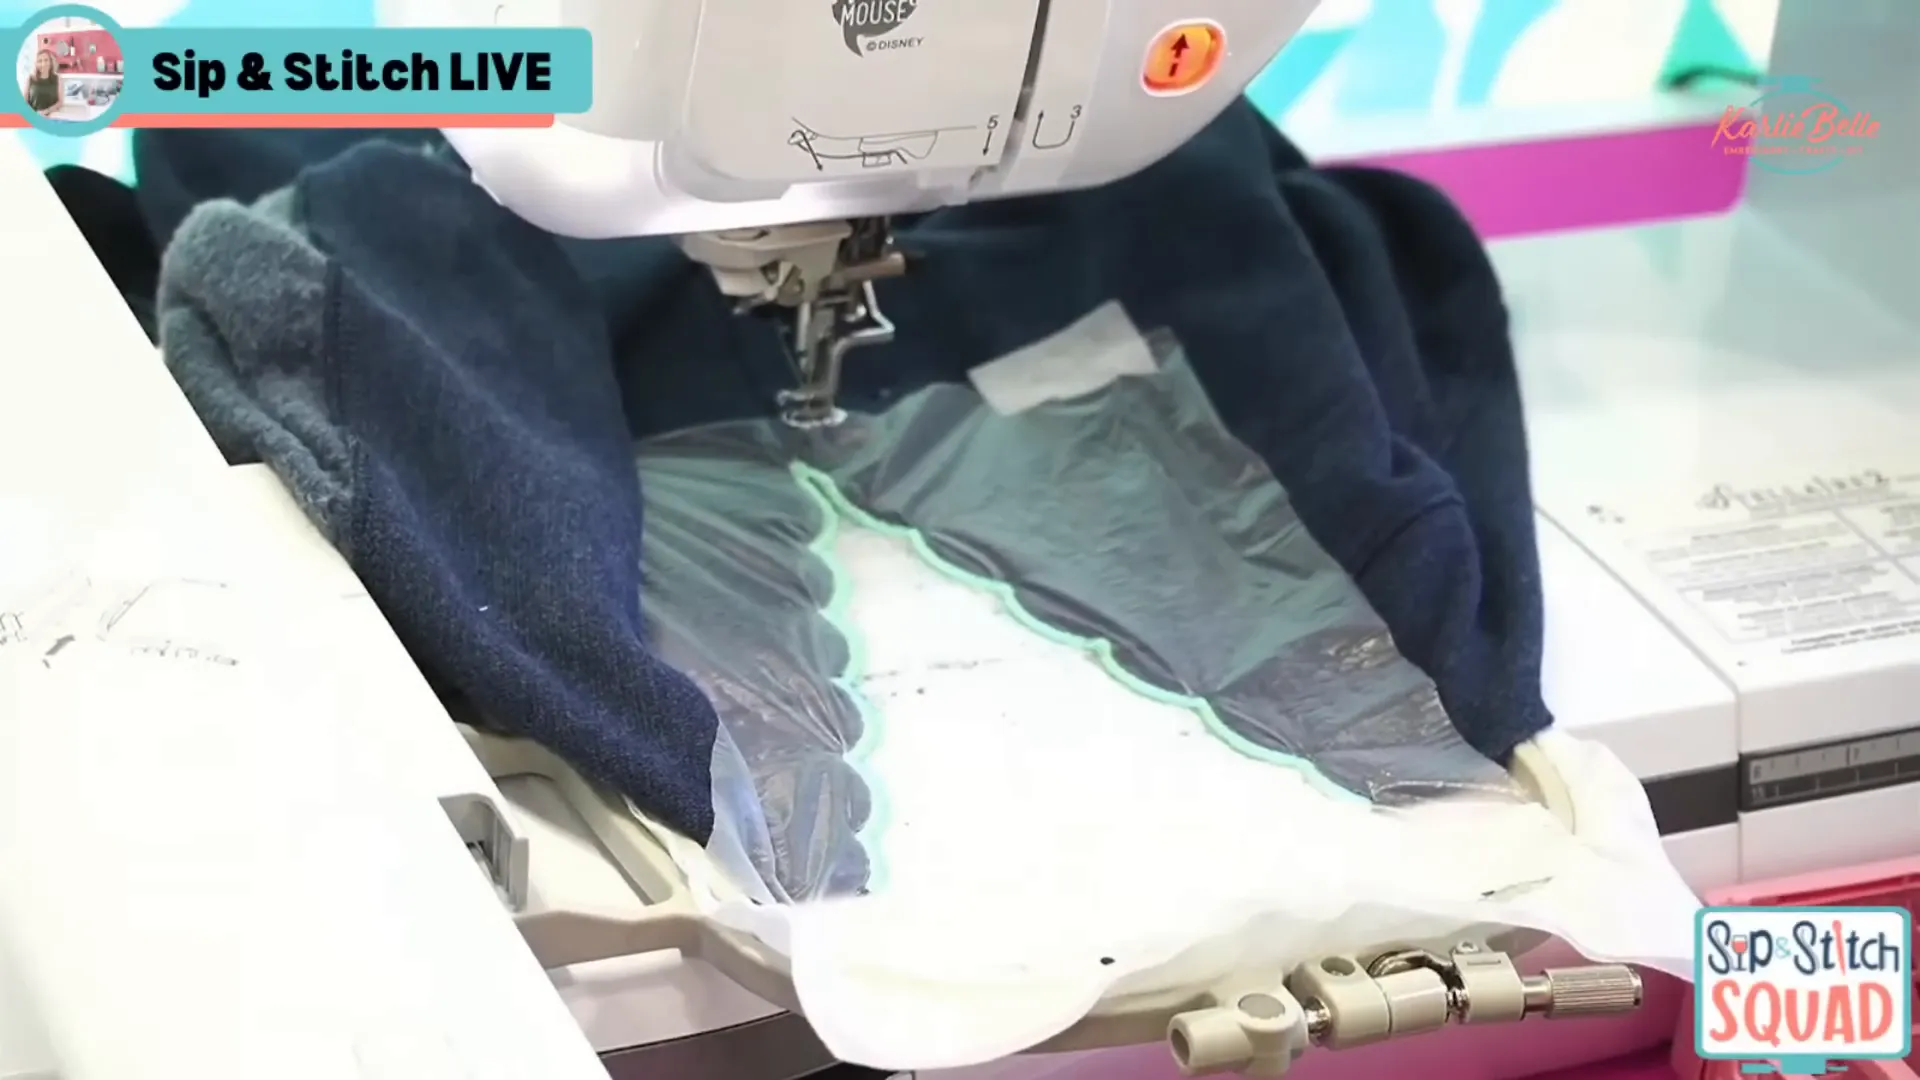
Now that your sweatshirt is securely hooped and your machine is set up, it’s time to start stitching the design. This is the exciting part where your embroidered Christmas sweatshirt begins to come to life!
Thread your machine with the color you’ll use for the first step, which is a guideline stitch. This stitch will show you where to trim the sweatshirt for the side split design. Once threaded, lower the presser foot and begin stitching.

Trimming the Sweatshirt
Once the placement stitch is complete, it’s time to trim the excess material. This step is crucial for achieving that neat, side-split look.

With a pair of sharp embroidery scissors, carefully trim the sweatshirt material close to the satin stitch. Be cautious not to cut through any of the stitches. This will give you a clean edge and prevent any fraying.
Tip: If you find the trimming process challenging, consider using a small pair of scissors with a curved blade for better precision.
Adding Water Soluble Topper
To ensure your embroidery looks crisp and professional, especially on knit fabrics, apply a water-soluble topper before stitching the next steps. This prevents the stitches from sinking into the fabric and maintains their definition.

Placing the Topper
Cut a piece of the water-soluble topper slightly larger than your design area. Place it over the hooped sweatshirt, ensuring it covers the entire design. Secure it with pins or a light spray of temporary adhesive to keep it in place.
Starting the Satin Stitch
First, ensure your embroidery machine is threaded with the color you’ll use for the satin stitch. This stitch will cover the raw edges of the fabric, providing a clean and polished look. Begin by selecting the appropriate stitch on your machine and carefully lower the presser foot to start stitching.
If you notice any areas that might need a little extra trimming before the satin stitch, now is the time to carefully snip those sections. This will ensure the stitch covers all raw edges neatly.
Decorative Bean Stitch and Fill Stitch
After completing the satin stitch, switch to a contrasting thread color for the decorative bean stitch. This adds an extra touch of detail to your design. The bean stitch runs down the middle of the satin column, creating a lovely outline effect.

The last steps of the design are the colored light bulbs done in a fill stitch. You can alternate colors in any pattern you would like.
Once your design is finished stitching, carefully tear away the excess topper. Any remaining bits will dissolve during the first wash, leaving your design looking sharp.
Final Steps: Cleanup and Finishing Touches
With the embroidery complete, it’s time to put the finishing touches on your sweatshirt. Trim the wash away stabilizer as close to embroidery as you can without snipping any of the stitching.

Final Thread Trimming
Inspect the embroidery for any loose threads. Trim them carefully to prevent them from poking through the design. For extra security, apply a small amount of fray check to the ends of the threads.

Removing the Wash Away Stabilizer from side split shirt
Gently remove the wash-away stabilizer from the back of the embroidery by soaking it in water. Ensure all stabilizer is removed to avoid any stiffness in the fabric. Give your sweatshirt a gentle wash to remove any remaining stabilizer and to set the stitches. Dry it according to the care instructions on the sweatshirt label.

Side Split Shirt With Embroidery is now ready
Your embroidered Christmas project a side split shirt with embroidery is now ready to wear or gift. Enjoy the festive spirit and the compliments that are sure to come your way! I hope you liked this tutorial If you are looking for other Christmas related tutorial you might want to know how we created these Christmas stockings or these Custom Christmas Ornament

On the front of my sweatshirt I used this Four Doodle Tree design
🎄 Sign up for my 4th Annual Sip & Stitch Holiday Workshop
🪡 Learn more about my beginner course on machine embroidery, From Start to Stitch
💻 Enroll in my new course Embroidery Essentials
❤️ Join my Sip & Stitch Squad VIP Membership
🧵 Join my Facebook Group for discussion and help on machine embroidery and crafting

Thanks for stopping by!