If you’re looking to create custom embroidered hats, investing in an embroidery machine is a fantastic choice. Custom embroidered hats are one of the most profitable products you can make with your embroidery machine. While flat bed embroidery machines can embroidery soft, non-structured hats, a free arm or multi needle machine is needed in order to stitch on structured hats and it uses a speciality driver.
What’s New
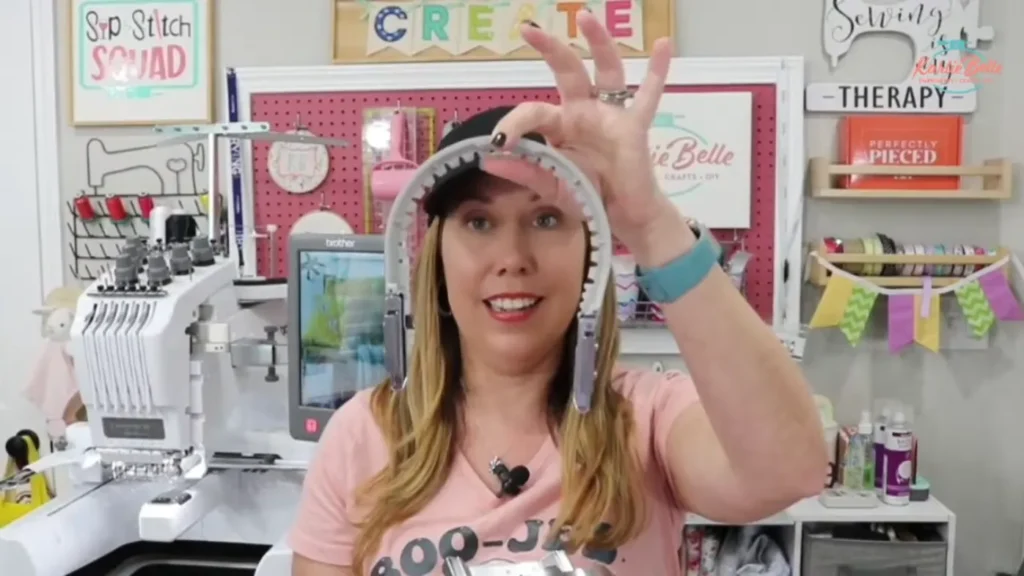
When I first got my Brother Persona, it came with the traditional cap driver that fits both Brother and Baby Lock machines. It looks very intimidating to use at first, but once you try it, it’s not that bad. One thing that was hard with the traditional cap driver it that you can not get the design very close to the bottom/ bill of the hat. However a couple of years ago, they came out with a new cap driver system that is not only easier to use, but also allows you to stitch closer to the bill. Its called the Flat Brim Cap Driver.
In this tutorial I will show you how to use the Flat Brim Cap Driver on my Brother PR680W 6 needle embroidery machine. We will go over how to hoop a structured hat and set it all up. I will also be making a custom design using Embrilliance Essentials and show you some important things to remember when stitching on a hat and how it is different from stitching on flat items.
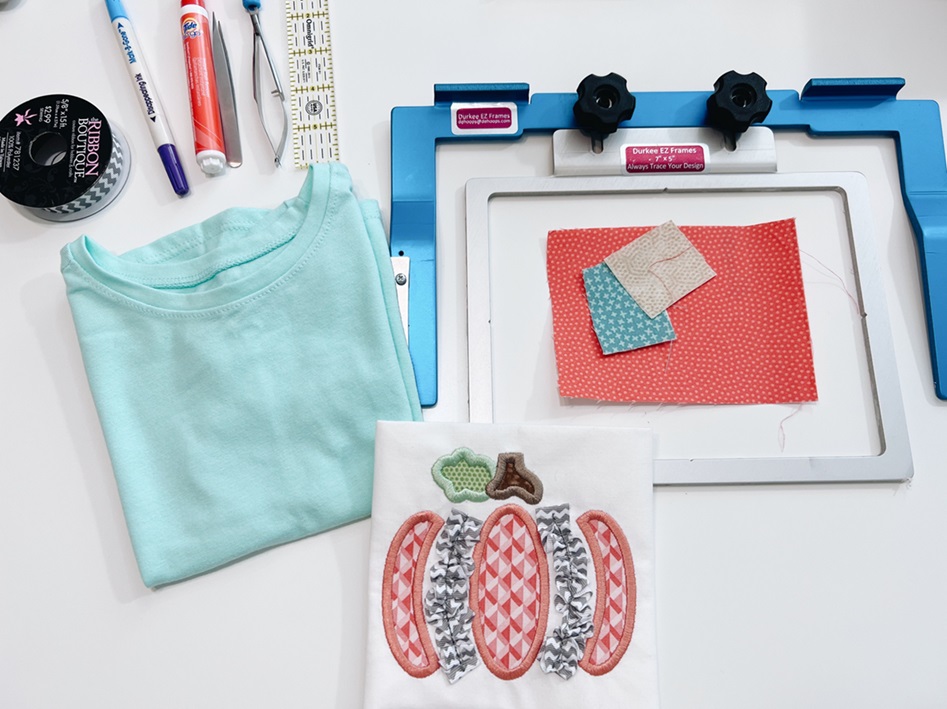
Supplies Needed:
- Flat Brim Cap Driver
- Structured Hat
- Non-Structured Hat from Walmart
- Metallic Thread
- Embrilliance Essentials
- Organ 75/11 BP Needles Use coupon code “karliebelle” to save 10%
- Applique Scissors Use coupon code “karliebelle” to save 10%
- Precision Tweezers Use coupon code “karliebelle” to save 10%
- Embroidery Thread Use coupon code “karliebelle” to save 10%
- Bobbins for Free Arm Machines Use coupon code “karliebelle” to save 10%
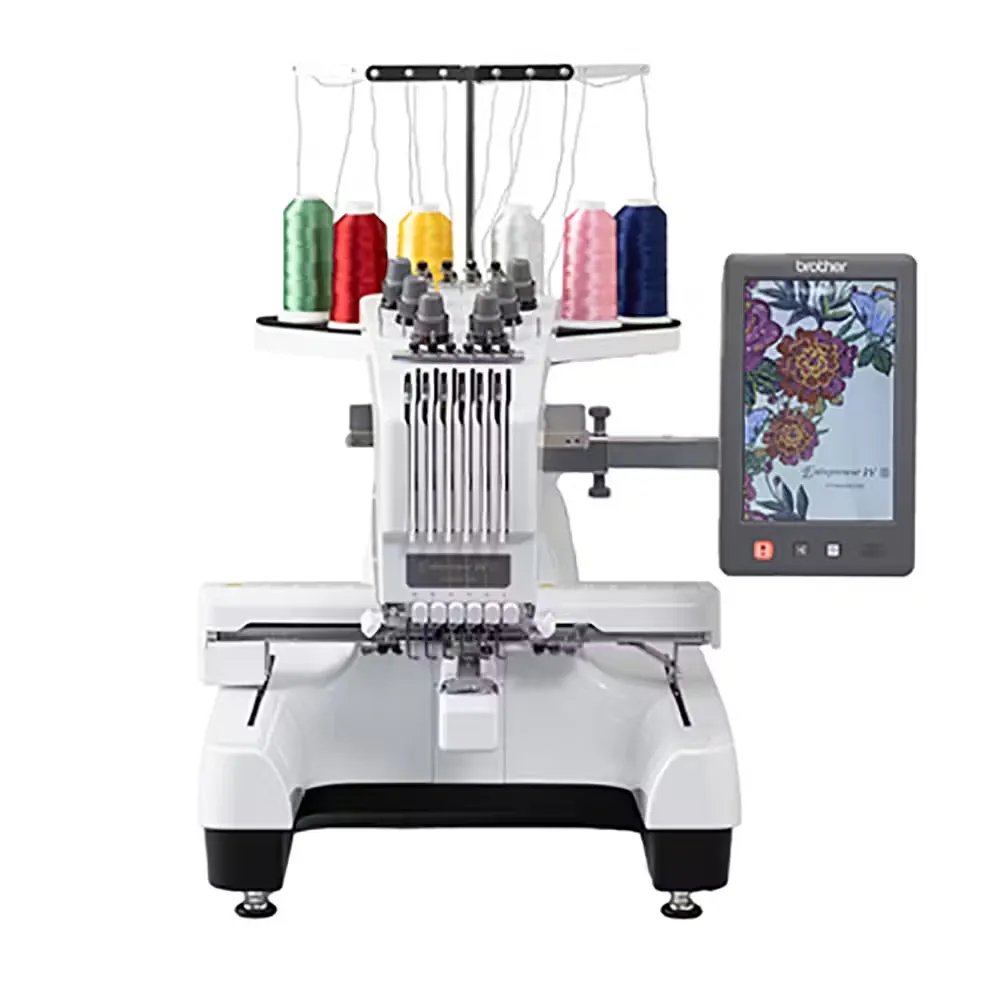
Brother PR680W
Amazing 6 needle, free arm embroidery machine with large 8×12 hoop, cuts jump stitches, wifi, and stitches at speed of 1050 spm
Featured machine
Introduction to Embroidering Hats
Embroidering hats can be a rewarding project, providing a personalized touch to an accessory that’s both practical and stylish. Whether you’re aiming to create custom designs for a business, gifts, or personal use, an embroidery machine for caps can elevate your craft to a new level. In this section, I’ll walk you through the basics of getting started with hat embroidery, focusing on the structured and unstructured types.
Structured hats, like trucker hats, are popular due to their durability and style. However, they require a different approach compared to unstructured hats. With structured hats, you need a machine that can handle the rigid frame, which is where a free-arm embroidery machine comes into play. Let’s dive into the specifics, starting with the essential components you’ll need.

Differences Between Old and New Cap Drivers
The evolution from the traditional cap driver to the flat brim cap driver introduces several enhancements:
- Design Simplicity: The new cap driver is more user-friendly, reducing the intimidation factor for beginners.
- Embroidery Proximity: The new design allows stitching closer to the brim, offering more design options.
- Compatibility: Both drivers are compatible with Brother and Baby Lock machines, but the components are not interchangeable.
- Ease of Use: The newer model streamlines the setup process, minimizing the risk of errors during hooping.
However, the traditional cap driver still holds its ground for general purposes and can be a reliable option if you don’t need to embroider close to the brim.
Overview of Cap Drivers
Cap drivers are essential for embroidering hats because they hold the hat securely in place while the embroidery machine works its magic. There are two main types of cap drivers: the traditional cap driver and the newer flat brim cap driver. Each has its unique features and benefits, which we’ll explore in detail.

- Traditional Cap Driver: This driver is great for general hat embroidery but has limitations in how close it can embroider to the brim.
- Flat Brim Cap Driver: Designed for precision, this driver allows for embroidery closer to the brim, making it ideal for detailed designs.
Both types are compatible with Brother and Baby Lock machines, provided they have a free arm. This is crucial because the free arm allows the hat to fit comfortably around the machine, enabling more intricate designs.
Cap Driver Setup: Understanding the Components
The cap driver setup consists of three main components: the driver itself, the cap ring, and the hooping station. Understanding how these parts work together is crucial for effective hat embroidery.
Driver

The driver attaches to the embroidery machine and serves as the base for the cap ring. It’s designed to be easily attached and detached, allowing you to switch between flat embroidery and hat embroidery quickly.
Cap Ring
The cap ring is crucial as it holds the hat in place. It’s designed to fit snugly around the hat’s brim, ensuring stability during embroidery. The newer flat brim cap ring is simplified in design, making it easier to use and more efficient for detailed work.
Hooping Station
This station is your assistant in getting the hat properly aligned. It clamps to any table, providing a stable base to work from. With the hooping station, you can easily secure the hat and cap ring, ensuring everything is in place before starting the embroidery.

Attaching the Cap Driver to the Machine
Attaching the cap driver is a straightforward process once you understand the mechanics. Here’s a step-by-step guide:
- Remove the Frame Holder: Start by unscrewing the thumb screws on either side of the frame holder. Carefully set aside the screws in a safe place.
- Remove Top Small Thumb Screws from Driver: There are 2 small thumb screws that must be removed in order for the diver to fit under the presser foot.
- Attach the Driver: Align the cap driver’s pegs with the machine’s slots. Ensure it’s securely attached by tightening the screws.
- Thumb Screws: Now the the driver is in place, use the 2 small thumb screws that you removed earlier in the spots available on the top back of the cap driver. Also be sure to tighten the 2 larger thumb screws on the bottom of the cap driver.

Using Stabilizer: Why It Matters
Stabilizer is a key component in embroidery, especially when working with structured hats. It prevents the fabric from puckering and ensures clean, crisp stitches.

Choosing the Right Stabilizer
For structured hats, a tear-away stabilizer is often sufficient. Cut a strip of stabilizer that fits under the cap ring. This strip will support the fabric during stitching and can be removed easily once the design is complete.
Place the stabilizer underneath the cap ring before placing the hat on it. Ensure it covers the area where the design will be stitched. Another tip is to make sure you level your embroidery machine for caps. The wheels are adjustable.
Hooping the Hat: Step-by-Step
Hooping your hat correctly is crucial for a successful embroidery project. Let’s walk through the process to ensure your design is perfectly aligned.
Step 1: Preparing the Hat
Start by aligning the cap ring with the hat. The ring should sit comfortably around the brim, with the center mark of the ring aligned with the center seam of the hat. This alignment ensures that your design will be centered on the cap.

Next, locate the sweatband inside the hat. Carefully pull the sweatband away from the fabric to prevent it from interfering with the embroidery process. This step is important because stitching through the sweatband can cause needle breakage.
Step 2: Attaching the Hat to the Cap Ring
With the sweatband pulled back, place the hat onto the cap ring. Ensure that the center mark on the ring aligns with the center seam of the hat. Once aligned, secure the sweatband around the small metal piece on the cap ring, ensuring it stays in place.

Step 3: Using the Hooping Station
Place the cap ring and hat onto the hooping station. The station will lock the cap ring into place, providing stability during embroidery. Ensure that the cap ring is in the locked position before proceeding to the next step.
Step 4: Securing with Binder Clips
If you’re working with a soft hat, use the provided binder clips to secure the fabric to the hooping station. Stretch the hat fabric under the station’s metal bar and clip it tightly to avoid any movement during stitching.
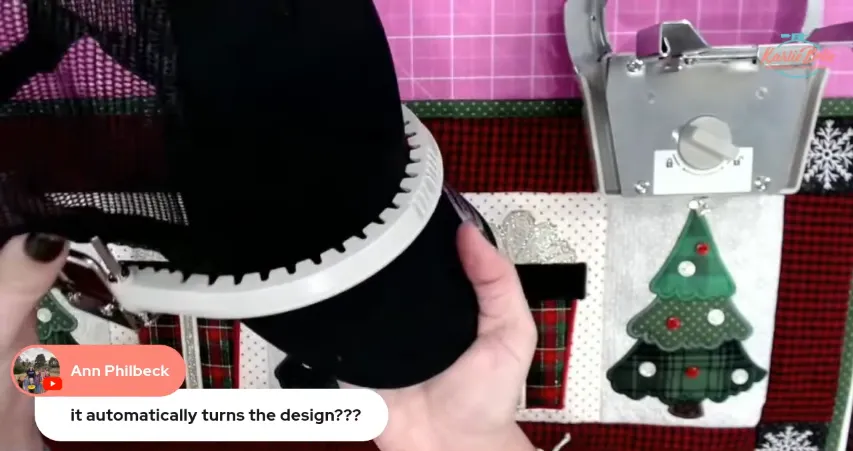
Step 5: Attach Hooped Hat to Driver
First, make sure the needle plate, a little black plastic piece, is in place before attaching the hat. Then rotate the hat so that the side of it can go under the presser foot freely. Once the bill of the hat is clear of the front head of the machine, then rotate the hat so that the bill is point up. You will see little white roller wheels on the driver that will snap into 3 sections of your cap ring where there are rectangular cutouts so that they snap right in.
Preparing the Design in Embrilliance Essentials
Now that your hat is hooped and stabilized, it’s time to prepare your design. Embrilliance Essentials is an excellent software for customizing embroidery designs.
Creating and Adjusting Your Design
Open Embrilliance Essentials and import your design file. Use the software’s tools to adjust the size and orientation of the design to fit the hat’s dimensions. Remember, the design should not extend beyond the cap ring’s boundaries.

One important thing to remember when stitching on hats, you can the design to stitch from the center going out, not left to right like you normally would on flat items. Embrilliance Essentials has a feature to help with this when creating a lettering design using BX fonts. After typing out the name or word you want to stitch, look in the properties window on the bottom right and locate the ORDER option. There is a drop down menu where you can choose the order in which you would like the characters to stitch out. Choose either C-L-R or C-R-L for the design to start in the center then travel either right or left.

This feature is only available for BX fonts in Embrilliance. For any other type of embroidery design that you purchase online, you can not change the starting point or direction of the stitching. This is when it is helpful to get designs that are specifically digitized for hats. If you digitize your own design using Stitch Artist, you will then have the ability to control the starting point and direction of the stitching.
Once you are done creating and editing your design, send the design over to your machine by saving it as a stitch file onto a USB drive, or if you machine has wireless capabilities, in Embrilliance select Utilities in the top menu, then Wifi to Brother or Baby Lock.
Rotating the Design for the Cap Driver
One of the benefits of using a free-arm embroidery machine for caps is that the machine automatically rotates the design to fit the hat’s curvature. However, double-check that the design is correctly oriented to prevent stitching errors.

Stitching the Hat: Tips and Tricks
With your hat prepared and design ready, it’s time to start stitching. Here are some tips to ensure a smooth embroidery process.
Needles
If you are unsure of the last time you changed your needle on your machine, now would be a great time to do so to ensure great stitching.
Alignment
Use the laser alignment tool on your machine to ensure that the design is centered with the center seam of the hat. You may then move the design up or down so that it stitches in the location you prefer. I typically move the design down so that it is as close the the bill as possible. Next trace the design as a final step to ensure correct placement.

Stitch Design on Hat
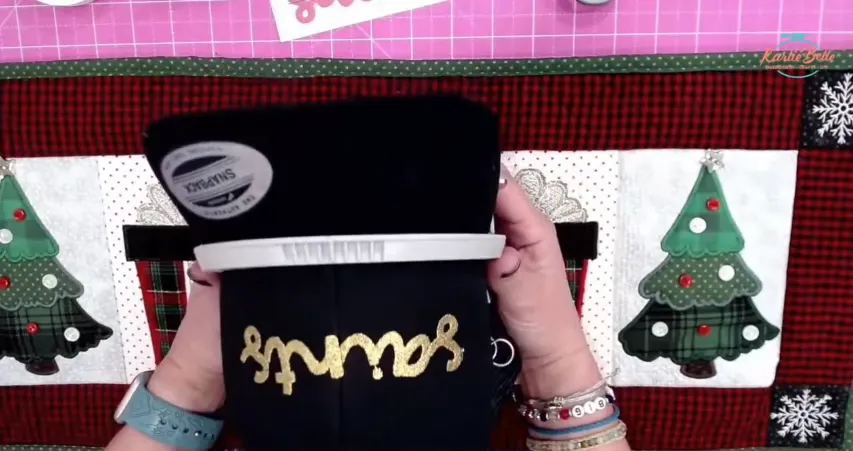
Once everything is set, make sure you have the proper thread colors loaded and steps assigned to needles if you are doing a multi colored design. Then start machine and watch the magic of embroidering on a structured hat.
Finishing Touches: Removing the Hat from the Machine
Once the embroidery is complete, carefully remove the hat from the machine.
Detaching the Hat
Unlock the cap ring from the machine and gently pull the hat off. Remove the binder clips and stabilizer, being careful not to damage the stitches.
Inspecting the Embroidery
Check the embroidery for any loose threads or imperfections. Trim any excess threads and admire your work!
Common Challenges and Solutions
Embroidery can present challenges, but with a little troubleshooting, you can achieve great results.
Puckering and Distortion
If the fabric puckers, check the stabilizer and thread tension. Make sure the stabilizer is properly positioned and the tension is not too tight.
Thread Breaks
Frequent thread breaks can be frustrating. Ensure the thread is correctly threaded through the machine and that the needle is appropriate for the fabric.

Misalignment
If the design is misaligned, recheck the cap ring’s position. Use the hooping station to realign the hat and ensure the center mark is correctly placed.
The Profitability of Custom Hats
Custom hats are not just a fun project; they can be a lucrative business venture. When you break down the costs and potential revenue, hats offer one of the highest profit margins in embroidery. Here’s why:
- Low Cost of Materials: You can source quality hats at wholesale prices ranging from $2 to $3 per piece. This low initial cost provides a significant markup opportunity.
- High Selling Price: Custom embroidered hats can sell for $30 or more, depending on the complexity of the design and the market.
- Customization Appeal: Customers love personalized items. Offering custom designs, whether logos or unique graphics, can attract a wider audience.

By partnering with a reputable digitizer, you can offer personalized services, charging a setup fee for each custom design. This fee can be passed on to your clients, adding another revenue stream. With a good strategy in place, you can recoup your initial machine investment quickly. I know there is intial cost of buying an embroidery machine for caps but I was able to cover the cost in few months and then the rest is profit
Upcoming Projects and Workshops
I’m thrilled to announce some exciting projects and workshops coming your way. These are perfect opportunities to enhance your skills and explore new trends in embroidery.
Holiday Table Runner Workshop
Join us for the Sip and Stitch Holiday Workshop, where we’ll be creating a beautiful quilted table runner. It’s a two-part series on November 10th and 17th, 2024. Whether you choose to make a table runner, pillow, or wall hanging, you’ll learn various techniques to impress your holiday guests.
The workshop is interactive and conducted via Zoom, allowing for real-time Q&A sessions. Don’t worry if you can’t attend live; recordings will be available for later viewing.
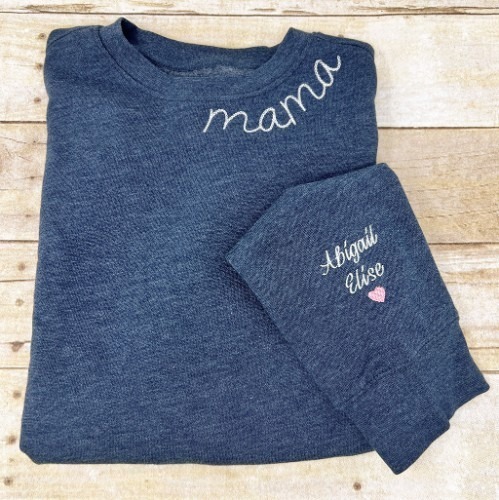
Trendy Sweatshirt Embroidery
There’s a hot new trend involving embroidery designs on sweatshirts, creating unique and fashionable pieces. I’ll be collaborating with Applique Alley to bring you some adorable designs, including festive Christmas lights and bows.
Mark your calendars for November 15th, 2024 when we’ll delve into this project. This session will guide you through the process of adding embroidery to your sweatshirts, including techniques for cutting and finishing to achieve a professional look.
Q&A Session: Answering Your Questions
Let’s dive into some of the most common questions I’ve received about embroidery machine for caps
Why is the Stitch Order Important?
The stitch order is crucial because hats have a curved surface, which can affect the registration of the design. By starting from the center and working outward, you minimize the risk of misalignment and ensure your design looks perfect.
What If My Thread Keeps Breaking?
Thread breaks are often due to tension issues or the type of thread used. Ensure your machine’s tension is set correctly for the fabric. Consider using a thread stand and give metallic threads more room to unwind, reducing the chance of breaks.
Can I Use Regular Designs on Hats?
Yes, you can test regular designs on inexpensive hats to see how they stitch out. However, designs specifically digitized for hats will generally yield better results due to their optimized stitch path.
Resources
I spoke with Blaine at SewingMachinesPlus.com and asked him if we can have a special deal for my followers if any of y’all are interested in getting the Brother PR680W and/ or Flat Brim Cap Driver and he said YES!! This will be a CALL IN SPECIAL just for Karlie Belle followers. If you would like more info, contact Laura @ SMP and she can help you over the phone. Her direct phone number is 800-401-8151 Ext: 117 or you can email her at [email protected]. Laura is the only salesperson that has this deal available. So if you speak to someone else, ask them if you can leave a message for Laura. Just tell her you want the Karlie Belle Call in Special and she can answer all of your questions!
The font I used for my NOLA (talylor’s version) hat is the Besties Font from Alphalicious Designs
The font I used for my SAINTS hat is Livy Lou from Alphalicious Designs
🎄 Sign up for my 4th Annual Sip & Stitch Holiday Workshop
🪡 Learn more about my beginner course on machine embroidery, From Start to Stitch
💻 Enroll in my new course Embroidery Essentials
❤️ Join my Sip & Stitch Squad VIP Membership
🧵 Join my Facebook Group for discussion and help on machine embroidery and crafting
Stay tuned for our upcoming workshops, where we’ll explore even more creative projects. Don’t forget to share your creations in our Facebook group—seeing your work inspires everyone in our community!
Thankyou for stopping by