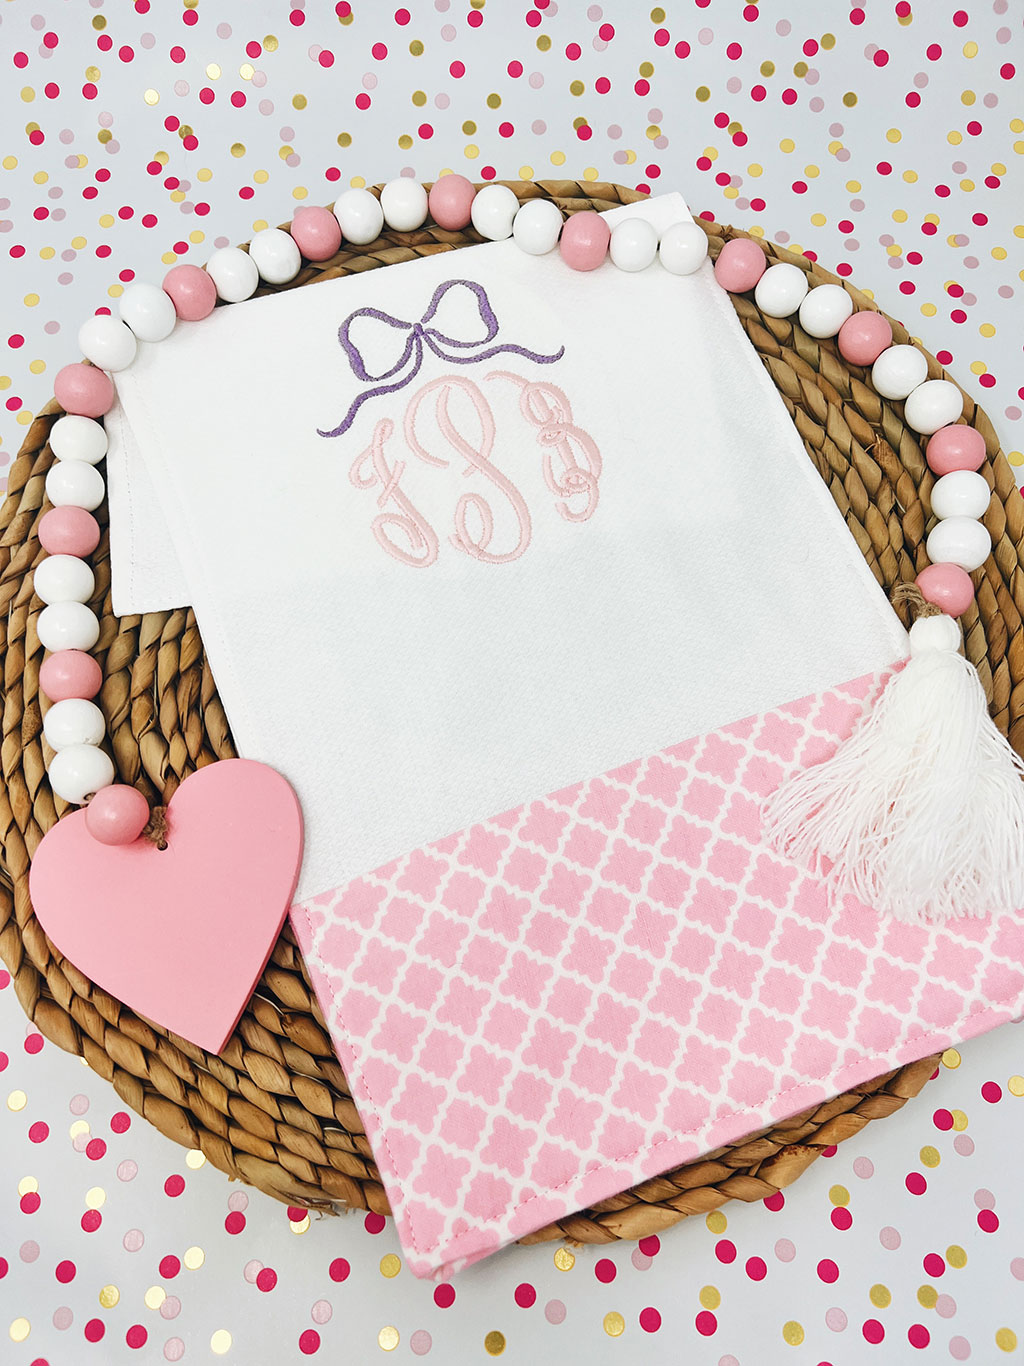
Welcome to my latest tutorial where I’ll show you how to make burp cloths from scratch, complete with a beautiful monogram! Embroidered baby items are my favorite and is what caused me to want to learn how to embroider myself ☺️. This month’s Sip & Stitch project will go over not only how to monogram a baby burp cloth, but how to make a custom burp cloth from scratch! In the past I have embroider store bought burp cloths like the Gerber cloth diapers, or the nice ruffle ones from Blanks Boutique. But for this class I wanted to try my hand at combining diaper cloth with flannel to create a custom looking monogrammed burp cloth. I will be using my Brother Stellaire XJ2 for this project and use both the sewing and embroidery features of this machine 😁. I will also show you how to create a monogram and add a frame with Embrilliance.
Supplies Needed:
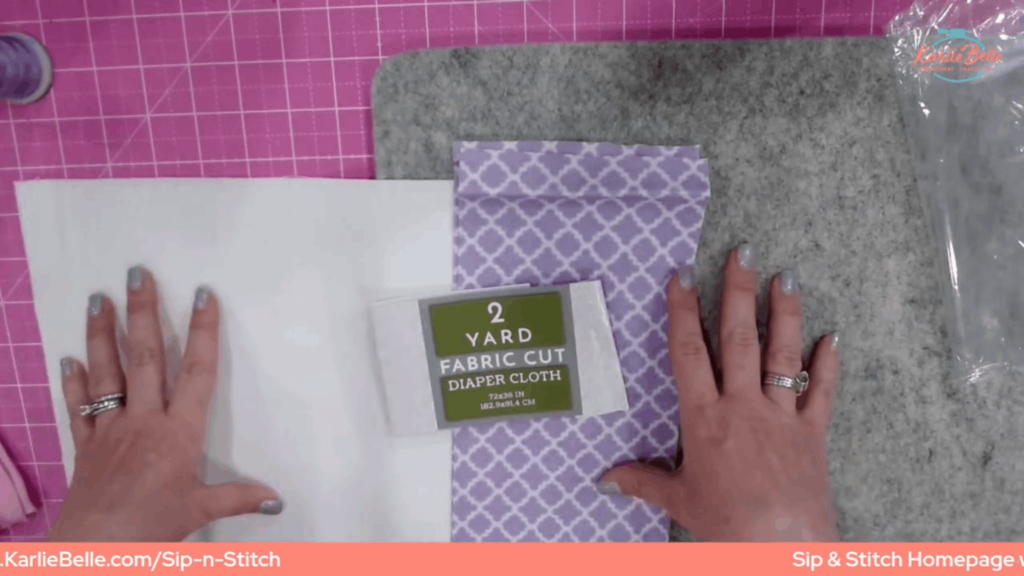
- Diaper Cloth Fabric
- I got mine from Walmart, but you can also check your local fabric store
- Flannel Fabric
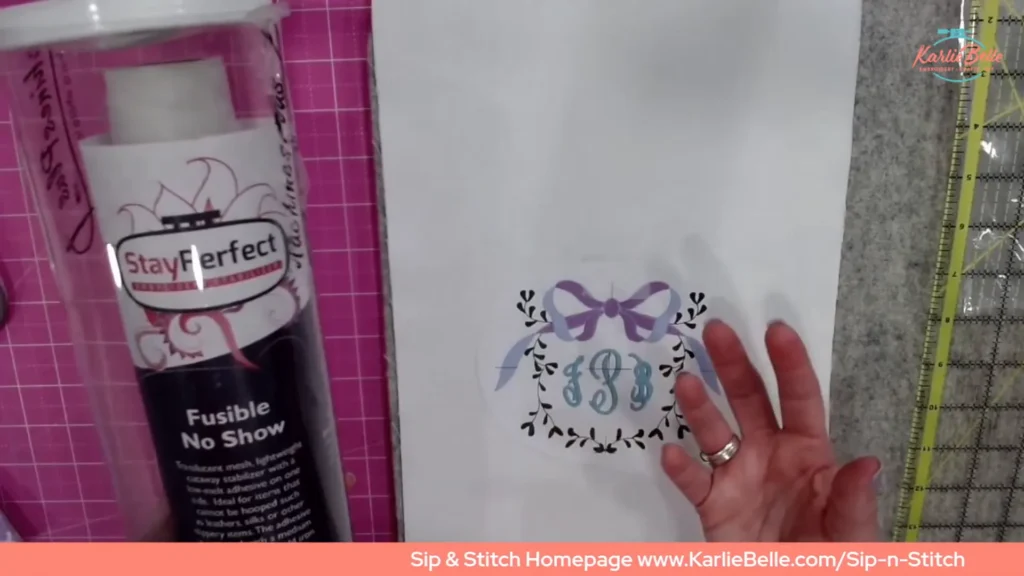
- No Show Poly Mesh stabilizer, choose Fusible No Show in the size you want. Use coupon code “karliebelle” to save 10%
- Monogram Font of your choice
- I love the ones from Creative Appliques
- Monogram Frame of your choice
- I am using some from Southern Baby Classics
- Water Soluble Topper Use coupon code “karliebelle” to save 10%
- Applique Scissors Use coupon code “karliebelle” to save 10%
- Organ 75/11 BP Needles Use coupon code “karliebelle” to save 10%
- Precision Tweezers Use coupon code “karliebelle” to save 10%
- Embroidery Thread Use coupon code “karliebelle” to save 10%
- Pre-wound Bobbin
- Sewing Machine
- I am using my Brother Stellaire XJ2
- Rotary Cutter
- Cutting Mat
- Acrylic Ruler
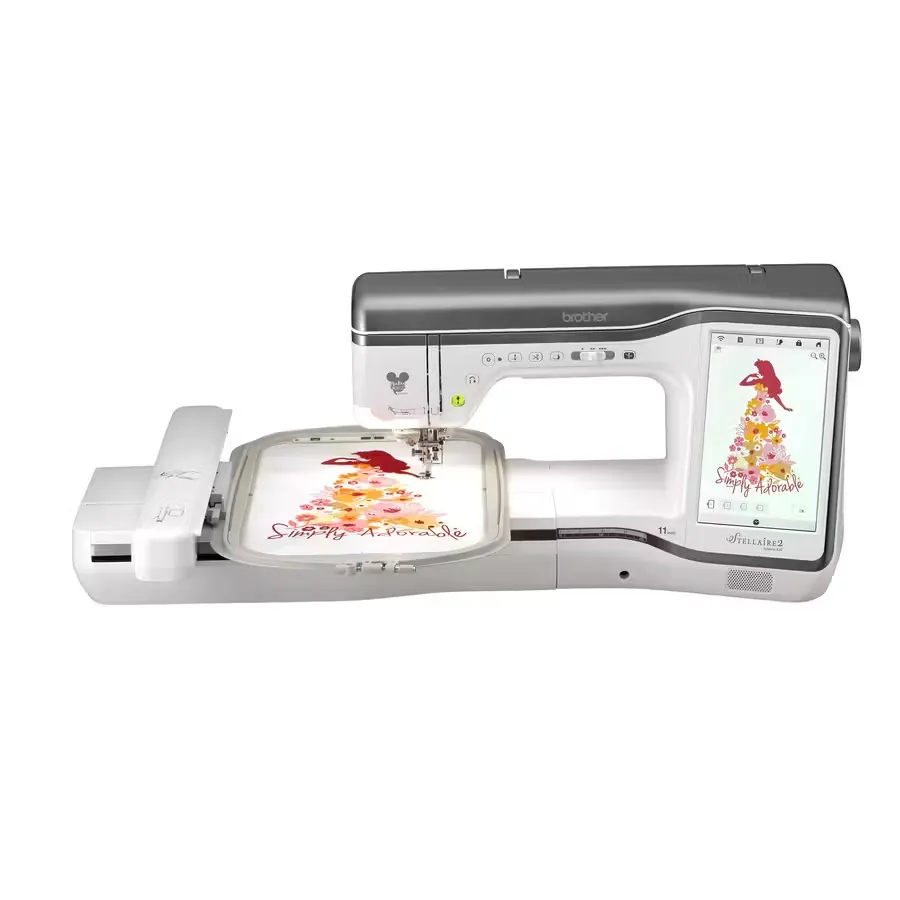
Brother Stellaire XJ2
Amazing sewing and embroidery combo machine with massive 9.5 x 14 inch hoop, cuts jump stitches, wifi enabled, and stitches at speed of 1050 spm
Featured machine
Cutting Fabric and Stabilizer
Let’s begin by cutting our fabric to the desired size. The burp cloth will be approximately 18 by 9 inches once completed, but you can adjust these dimensions to your preference.
Steps for Cutting Fabric
- Cut a piece of diaper cloth fabric 28 inches long and 9 inches wide. Fold it in half to create a piece that’s 14 by 9 inches.
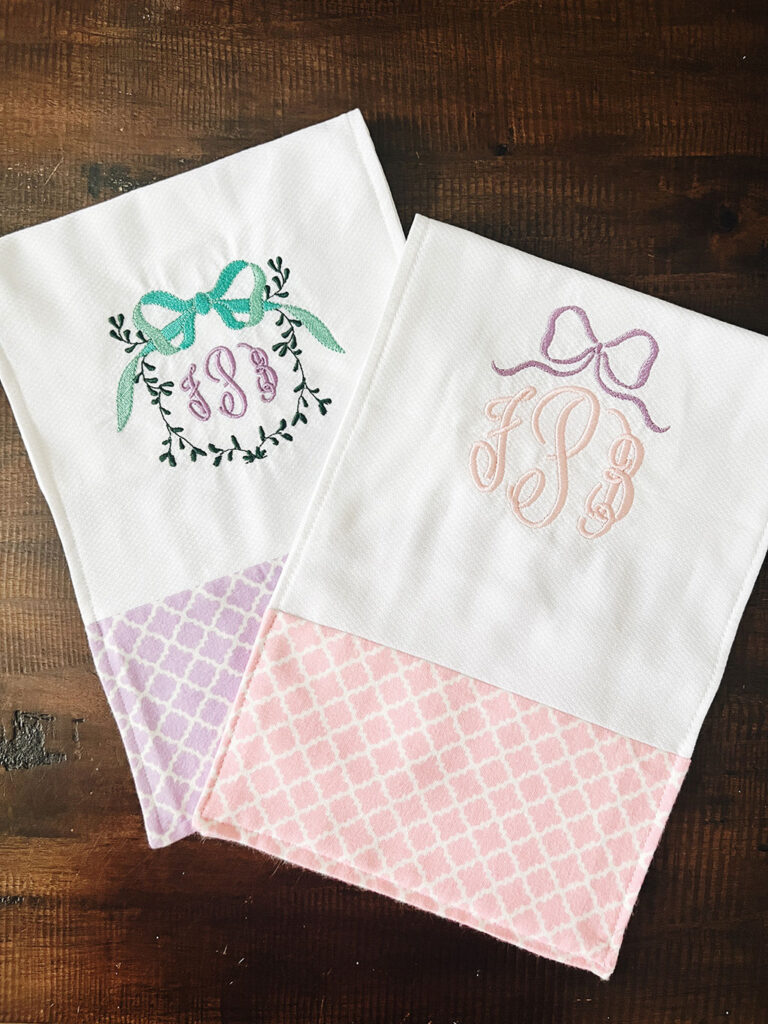
- Cut two pieces of flannel fabric, each measuring 9.5 inches wide and 5 inches tall. These will serve as the decorative accent at the bottom of the burp cloth.
Preparing the Stabilizer
Stabilizer is crucial for keeping your embroidery design neat and preventing puckering. We’ll use a fusible no-show poly mesh, which is lightweight and blends well with the fabric.
- Cut the stabilizer slightly larger than your hoop size.
- Place the stabilizer on the back of the diaper cloth fabric.
- Use an iron to fuse the stabilizer to the fabric, ensuring it adheres well without wrinkles.
Setting Up the Embroidery Design
Now, let’s set up the embroidery design. This part is all about personalization and creativity.
Choosing and Positioning Your Design
- Select your embroidery design and open it in your embroidery software.
- Adjust the size to fit within your hoop. For this project, we’re using a 5×7 hoop.
- Open the monogram frame, then add/ merge a monogram font of your choice.
Remember, you can choose any design that suits your style or the recipient’s taste. Whether it’s a monogram, a cute motif, or a themed design, the choice is yours!
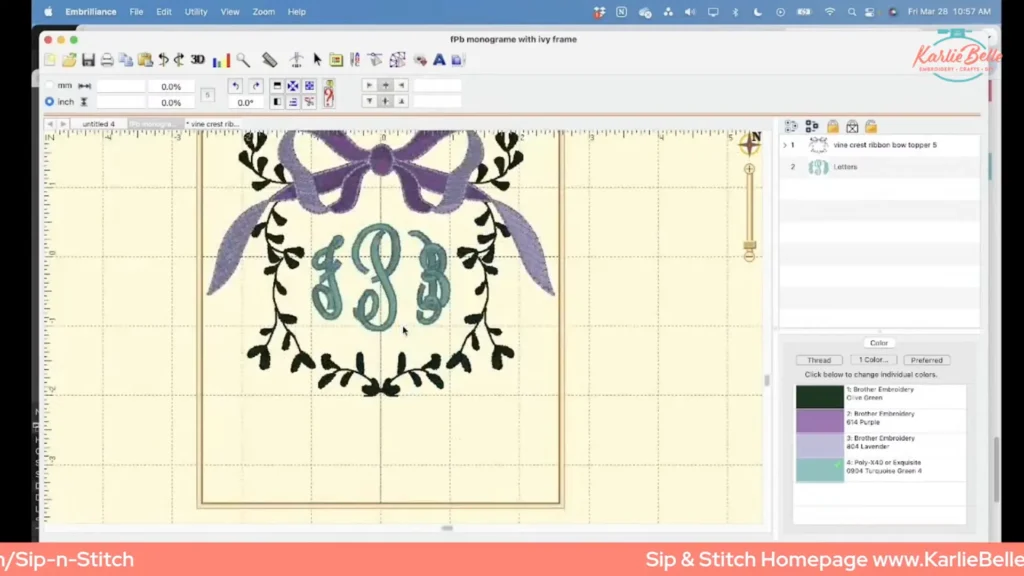
Monograms
Circular and Vine monograms are setup in the following order
- Initial of First Name
- Initial of Last Name (usually a bigger size)
- Initial of Middle Name
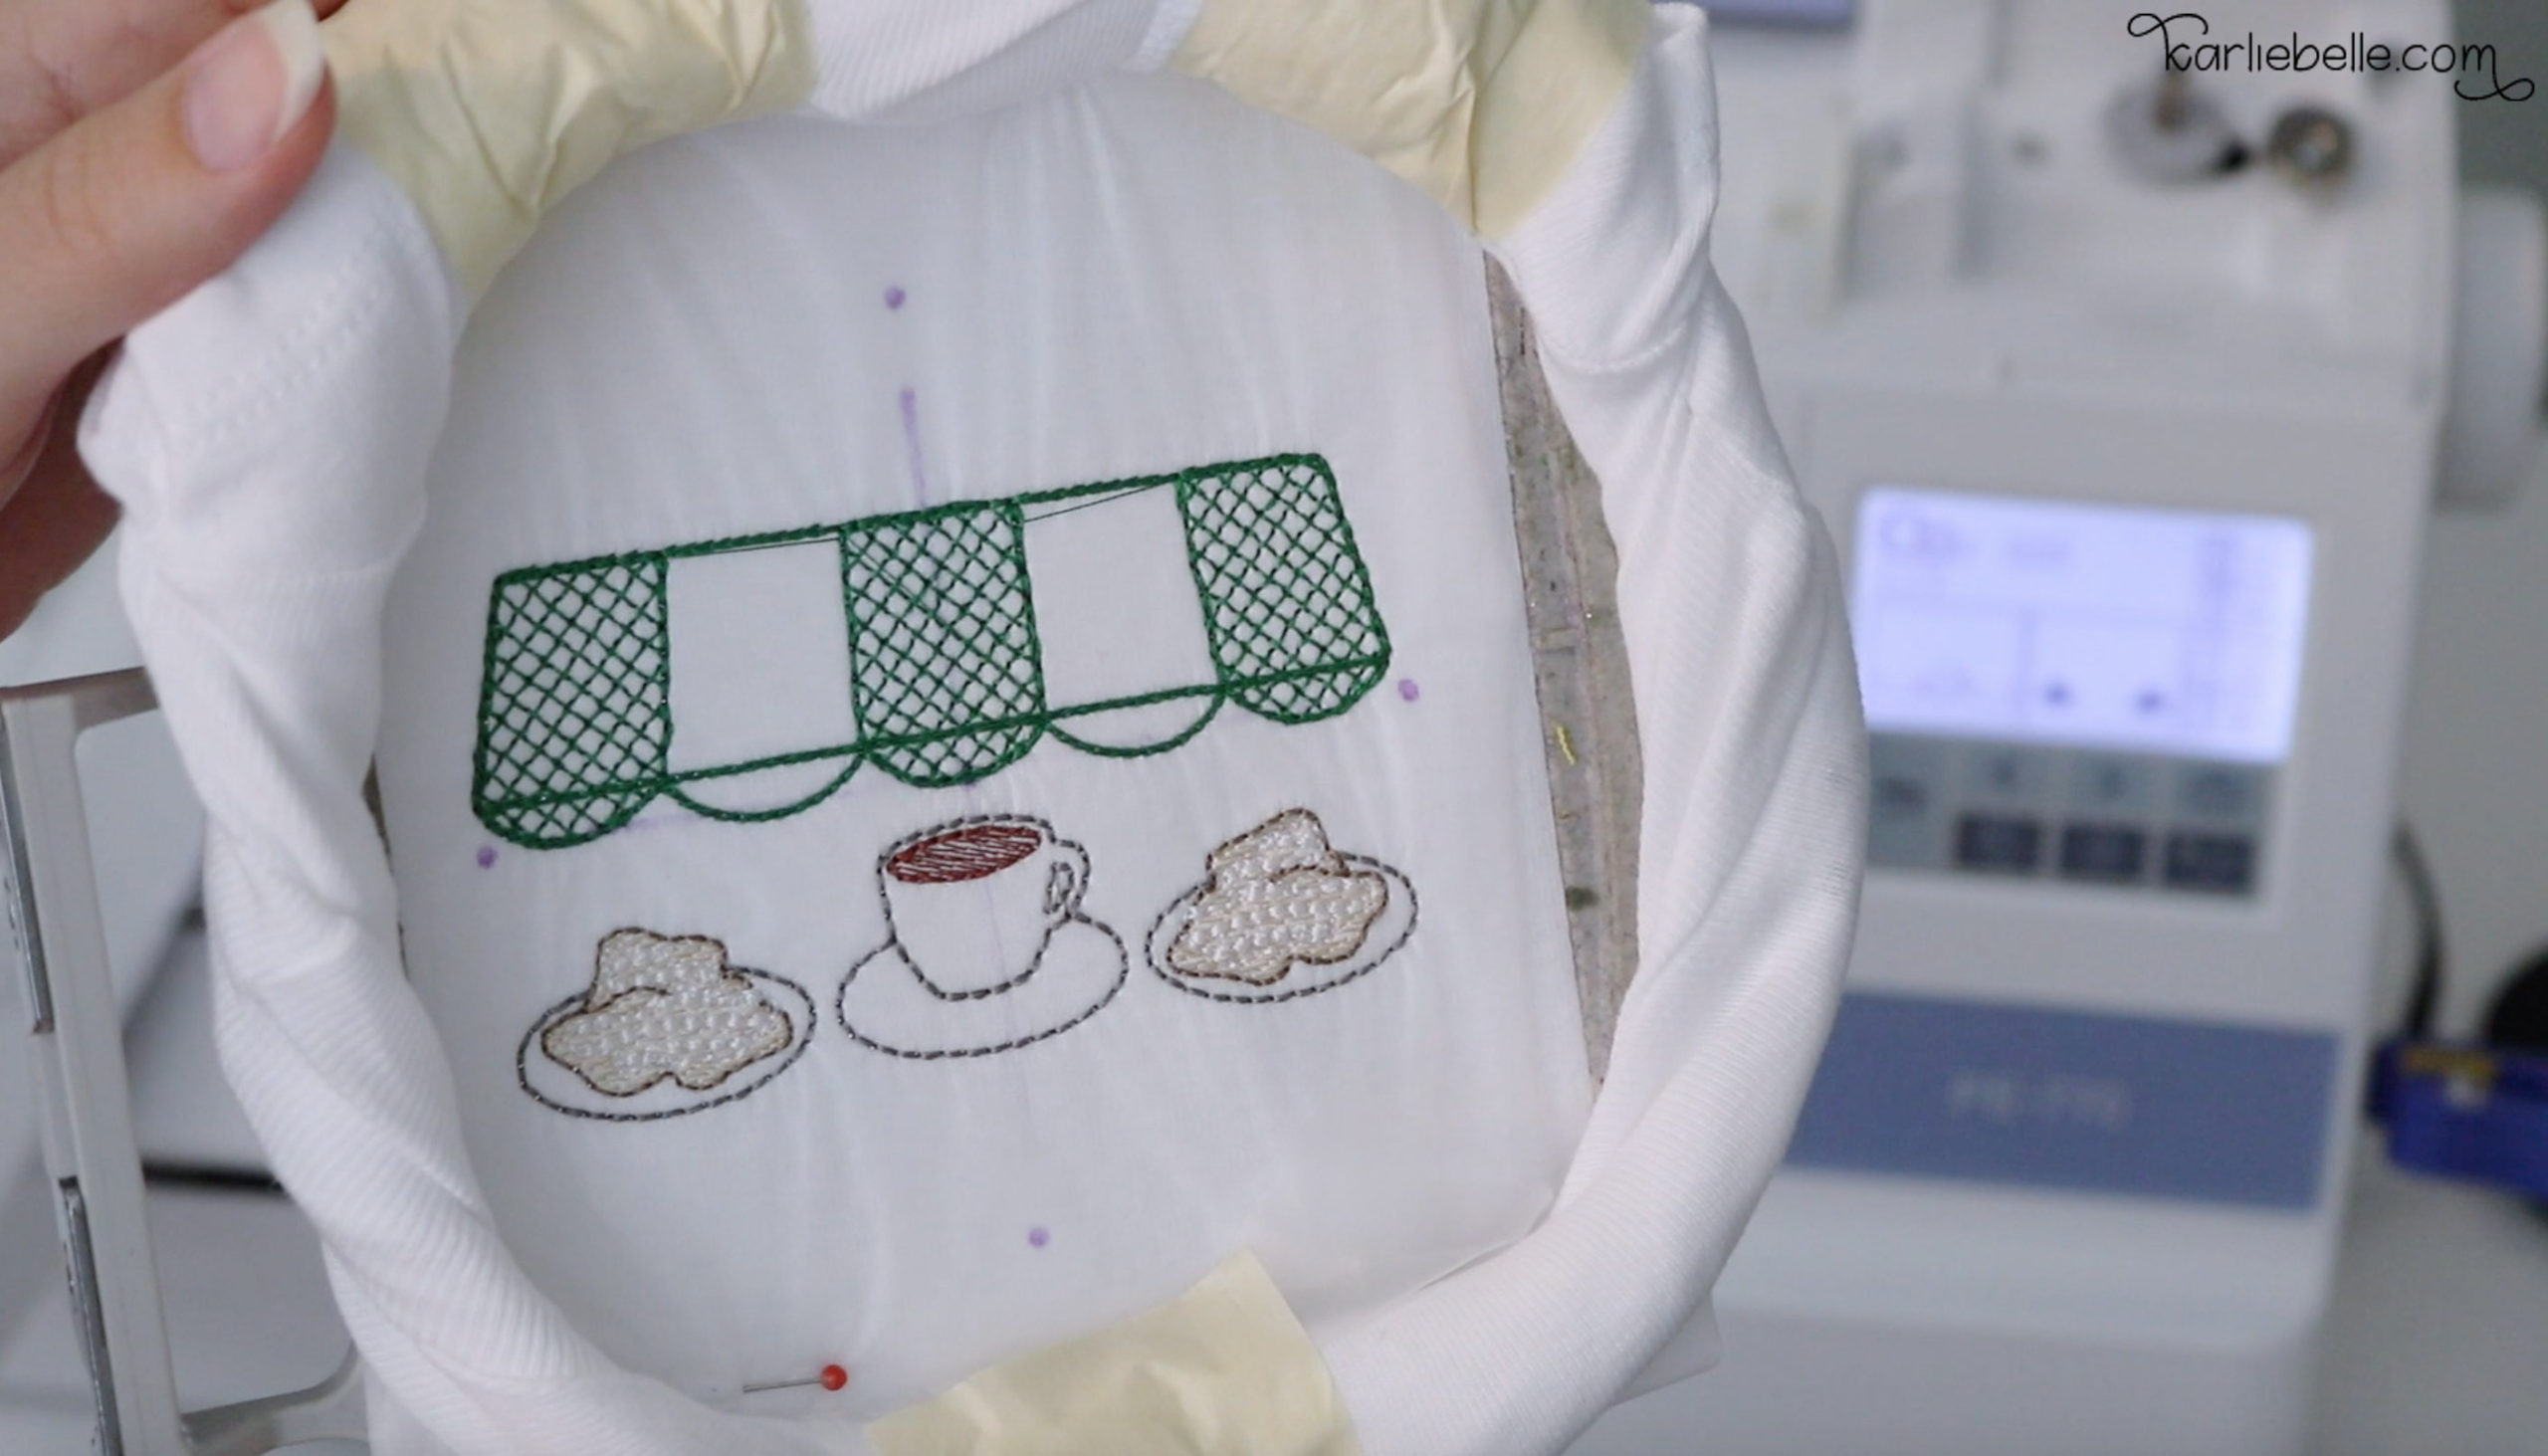
Preparing to Embroider
With our fabric and design ready, it’s time to prepare for embroidery. This is where the magic happens!
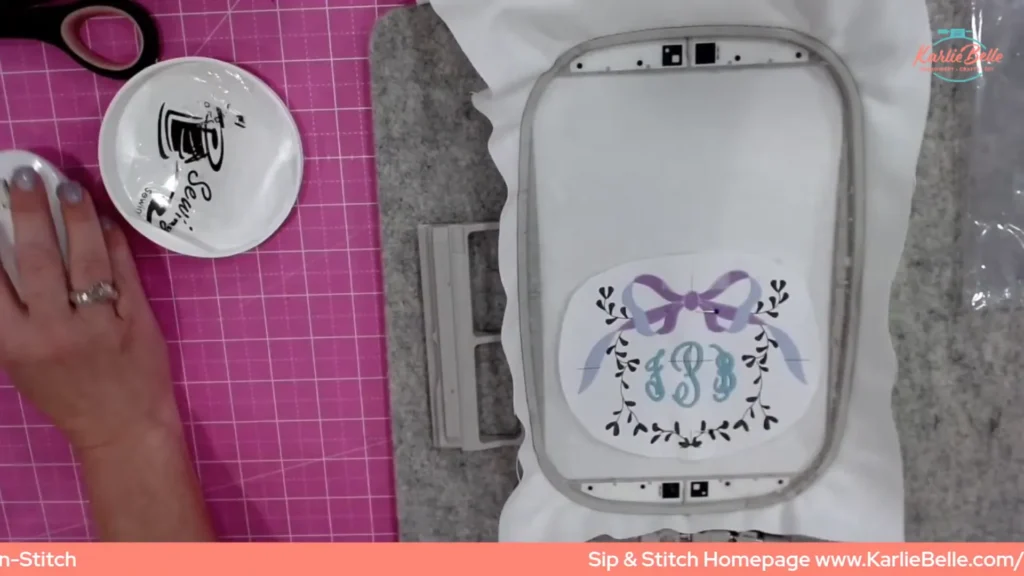
Hooping the Fabric
- Place your fabric with the stabilizer on a flat surface. Ensure the area where your design will be embroidered is centered.
- Open your embroidery hoop and lay the bottom piece flat on the table.
- Place the fabric over the hoop, ensuring it’s smooth and without wrinkles.
- Press the top part of the hoop over the fabric, securing it tightly. You want the fabric to be taut, much like a drum.
- Adjust the fabric as needed to make sure it’s straight and the design area is centered.
Once your fabric is securely hooped and the design is loaded onto your machine, you’re all set to start embroidering. This is the exciting part where your creativity comes to life!
Q & A Section
Q: Can I use different types of fabric for the burp cloth?
A: Absolutely! While diaper cloth is recommended for its absorbency, you can experiment with other fabrics like cotton or muslin.
Q: What if I don’t have an embroidery machine?
A: You can still create beautiful burp cloths by sewing decorative fabric or using applique techniques.
Q: How do I choose the right stabilizer?
A: Choose a stabilizer based on your fabric and design. Fusible no-show poly mesh is great for lightweight fabrics.
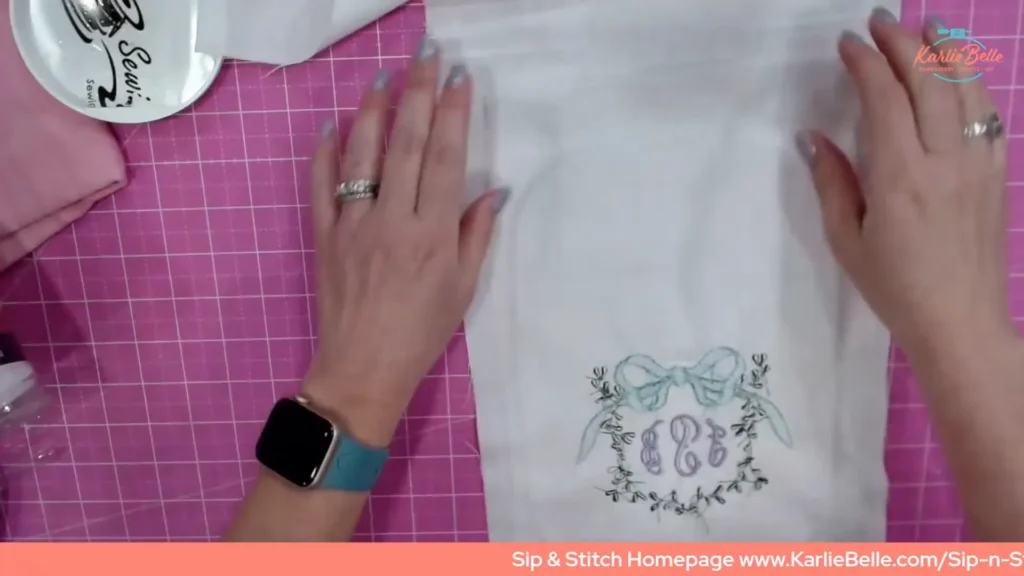
Stitching the Embroidery
Now that our fabric is secure, it’s time to bring your design to life. Here’s the step-by-step:
- Load your embroidery design into the machine. Ensure it’s the correct size for your hoop.
- Double-check the thread colors and change them if necessary to match your design.
- Place the hooped fabric onto the embroidery machine, ensuring it’s locked in place.
- Begin stitching! Keep an eye on the machine to ensure everything runs smoothly.
Feel free to pause and check your progress. It’s exciting to see your design emerge!

Sewing the Burp Cloth Together
I hope you are having fun following this tutorial of how to make burp cloths, With the embroidery complete, it’s time to assemble the burp cloth. Follow these steps:
- Sew flannel accent piece to the bottom of each end of the burp cloth. Right sides together with 1/4 inch seam allowance.
- Now fold your diaper cloth with attached flannel in half long ways with right sides together.
- Pin around the edges, leaving a small gap for turning the fabric right side out.
- Sew around the edges with a straight stitch, maintaining a consistent 1/4 inch seam allowance.
- Trim any excess fabric and corners to reduce bulk.
Once sewn, carefully turn your fabric right side out through the gap you left.
Finishing Touches
We’re almost there! Let’s add the final touches to perfect your burp cloth:
- Press the edges with an iron to ensure they are crisp and flat.
- Topstitch around the entire edge of the burp cloth. This not only secures the opening but also adds a professional finish.
- Inspect your work for any loose threads or imperfections and fix them as needed.
And there you have it—a beautiful, handmade burp cloth ready for gifting!

When you learning how to make burp cloths from scartch a lot of people have lot of questions. I tried to answer few below
Q&A Session
Q: Can I use different fabrics for the backing?
A: Yes, you can experiment with fabrics like terry cloth or cotton for different textures and absorbency.
Q: How do I ensure my embroidery is centered?
A: Use the grid template that comes with your hoop to align your design perfectly before stitching.
Q: What if my fabric puckers?
A: This can be due to insufficient stabilizer. Consider using two layers or a heavier stabilizer.
Upcoming Projects and Wrap Up
As we wrap up this project, I’m thrilled to share a sneak peek into some upcoming projects that will continue our journey with unique machine embroidery design.
Future Projects
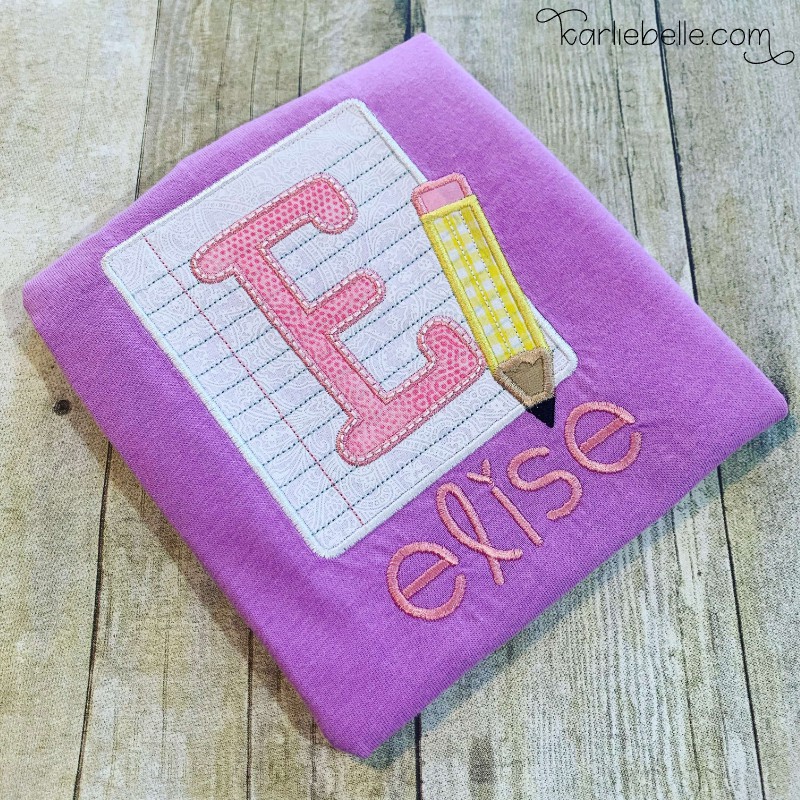
So this month we learned how to make burp cloths from scratch. I hope you learn a lot from this tutorial. Next month, we’re diving into a new project to help stitching bags on a flatbed machine. We’ll be creating an embroidered book tote bag using and going over how to open the seams of the bag, or purchase a bag with the seams already open for you! This helps the bag to be flat while embroidering and makes life so much easier. Then we will sew the side seams of the bag back up, easy peezy! If you are looking for more baby machine embroidery projects like this you might like how I create an applique baby bib or this adorable baby onesie.
Stay Connected
Don’t miss out on any updates or tutorials! Be sure to sign up for my email newsletter and follow along on my website for detailed instructions and video replays. Your support and enthusiasm make these projects all the more enjoyable, and I can’t wait to see all the unique creations you come up with!
Thank you for joining me on this creative journey. I hope you enjoyed making the monogramed burp cloth and feel inspired to continue exploring the world of machine embroidery. Until next time, happy crafting!
🚨 Oh Sew Delightful Quilt Bundle for Sew Along, there is also a Fabric Kit for it
🪡 Learn more about my beginner course on machine embroidery, From Start to Stitch
💻 Enroll in my new course Embroidery Essentials
❤️ Join my Sip & Stitch Squad VIP Membership
🧵 Join my Facebook Group for discussion and help on machine embroidery and crafting
Thanks for stopping by!