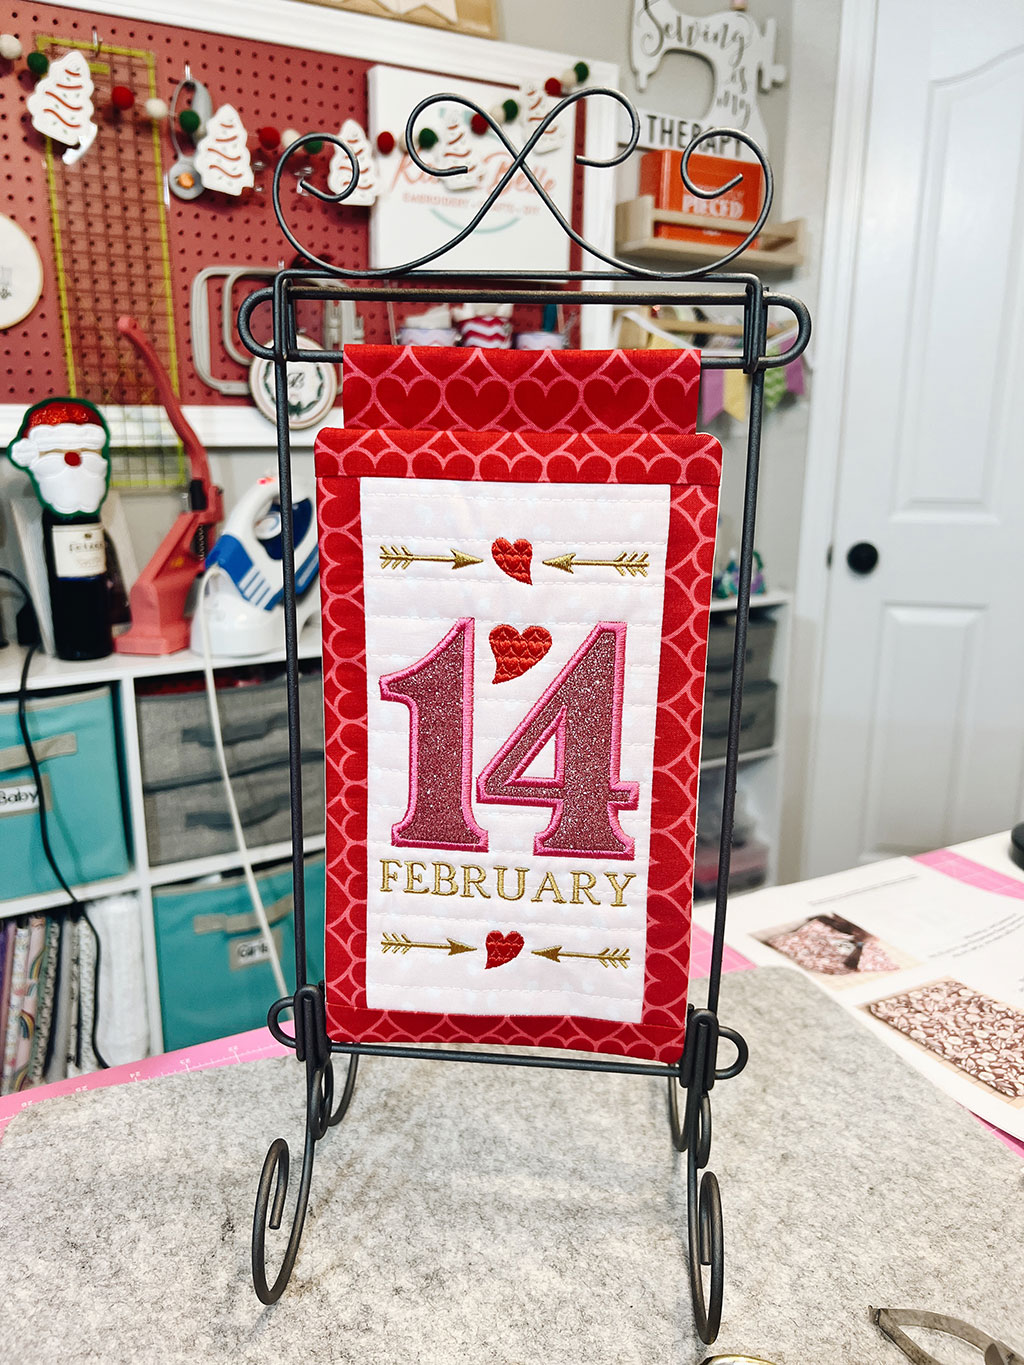
Join me in this detailed Embrilliance tutorial where I’ll guide you through the fun process of creating a charming baby banner door hanger.
Today is a bonus Sip & Stitch for April 2025 😁. My cousin enlisted me to recreate a beautiful baby banner door hanger she saw on online, so I figured I would show you the whole process while I am stitching. This is an easy and fun beginner project that can be done on any machine, however the larger hoop you have, the bigger you can make the design. I will show you the whole process on my Brother PR680W 6 needle embroidery machine using Mighty Hoops. I will also show you the process I went through to merge several different designs together using Embrilliance Essentials and Enthusiast to recreate the look my cousin requested. So today, it’s a comprehensive Embrilliance Tutorial as well while I teach you how to make baby banner door hanger.
Supplies Needed:
- Brother PR680W
- Mighty Hoops
- Banner Door Hanger
- Monogram
- Monogram Frame
- Frame with Storks
- Embroidery Font
- Tear Away Stabilizer Use coupon code “karliebelle” to save 10%
- Applique Scissors Use coupon code “karliebelle” to save 10%
- Organ 75/11 BP Needles Use coupon code “karliebelle” to save 10%
- Precision Tweezers Use coupon code “karliebelle” to save 10%
- Embroidery Thread Use coupon code “karliebelle” to save 10%
- Bobbins for Free Arm Machines Use coupon code “karliebelle” to save 10%
All these materials are crucial for getting the best results. The canvas banner is lightweight and easy to embroider, making it a perfect choice for this project. The Mighty Hoop is a strong magnetic hoop that ensures your fabric is held tightly, reducing any chance of misalignment.
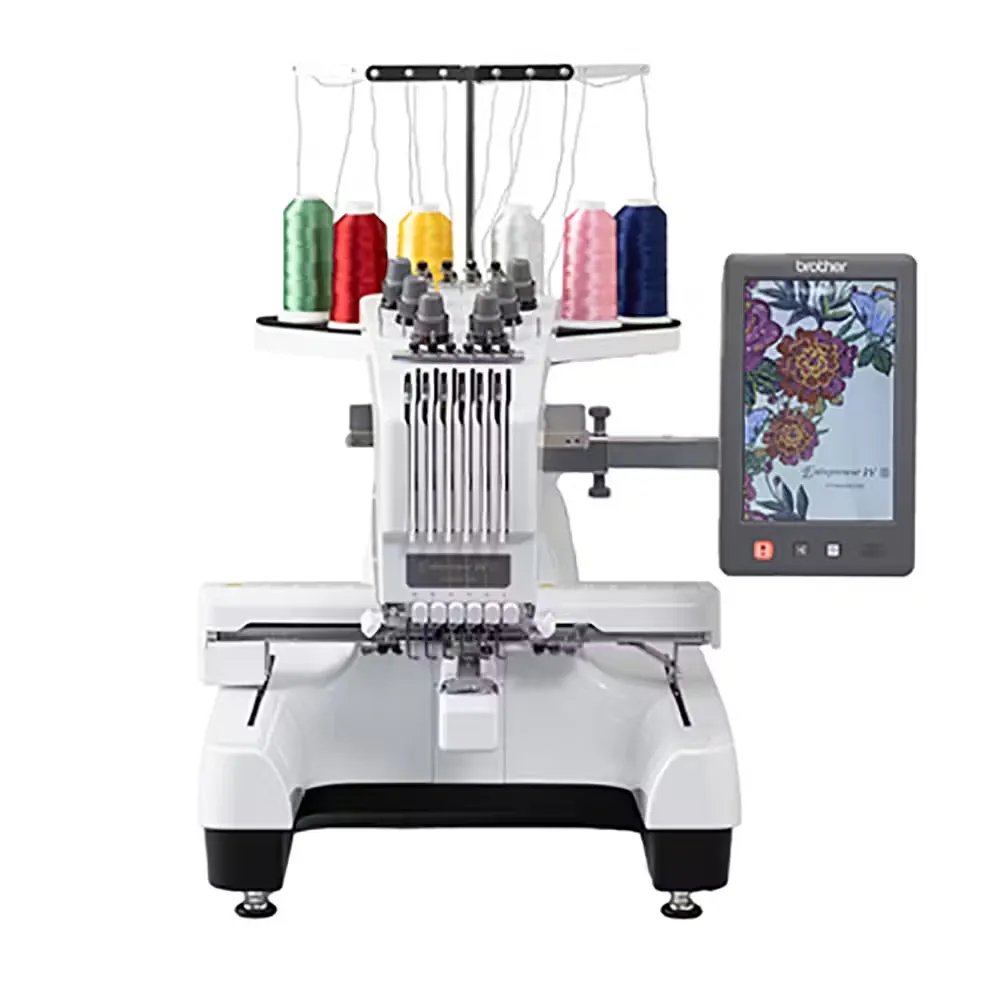
Brother PR680W
Amazing 6 needle, free arm embroidery machine with large 8×12 hoop, cuts jump stitches, wifi, and stitches at speed of 1050 spm
Featured machine
Design Selection and Inspiration
Choosing the right design is a fun hunt for creativity. For this project, I combined several designs to match the inspiration picture my cousin provided. The monogram font is from Schuler Studio, known for their exquisite two-letter monograms. I also found a beautiful frame on Etsy from LYD Mother’s Young, which complements the monogram perfectly.
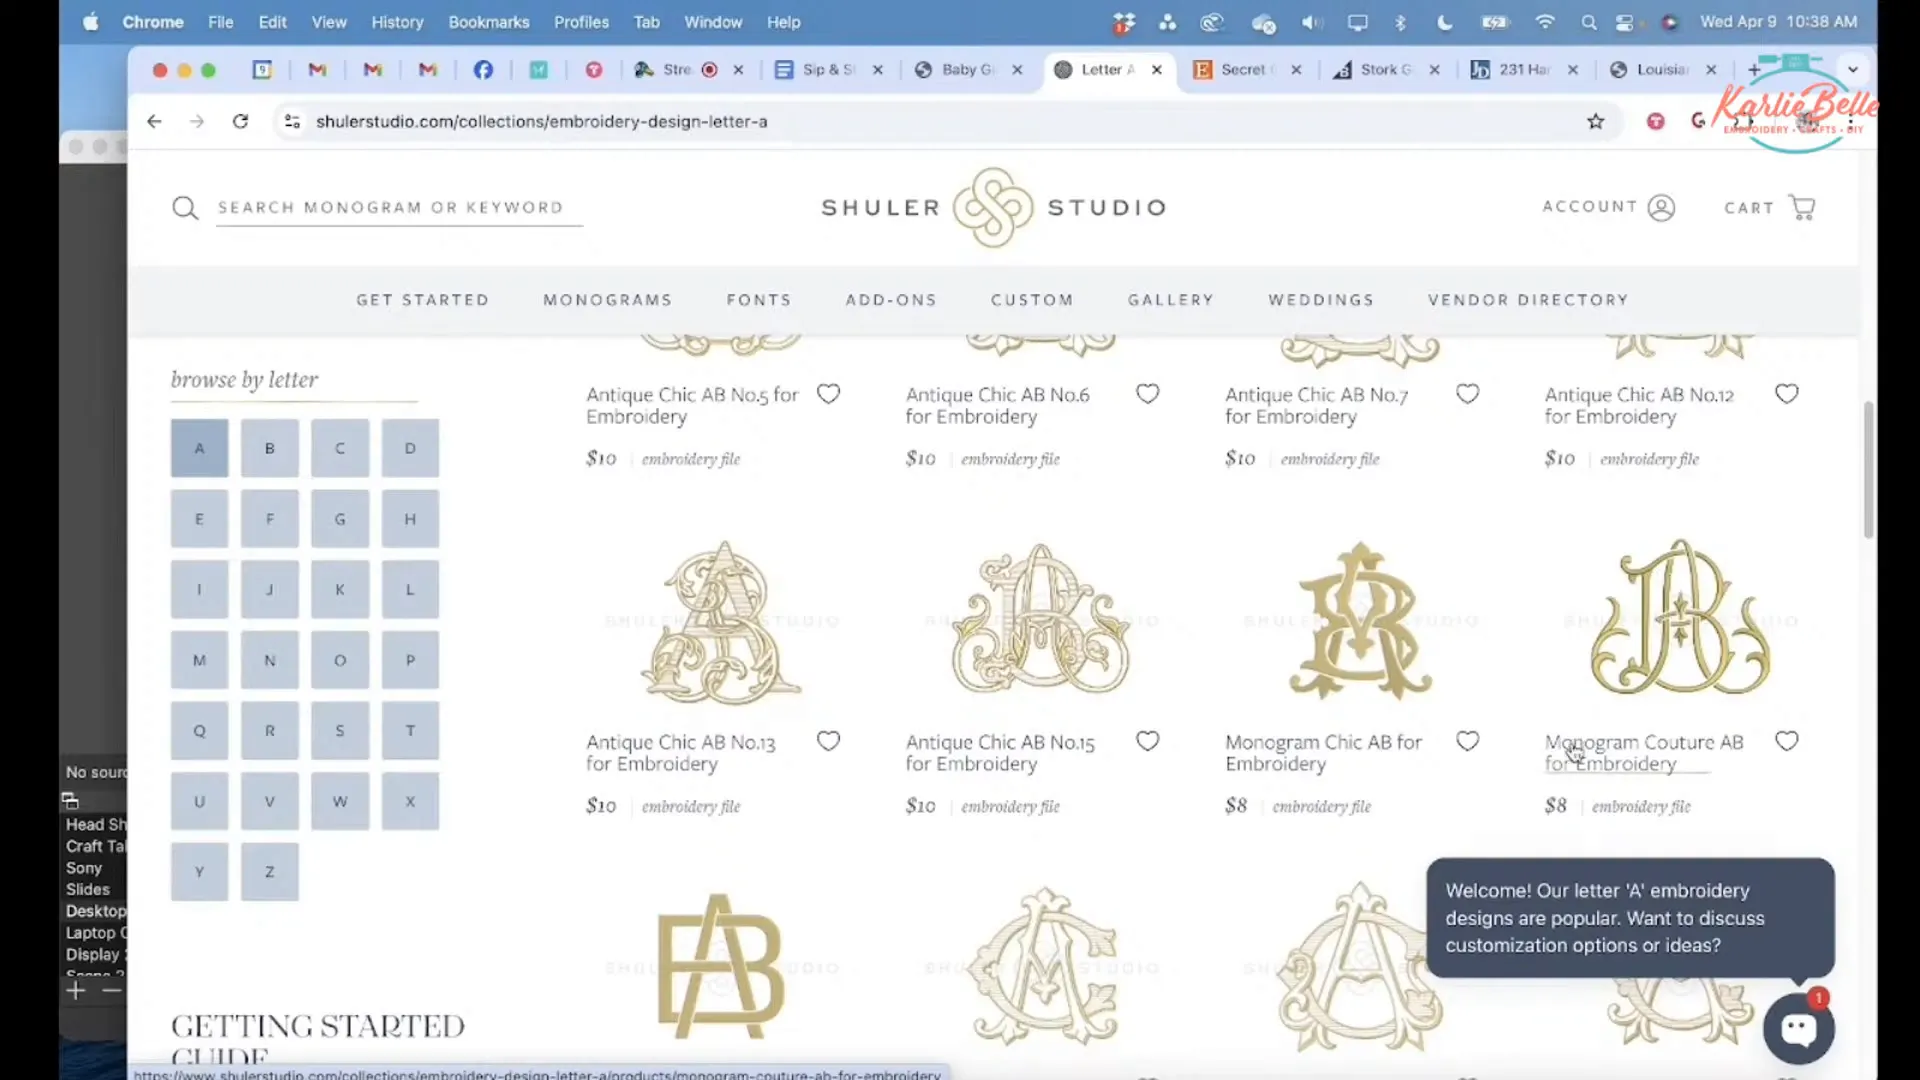
To complete the design, I added storks from a previous project. The challenge was to bring all these elements together using Embrilliance software. Remember, this project is a personal gift, and I encourage you to support original creators if you’re not into creating yourself.
Embrilliance Tutorial Part 1: Setting Up the Design in Embrilliance
Let’s dive into the fun part of setting up our design in Embrilliance. This is where creativity meets technology, and we get to bring our ideas to life. With both Essentials and Enthusiast tools at our disposal, the possibilities are endless.
Creating a New Canvas
First, we need to open a new canvas in Embrilliance. Choose your hoop size based on your project requirements. For this baby banner, I’m using an 8×8 hoop. Go to the preferences window, select the hoop size, and apply the changes. You should see the entire hoop on your screen, ready to be filled with creativity.
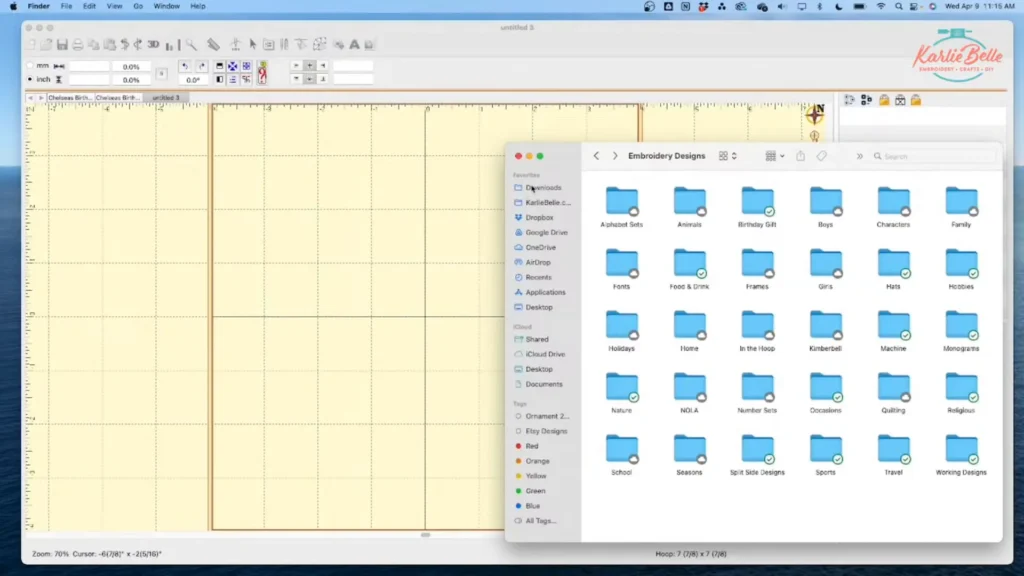
Organizing Your Designs
It’s important to keep your designs organized. I like to categorize my embroidery designs into folders by theme or designer. This way, when inspiration strikes, I can easily find what I’m looking for. For this project, our frame design is from Etsy, labeled under ‘Secret Garden’. Simply unzip your downloaded files and move them into the designated folders for easy access later.
Importing and Editing the Frame
With our canvas set, let’s bring in the first design element—the frame. Drag and drop the 8×8 PES file into the canvas. If your frame has unwanted elements, like a flourish at the bottom, we can easily remove it using the stitch simulator in Essentials or the stitch edit feature in Enthusiast. These tools allow us to pinpoint and delete specific stitches or create color stops to separate elements.

Embrilliance Tutorial Part 2: Editing the Design Elements
I hope you are finding its easy to follow this Embrilliance Tutorial tutorial so far it’s time for part 2. Now that the frame is set, it’s time to add and customize the monogram and storks. This step involves importing the designs and adjusting them to fit perfectly within our frame.
Adding the Monogram
For the monogram, I chose a beautiful font from Schuler Studio. Don’t worry if your design comes in a different format like DST; Embrilliance allows you to save it in the format you need. Simply drag the monogram onto the canvas, resize it to fit within the frame, and position it to your liking.

Incorporating the Storks
The storks add a whimsical touch to our banner. Open the design file and use the stitch edit feature in Enthusiast to select and separate the stork from other elements. This feature is invaluable for customizing designs by isolating specific parts. Once you have the stork, copy and paste it into your main design. You can mirror or resize it to match your vision.

Embrilliance Tutorial Part 3: Color Sorting and Final Adjustments
With all elements in place, the next step is to sort the colors and make any final adjustments. This ensures a smooth stitching process and a cohesive finished product.
Color Coordination
In Embrilliance, you can customize each element’s color to match your thread selection. Click on the color chips and choose from palettes or specific thread brands. It’s crucial to ensure all elements intended to be the same color are labeled as such in the software. This step simplifies the stitching process by reducing unnecessary color changes.

Removing Hidden Stitches
To avoid excessive density, use the ‘Remove Hidden Stitches’ feature. This tool eliminates stitches that would be covered by other elements, providing a cleaner finish and preventing bulk in your design.

Hooping the Fabric
Hooping is an essential step in ensuring your design stitches correctly. Here’s a detailed guide on how to get your canvas banner ready for embroidery:
- Lay your tear-away stabilizer on a flat surface.
- Place the canvas banner on top, ensuring it’s centered.
- Use a fabric marker to draw crosshairs for accurate alignment, if needed.
- Slide out the wooden dowel and yarn to make the banner completely flat.
- Position the Mighty Hoop over the fabric, aligning the tabs and snapping it into place. Feel free to adjust slightly to ensure the design doesn’t hit the hoop edges.

Tip: If you’re using a smaller hoop, you may need to rehoop the fabric multiple times. Always ensure the design is centered and the fabric is taut.
Threading the Machine
Threading the machine might seem intimidating, but it’s quite straightforward once you get the hang of it. Follow these steps for a smooth setup:
- Remove spool caps and place your threads on the holder.
- Follow the machine’s numbered guide to thread each color. This usually involves running the thread through tension discs and guides.
- Another option is to tie the new thread to the old one and pull through, ensuring it feeds correctly.
- Use the automatic needle threader for precision and ease.

Tip: If you have a pet like my adventurous cat, double-check your threads are secure before starting. This will prevent any unexpected tangles or jams.
With the fabric hooped and the machine threaded, we’re all set for the fun part—stitching the design.
Stitching the Design
Now it’s time to bring your design to life on the embroidery machine. With everything set in Embrilliance, transfer the design to your machine. Ensure your machine is threaded correctly and that you’ve selected the right hoop size.

Loading and Positioning
Load the design into your embroidery machine. Use the machine’s interface to position the design accurately within the hoop. Most machines offer a tracing feature that allows you to check if your design fits perfectly without hitting the hoop’s edges.
Monitoring the Stitching Process
As the machine stitches, keep an eye on the process. Occasionally, threads may break or run out, requiring you to rethread and back up a few stitches to ensure continuity. Regularly check the bobbin and replace it as needed to prevent interruptions. If you monitor it well. You will be able to finish the design in no time.

And there you have it!
And there you have it! Our baby banner door hanger is complete, ready to delight at the baby shower. I hope this tutorial has inspired you to try more projects. If you’re interested in similar projects, check out my tutorials on creating a Monogrammed Baby Burp Cloth and a personalized Baby Onesie. Happy stitching!
Like it, please Pin It

Other Useful Links
🚨 Oh Sew Delightful Quilt Sew Along Info
🪡 Learn more about my beginner course on machine embroidery, From Start to Stitch
💻 Enroll in my new course Embroidery Essentials
❤️ Join my Sip & Stitch Squad VIP Membership
🧵 Join my Facebook Group for discussion and help on machine embroidery and crafting

Thanks for stopping by!